Your Beginner’s Guide to Dermaplaning at Home
Learn the benefits of dermaplaning at home for smoother skin and improved makeup application. This guide covers tools, steps, and common mistakes to avoid.

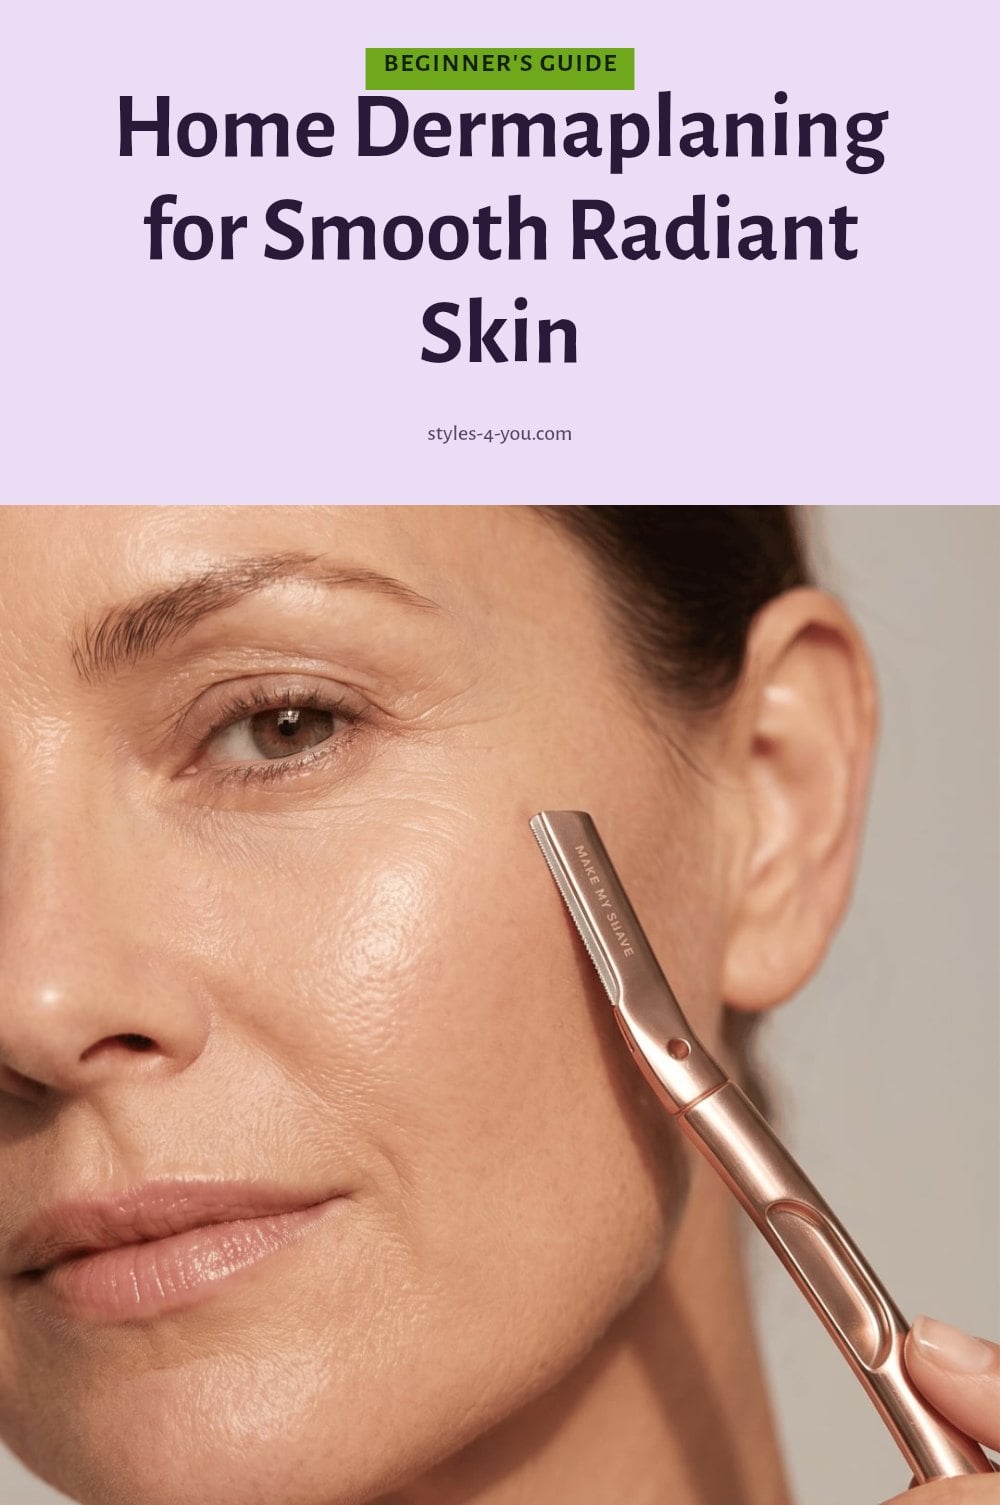
You want smooth, glowing skin, and you have probably heard about dermaplaning. It is a simple physical exfoliation method that removes dead skin cells and peach fuzz with a sterile blade, leaving your face silky and helping your skincare products work better. This article covers what you need to know to try it safely at home, including the right tools, step-by-step technique, common mistakes, and how to care for your skin afterward.
Key Takeaways
- Dermaplaning removes both dead skin cells and peach fuzz for smoother skin.
- Always use a clean, dry face and hold the blade at a 45-degree angle.
- Do not dermaplane over active acne, rosacea, or irritated skin.
- Apply broad-spectrum sunscreen daily after treatment to protect sensitive skin.
- Wait 3-4 weeks between sessions to allow skin cell turnover.
What is Dermaplaning and How Does It Work?
Dermaplaning is a physical exfoliation method that removes dead skin cells and vellus hair, often called peach fuzz. Using a sterile blade, you gently scrape the skin’s surface to reveal a smoother, brighter complexion. This technique also enhances product absorption, so your serums and moisturizers can penetrate more effectively. The result is a fresh, even canvas that makeup applies to beautifully.
Essential Tools for At-Home Dermaplaning
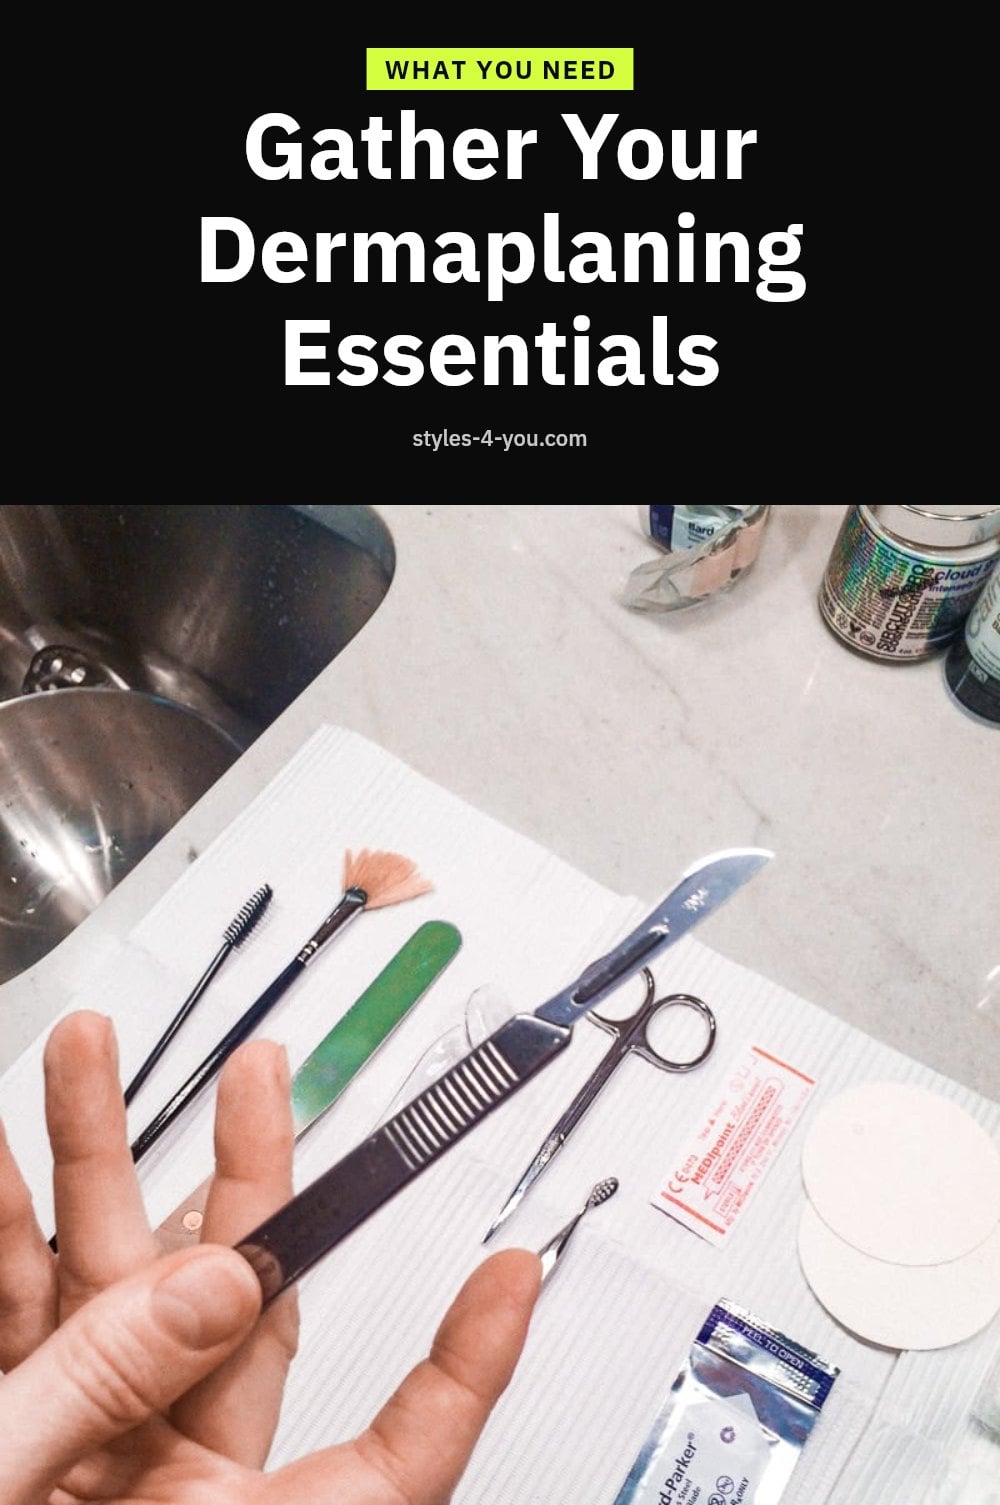
To get started, gather the right supplies. Here’s what you need:
- Dermaplaning tool or facial razor: Choose one designed specifically for facial use, with a small, sharp blade and safety guard if possible.
- Gentle cleanser: To thoroughly clean your face before treatment.
- Hydrating serum: To soothe and replenish skin after exfoliation.
- Moisturizer: To lock in hydration and protect your skin barrier.
- Broad-spectrum sunscreen: Essential for protecting newly exposed skin from UV damage.
Step-by-Step Guide to Dermaplaning Your Face

Follow these steps for a safe, effective at-home dermaplaning session:
- Cleanse and dry: Wash your face with a gentle cleanser and pat it completely dry. Wet skin increases the risk of nicks, so wait until your face is fully dry before proceeding.
- Hold skin taut: Use your free hand to gently stretch the skin in the area you’re treating. This creates a smooth, firm surface and minimizes the chance of accidental cuts.
- Position the blade: Hold the dermaplaning tool at a 45-degree angle to your skin. This angle allows the blade to glide across the surface without digging in.
- Use short, light strokes: Move the blade in short, downward motions, working in the direction of hair growth. Do not press hard; let the blade do the work. Avoid areas with active acne, cuts, or irritation.
- Follow with skincare: After dermaplaning, apply a hydrating serum and moisturizer to calm your skin. Finish with a broad-spectrum sunscreen, as your skin is more sensitive to sun exposure.
Common Dermaplaning Mistakes to Avoid
Even with the right technique, a few common mistakes can lead to irritation or injury. Here’s what to avoid:
- Using a dull or unsterile blade: A dull blade tugs at the skin and can cause micro-tears. Always use a fresh, sterile blade for each session.
- Applying too much pressure: Pressing hard can result in nicks, cuts, and redness. Light, gentle strokes are all you need.
- Not holding the skin taut: Loose skin is more likely to catch on the blade, increasing the risk of injury. Keep the area stretched firm.
- Dermaplaning too frequently: Over-exfoliating can strip your skin’s protective barrier, leading to sensitivity and breakouts. Wait at least 3-4 weeks between sessions.
- Ignoring post-care: Skipping sunscreen or using harsh exfoliants after treatment can harm your newly exposed skin. Prioritize hydration and sun protection.
Post-Dermaplaning Skincare and Maintenance
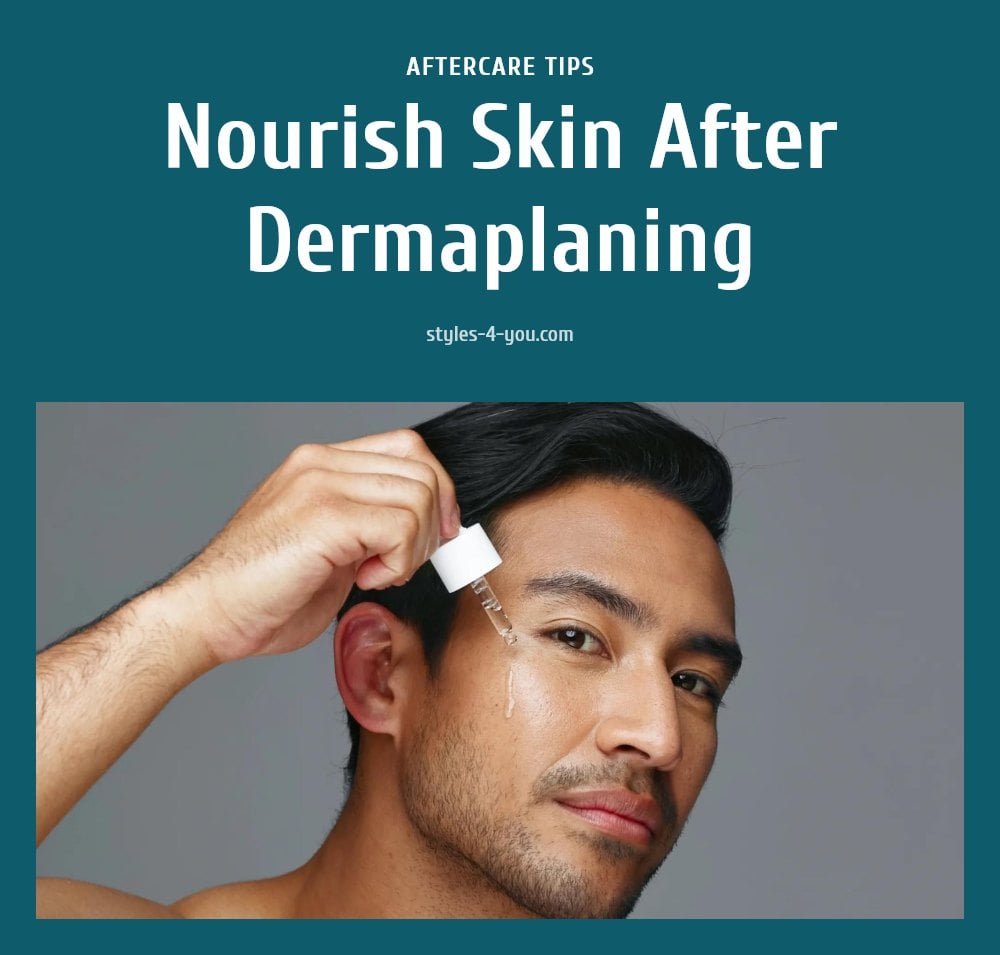
Right after you finish, your skin is primed to drink up hydration. Apply a hydrating serum while your face is still slightly damp, then seal it in with a moisturizer. This helps calm the skin and locks in moisture.
Tip: Use a broad-spectrum sunscreen with SPF 30 or higher every morning for at least a week after dermaplaning. Your fresh skin is more sensitive to UV damage, and skipping SPF can lead to irritation or discoloration.
Caution: Skip harsh exfoliants, retinoids, and acids for several days. Your skin barrier needs time to rebuild, and layering strong actives on freshly exfoliated skin can cause redness or stinging.
Plan your next session in 3 to 4 weeks. That gives your skin enough time to complete its natural cell turnover cycle and lets any vellus hair regrow to a length that is safe to remove again.
Dermaplaning Myths Debunked
Dermaplaning Myths Debunked
Myth: Hair grows back thicker or darker after dermaplaning. Reality: Vellus hair, the peach fuzz you remove, does not change its growth pattern. The blunt tip of a shaved hair can momentarily feel coarser, but it returns to its normal texture and color as it regrows.
Myth: Dermaplaning is painful. Reality: Most people describe it as a gentle scraping sensation, not pain. The blade glides over the skin’s surface, and when done correctly with light pressure, you should feel only mild friction. If you experience discomfort, you may be pressing too hard or using a dull blade.
Good to know: Results are immediate, but the smoothness is temporary. Regular sessions every 3-4 weeks keep your skin feeling polished without over-exfoliating.
When to Consult a Professional or Dermatologist
Dermaplaning is not for everyone, and knowing when to skip it can save your skin. If you have active acne, rosacea, eczema, or psoriasis, avoid dermaplaning altogether. The blade can spread bacteria and worsen inflammation, so a dermatologist should guide any exfoliation for these conditions.
During or after the procedure, watch for excessive redness, pain, or persistent irritation. A little pinkness right after is normal, but if it lasts more than a day or feels raw, stop and let your skin heal. If you are unsure whether your skin can handle it, or you have specific sensitivities, book a consultation with a professional. They can assess your skin type and recommend a safer approach.
Frequently Asked Questions
How often should you dermaplane at home?
You can dermaplane every 3 to 4 weeks. This matches your skin’s natural cell turnover cycle and gives the peach fuzz time to grow back enough for removal. Doing it more often can irritate your skin, so wait at least three weeks between sessions.
Does dermaplaning make hair grow back thicker?
No, that is a common myth. Vellus hair, or peach fuzz, does not change its growth pattern after dermaplaning. The blunt tip of a shaved hair can feel slightly coarser for a day or two, but it returns to its normal texture and does not grow back thicker or darker.
What should you do if your skin gets irritated after dermaplaning?
If you notice redness, stinging, or breakouts, stop dermaplaning and focus on calming your skin. Apply a gentle, hydrating moisturizer and avoid any exfoliating products or retinoids for a few days. If irritation persists, consult a dermatologist for personalized advice.
Can I dermaplane if I have sensitive skin?
If you have sensitive skin, proceed with caution. Use a gentle blade, hold the skin taut, and apply very light pressure. Test a small area first and skip areas that are red or irritated. If you have conditions like rosacea or eczema, avoid dermaplaning and talk to your dermatologist instead.
What’s the difference between professional and at-home dermaplaning?
Professional dermaplaning uses a surgical scalpel and is performed by an esthetician, who can treat larger areas with more precision. At-home tools are smaller, often have safety guards, and are designed for easy, low-risk use. The basic technique is similar, but professionals can handle more complex skin concerns and offer deeper exfoliation.
Final Thoughts
If you decide to try dermaplaning at home, start with a fresh, sterile blade and follow the steps carefully. Expect immediate smoothness, but remember that your skin will be more sensitive to the sun for a few days. My tip: schedule your session at night so you can follow up with a hydrating serum and moisturizer, then wear sunscreen every day afterward. With gentle technique and good aftercare, you can enjoy a brighter, softer complexion.
This article provides general information about dermaplaning and is not a substitute for professional medical advice. Everyone’s skin is different, and results may vary. If you have a skin condition, persistent irritation, or are unsure whether dermaplaning is safe for you, consult a dermatologist or licensed esthetician.
More Blog ideas
- Your Essential Guide to a Healthy Feminine Hygiene Routine
- Best High Protein Foods to Eat Daily for Health and Energy
- Feeling Stuck: 12 Small Steps to Get Unstuck
- Winter Skin Survival Tips
- How to Get a Flat Stomach
- How to Fix Damaged Hair and Restore Its Health
- Full-Body Kettlebell Workout
- Dry Scalp vs. Dandruff
- Full Body Workout for Beginners
- 21 Easy Beauty Tips Every Woman Should Know
- Feminine Energy: 15 Daily Habits to Feel More Radiant
- Upper Body Workout for Women at Home