How to Get Better at Push Ups: A Step-by-Step Guide
Learn how to get better at push ups with proper form, progressive modifications, and expert tips to build upper body strength effectively.

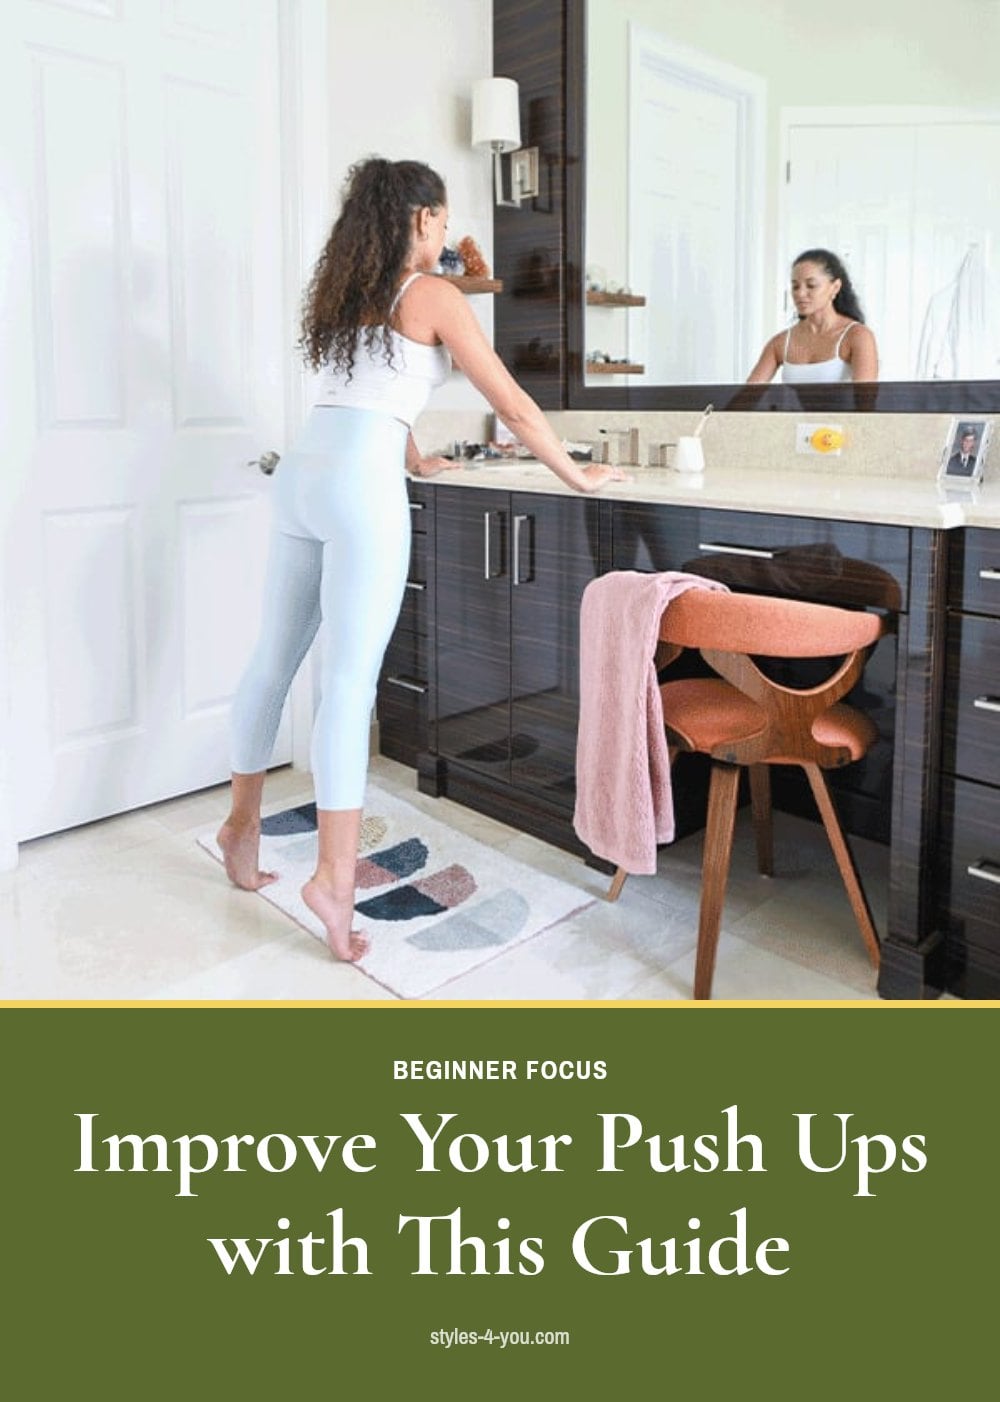
Push-ups are one of the most effective upper body exercises you can do at home, but nailing them takes more than just dropping to the floor. Whether you’re starting from zero or looking to refine your technique, the key is building strength gradually with proper form. This article walks you through the exact steps, common mistakes to avoid, and a realistic timeline for progress.
Key Takeaways
- Start with a modified push-up you can do for 8-12 reps with perfect form.
- Keep your core tight and elbows at about 45 degrees from your body.
- Train 2-3 times per week with rest days in between for muscle recovery.
- Progress slowly by adding reps, sets, or moving to harder variations.
- Stop immediately if you feel sharp pain in your wrists, elbows, or shoulders.
How to Improve Your Push-Ups
Improving your push-ups comes down to three things: consistent practice, nailing proper form, and gradually making the movement harder. Start with a variation where you can keep perfect technique for 8 to 12 reps. That might be wall push-ups or knee push-ups, not the full version. Focus on keeping your core tight and each movement controlled. As you get stronger, you move to a harder variation. This progressive overload builds the strength you need to eventually do full push-ups with confidence.
Essential Tools for Your Push-Up Journey
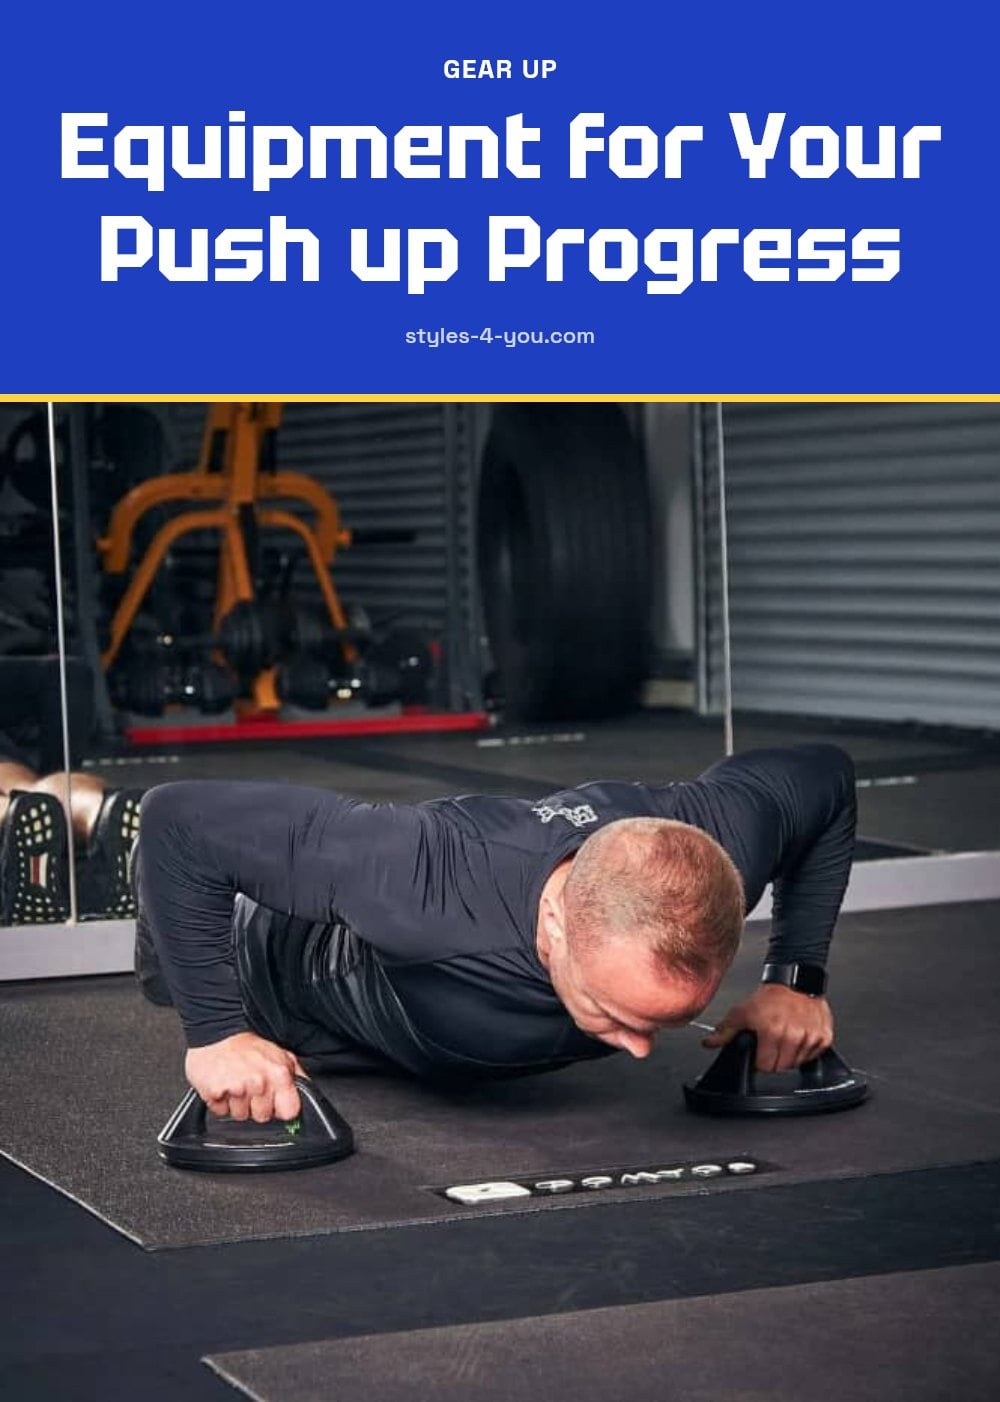
You don’t need much to start, but a few items help. An exercise mat gives you comfort and grip, especially during knee push-ups. A sturdy elevated surface, like a bench or counter, lets you do incline push-ups. Push-up bars are optional, but they can improve wrist comfort and allow a deeper range of motion. Start with what you have and add tools as you need them.
Step-by-Step: Mastering Proper Push-Up Form
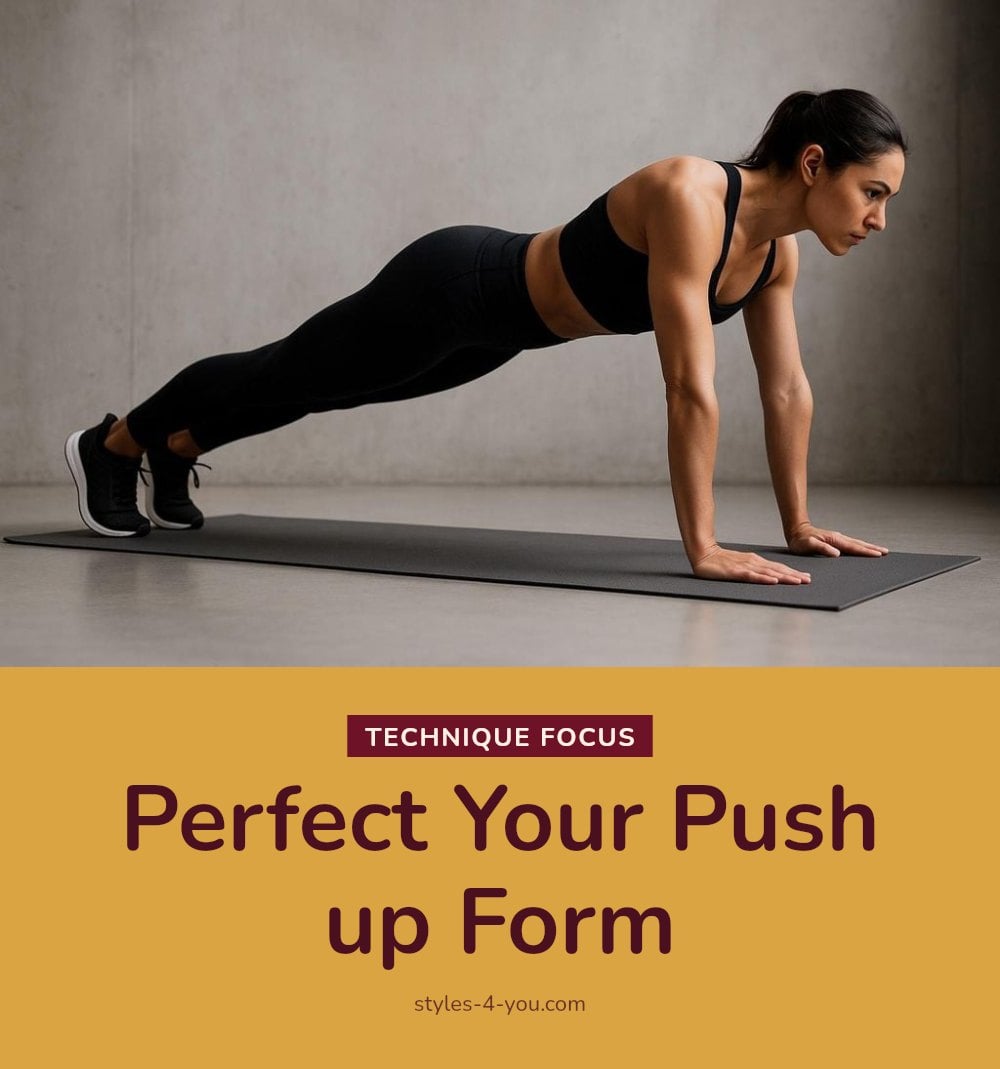
Good form is the foundation of every push-up you do. Here is how to build it step by step.
- Set your plank: Start in a plank position with your hands placed slightly wider than shoulder-width apart. Point your fingers forward. Your body should form a straight line from your head to your heels.
- Engage your core: Squeeze your core and glutes. This keeps your hips from sagging or piking up. A straight line protects your lower back and transfers power through the movement.
- Lower with control: Bend your elbows to a 45-degree angle away from your body. Do not let them flare out to the sides. Lower your chest until it almost touches the floor. Breathe in on the way down.
- Push back up: Drive through your palms, engaging your chest, shoulders, and triceps. Push back to the starting plank position. Breathe out as you push up.
- Repeat with rhythm: Keep each rep controlled. No rushing. Focus on the feeling of each muscle working. Quality beats quantity every time.
My tip: Record a quick video of yourself from the side. It helps you see if your hips drop or your elbows flare, things you might not feel.
Progressive Push-Up Variations to Build Strength
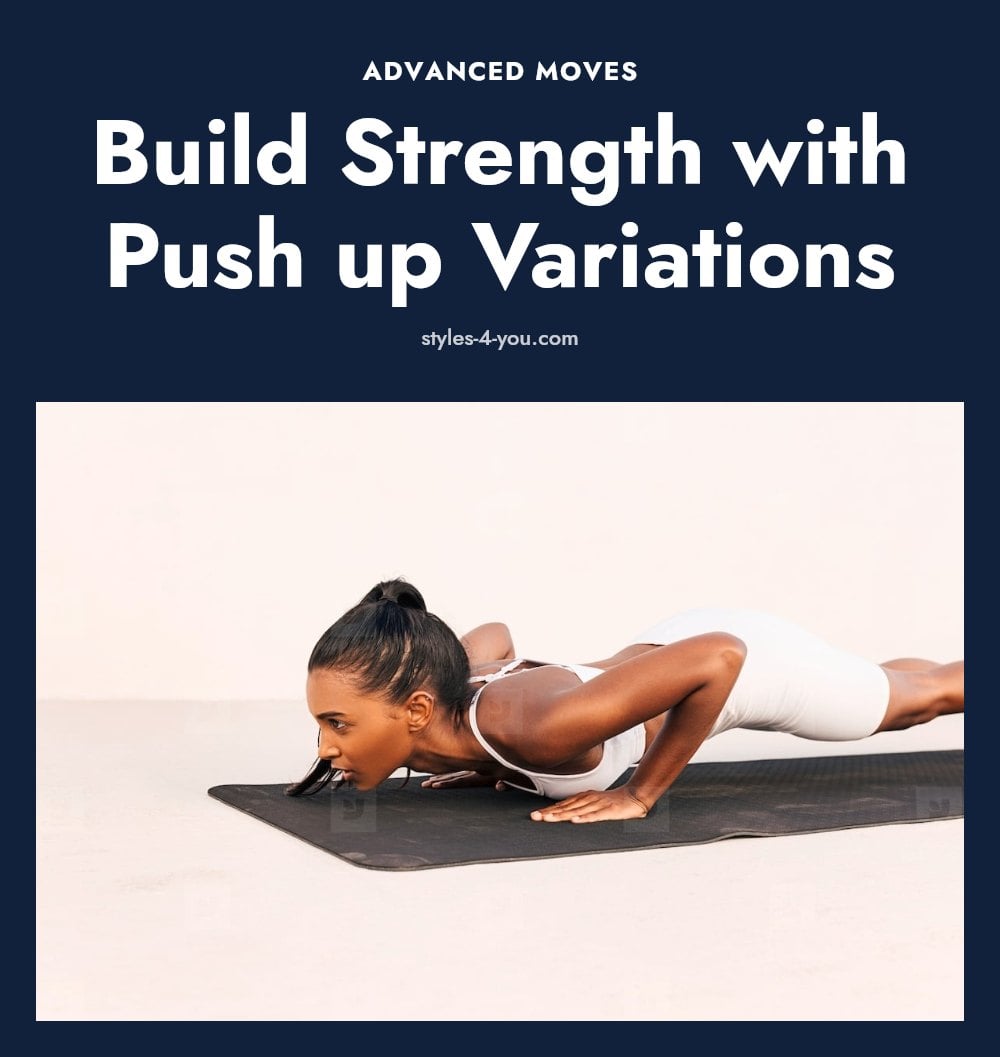
If a full push-up is still out of reach, start with easier variations. Each one builds strength without sacrificing form.
Wall push-ups
Stand facing a wall, place your hands on it at shoulder height, and lean in. This is the gentlest variation. Control the lean and push back. It teaches the movement pattern with minimal load.
Incline push-ups
Place your hands on a sturdy elevated surface like a bench, counter, or table. The higher the surface, the easier the push-up. As you get stronger, use a lower surface. This gradual change builds strength without jumping straight to the floor.
Knee push-ups
From a plank position, lower your knees to the mat. Keep your body in a straight line from your knees to your shoulders. This reduces the load on your upper body while keeping your core engaged. It is a solid step before full push-ups.
Eccentric push-ups
Start in a full plank, then lower yourself slowly, taking 3 to 4 seconds. Once your chest touches the floor, drop your knees to push back up. The slow lowering phase builds the strength needed for the full movement. Caution: Do not rush the descent. Control is what makes this work.
Pro move: Once you can do 8 to 12 reps of a variation with perfect form, move to the next harder one. That is progressive overload in action.
Common Push-Up Mistakes and How to Fix Them
Even with good intentions, small form slips can hold you back. Here are the mistakes I see most often and how to fix them.
- Sagging hips or piking your butt up: This disengages your core and puts strain on your lower back. Fix it by squeezing your abs and glutes to hold a straight line from head to heels.
- Flaring elbows out wide: It shifts the load to your shoulders and can cause strain. Tuck your elbows to about a 45-degree angle from your body.
- Only doing partial reps: You miss most of the chest work. Lower until your chest is close to the floor or your chosen surface.
- Relying on momentum: Rocking or bouncing makes the move easier but less effective. Slow down and control both the lowering and pushing phases.
- Holding your breath: You rob your muscles of oxygen. Breathe in as you lower, out as you push up.
Expert Tips for Improving Your Push-Up Performance
These habits have helped me get more out of every session. They work alongside the form and progression tips above.
- Consistency is key: Aim for 2-3 push-up sessions per week with rest days in between so your muscles can recover and grow.
- Vary hand positions: Try a narrower grip for more triceps work or a wider grip to emphasize the chest. Rotate them across sessions.
- Record yourself: A quick video from the side reveals sagging hips or partial reps that you might not feel while doing them.
- Listen to your body: Sharp pain is a signal to stop and modify or rest. Pushing through can set you back.
- Focus on the mind-muscle connection: Actively squeeze your chest, shoulders, and triceps on each rep. It makes the movement more effective.
Your Push-Up Progress Timeline
Progress takes time, but it does come. With consistent practice 2-3 times per week, you can see noticeable strength improvements within 4-8 weeks. Full mastery of push-ups often takes several months, depending on your starting fitness level and how regularly you train.
My tip: don’t get discouraged by the timeline. Every session builds a little more strength. And the cost is basically zero, push-ups are a bodyweight exercise. Optional gear like a mat or push-up bars is minimal if you want extra comfort.
When to Consult a Professional
Push-ups are safe for most people, but you need to know when to stop. Stop immediately if you feel sharp pain in your wrists, elbows, or shoulders during or after the movement. That’s your body telling you something is off.
If you have pre-existing joint conditions, injuries, or persistent pain, talk to a healthcare professional or physical therapist before starting any new exercise program. And if you’ve tried modifications but still can’t keep proper form, seek professional guidance. They can give you personalized exercises to build the right strength safely.
Frequently Asked Questions
How often should I do push-ups to see results?
Aim for 2-3 push-up sessions per week with at least one rest day in between. This schedule allows your chest, shoulders, and triceps to recover and grow stronger. With consistent practice, you can see noticeable improvements within 4-8 weeks.
Can push-ups help me lose weight?
Push-ups build muscle strength and burn some calories, but they are not a primary weight loss tool. For weight loss, combine them with a balanced diet and overall physical activity. The strength you build does support better performance in other exercises.
What if I can’t do any push-ups yet?
Start with wall push-ups, which are the gentlest variation, then progress to incline push-ups using a sturdy surface, and finally knee push-ups. Each variation builds foundational strength while keeping your form intact. Move to the next level only when you can complete 8-12 controlled reps.
Are push-up bars worth using?
Push-up bars can help if you experience wrist discomfort during standard push-ups. They allow your wrists to stay in a more neutral position, reducing strain. They are optional, but many people find them helpful for comfort and getting a slightly deeper range of motion.
How can I make push-ups more challenging?
Once standard push-ups feel easy, try elevating your feet for decline push-ups, slowing down the lowering phase (eccentric push-ups), or adding more repetitions and sets. Varying hand positions, such as closer for triceps or wider for chest, also increases difficulty and targets different muscles.
Final Thoughts
Your best move is to pick a variation that lets you keep perfect form for 8 to 12 reps, then stick with it consistently. Expect noticeable strength gains within 4 to 8 weeks if you train 2 to 3 times weekly, though full mastery may take a few months. Progress comes from patience and controlled effort, so trust the process and keep showing up.
This article is for general information only and is not a substitute for professional medical or fitness advice. If you have pre-existing joint conditions, injuries, or experience persistent pain, consult a healthcare provider or physical therapist before starting or modifying your exercise routine.
More Blog ideas
- Your Essential Guide to a Healthy Feminine Hygiene Routine
- Best High Protein Foods to Eat Daily for Health and Energy
- Feeling Stuck: 12 Small Steps to Get Unstuck
- Winter Skin Survival Tips
- How to Get a Flat Stomach
- How to Fix Damaged Hair and Restore Its Health
- Full-Body Kettlebell Workout
- Dry Scalp vs. Dandruff
- Full Body Workout for Beginners
- 21 Easy Beauty Tips Every Woman Should Know
- Feminine Energy: 15 Daily Habits to Feel More Radiant
- Upper Body Workout for Women at Home