How to Blow Dry Your Hair at Home Like a Pro
Master how to blow dry your hair at home like a pro for salon-quality volume, smoothness, and shine with our step-by-step guide.

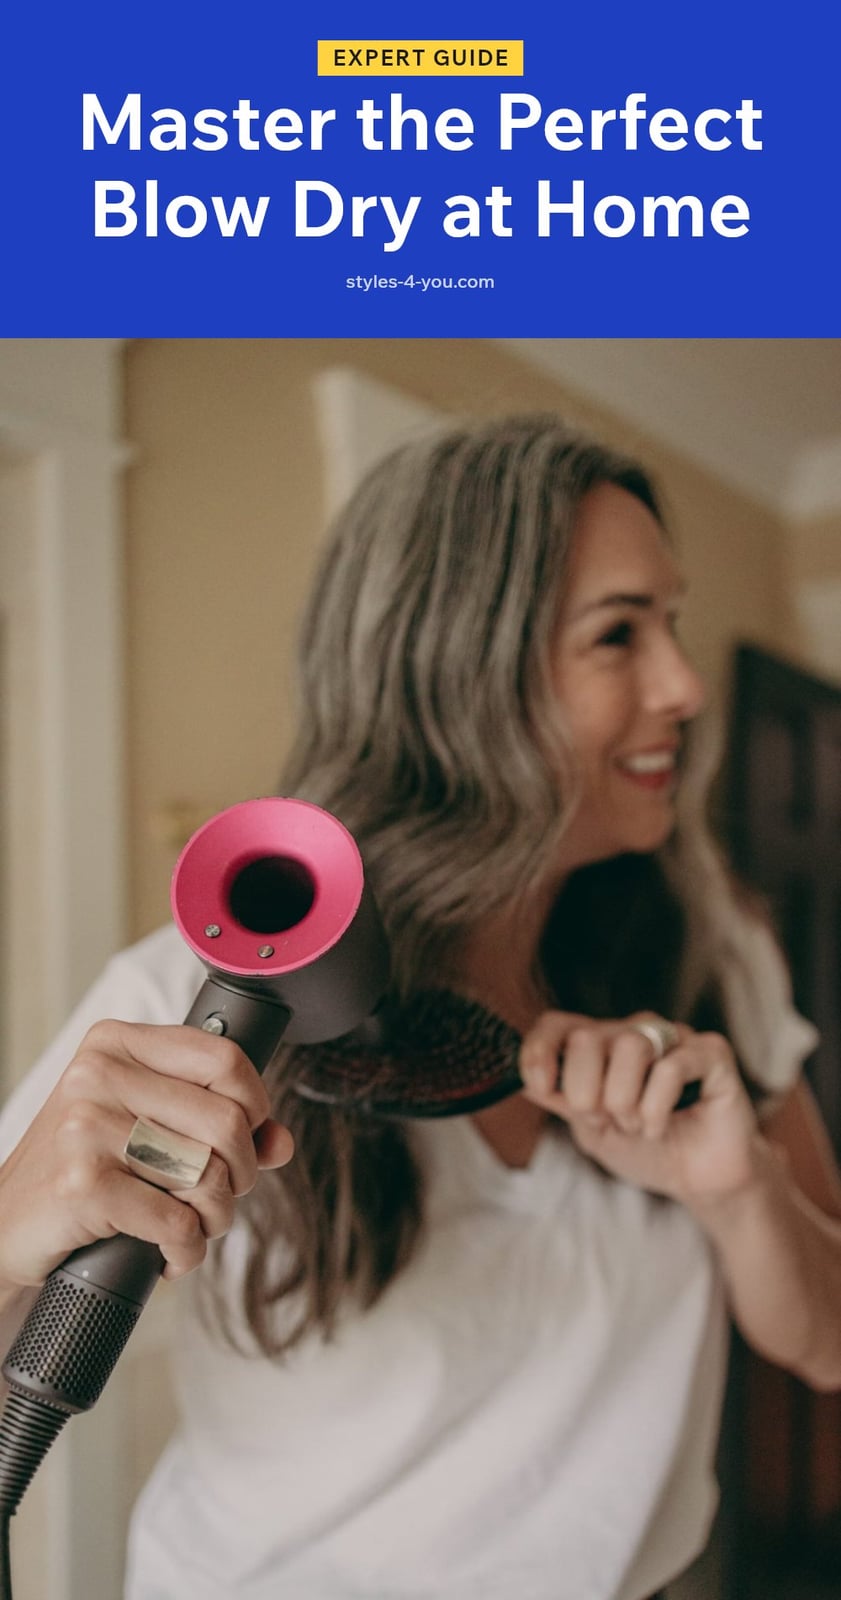
You don’t need a salon chair to get a smooth, voluminous blowout. With the right technique and a little patience, you can master the art of blow drying at home and save yourself time and money. This article walks you through the essential steps, tools, and pro tips to achieve a polished finish that lasts until your next wash.
Key Takeaways
- Always apply heat protectant to damp hair before blow drying to prevent damage.
- Rough dry hair to 70-80% before using a brush to minimize heat exposure.
- Section hair into 4-6 parts for even, thorough drying and styling.
- Point the nozzle down the hair shaft and use the cool shot to set each section.
- Choose a round brush for volume or a paddle brush for a sleek, straight look.
Achieve a Salon-Quality Blow Dry at Home
A salon-quality blow dry at home is about more than just drying your hair. It transforms your hair with volume, smoothness, and shine using specific techniques. Proper preparation, sectioning, the right tools, and strategic heat application are key. Mastering these steps helps you achieve a polished, long-lasting style without a salon visit.
Your Blow Drying Essentials
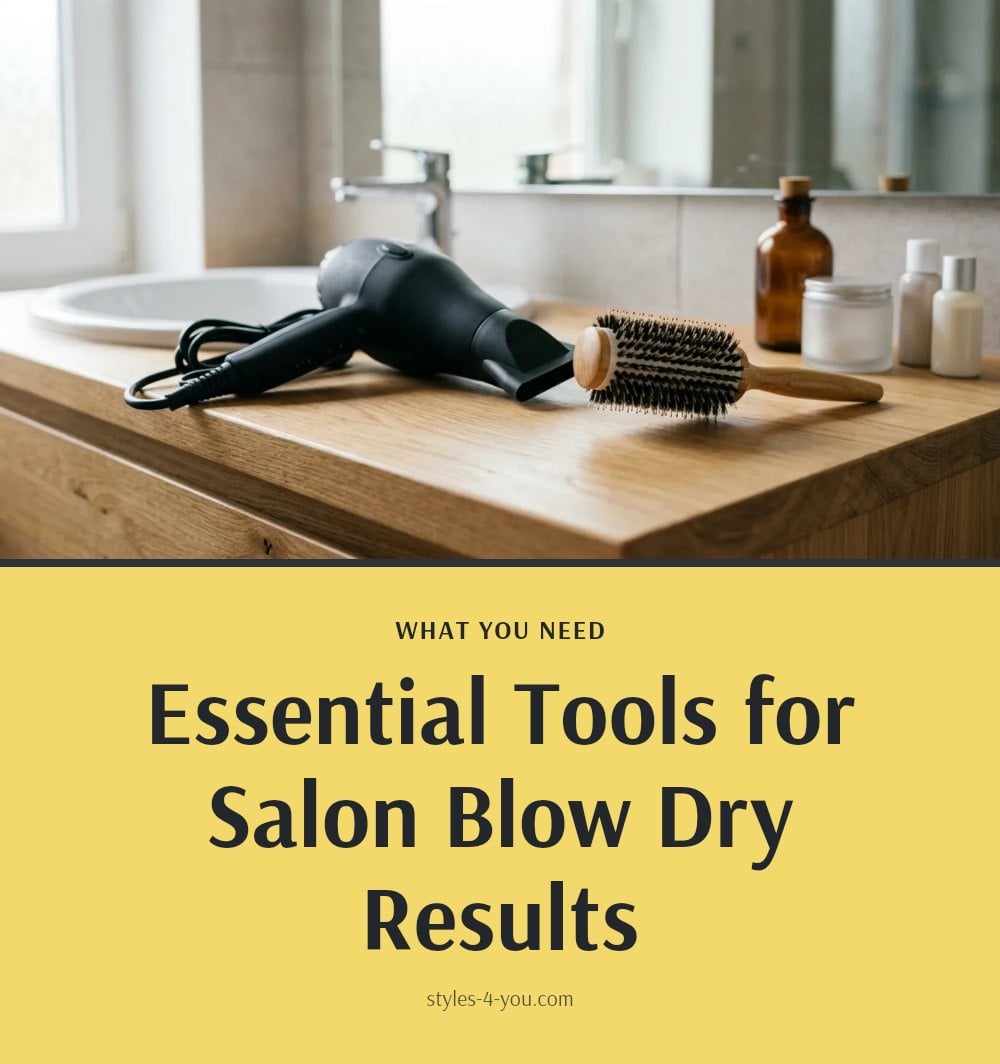
Having the right tools and products makes all the difference. Here is what you need:
- Blow dryer with concentrator nozzle: The nozzle directs airflow precisely and prevents frizz.
- Heat protectant spray: Shields your hair from high temperatures to prevent dryness and breakage.
- Hair clips or ties: Essential for sectioning your hair into manageable parts.
- Round brushes in various sizes: Create volume and shape; larger brushes speed up drying for longer sections.
- Styling mousse or volumizing spray: Adds hold and body to your style.
- Hair serum or oil: Provides a smooth, shiny finish after drying.
- Hairspray: Sets the final style and helps it last.
Step-by-Step: The Perfect Blow Dry
Follow these steps for a perfect blow dry, including a ’90s blowout option.
- Rough dry your hair: Let your hair air dry until it is slightly damp, about an hour, or use a blow dryer on low heat until it is 70-80% dry. This minimizes heat damage and styling time.
- Section your hair: Create a horizontal part from the top of your ears straight back and clip up the top section. Work in manageable parts, typically 4-6 sections.
- Apply products: Spray a heat protectant evenly throughout your damp hair, section by section. You can also apply a styling mousse or volumizing spray for extra hold.
- Blow dry the bottom section: Take an inch-thick section. Place a large round brush (around 1.5 inches) underneath the hair. With the blow dryer nozzle pointed downwards, move both the brush and dryer down the hair shaft. This smooths the cuticle and adds shine.
- Use the cool shot: After drying each section, press the cool shot button to set the style and add shine by closing the cuticle.
- Add rollers for a ’90s blowout: Once a section is dry, roll it into a roller. Hold for 5-10 seconds, then let it sit. Use smaller rollers (around 1 inch) for the bottom sections for a beveled look.
- Continue sectioning and drying: Create another horizontal part from your temples straight back and clip it up. Repeat the drying and rolling process for the middle section. For added root volume, use a very small round brush at the roots before rolling.
- Style the front sections: For the hair around your face, twist the hair away from your face before clipping it into a roller to create a voluminous ’90s-style curl.
- Dry the top section: Section the top ‘mohawk’ part and repeat the process. Use larger rollers for maximum volume at the top if they fit.
- Let rollers cool completely: Leave the rollers in for at least an hour, or until they are completely cool. This sets the style and ensures longevity.
- Remove rollers gently: Unclip each roller, place two fingers inside, and twist as you pull it out. This twisting motion prevents frizz.
If you learn better by watching, this 15-minute video from kayli boyle shows every step. The how-to part starts at 3:20.
Pro Tips for a Flawless Blow Dry
These pro tips will help you achieve a flawless finish every time.
- Practice Makes Perfect: Get comfortable with the brush and blow dryer movement without heat first. This helps you build muscle memory.
- Nozzle is Key: Always use a concentrator nozzle to direct airflow precisely and prevent frizz. Never blow dry without it.
- Downward Direction: Ensure the dryer nozzle always points downwards, from root to tip. This smooths the hair cuticle and enhances shine.
- Brush Size Matters: A larger round brush (around 1.5 inches) speeds up the drying process for longer sections. Use smaller brushes for shorter hair or detailed work.
- Untangle Gently: If hair gets stuck in the round brush, use the pointed end of a rat-tail comb to gently lift it out. Do not pull or yank.
- Elevate for Volume: Elevate your hair high while rolling to create more root volume, especially for the top sections.
- Cool Down Completely: Leave rollers in until they are completely cool to set the style and ensure it lasts. Removing them too early can cause curls to fall.
Common Blow Drying Mistakes to Avoid
Skipping Heat Protectant: Always apply heat protectant to damp hair before blow drying. It prevents dryness and breakage from high temperatures.
Starting with Soaking Wet Hair: Rough dry your hair to about 70-80% dry before using a brush. This minimizes heat exposure and reduces styling time.
Not Sectioning Hair: Divide your hair into 4-6 manageable sections for even, thorough drying. Skipping this step leads to uneven results and missed spots.
Using the Wrong Brush Type: Choose a round brush for volume and curl, or a paddle brush for a straighter, smoother finish. The wrong brush can sabotage your style.
Holding the Dryer Too Close: Keep the blow dryer 6-8 inches from your hair. Any closer risks excessive heat exposure and damage.
Blow Drying Against the Cuticle: Always point the dryer nozzle downwards, from root to tip. Drying upwards roughens the cuticle and causes frizz.
Over-Drying Hair: Stop when your hair is completely dry but not brittle. Over-drying leads to damage, frizz, and a dull appearance.
Combing Out Curls with a Regular Brush: After removing rollers, gently shake out your roots or use a wide-tooth comb. A regular brush will make curls fall quickly.
Maintaining Your Blow Dry
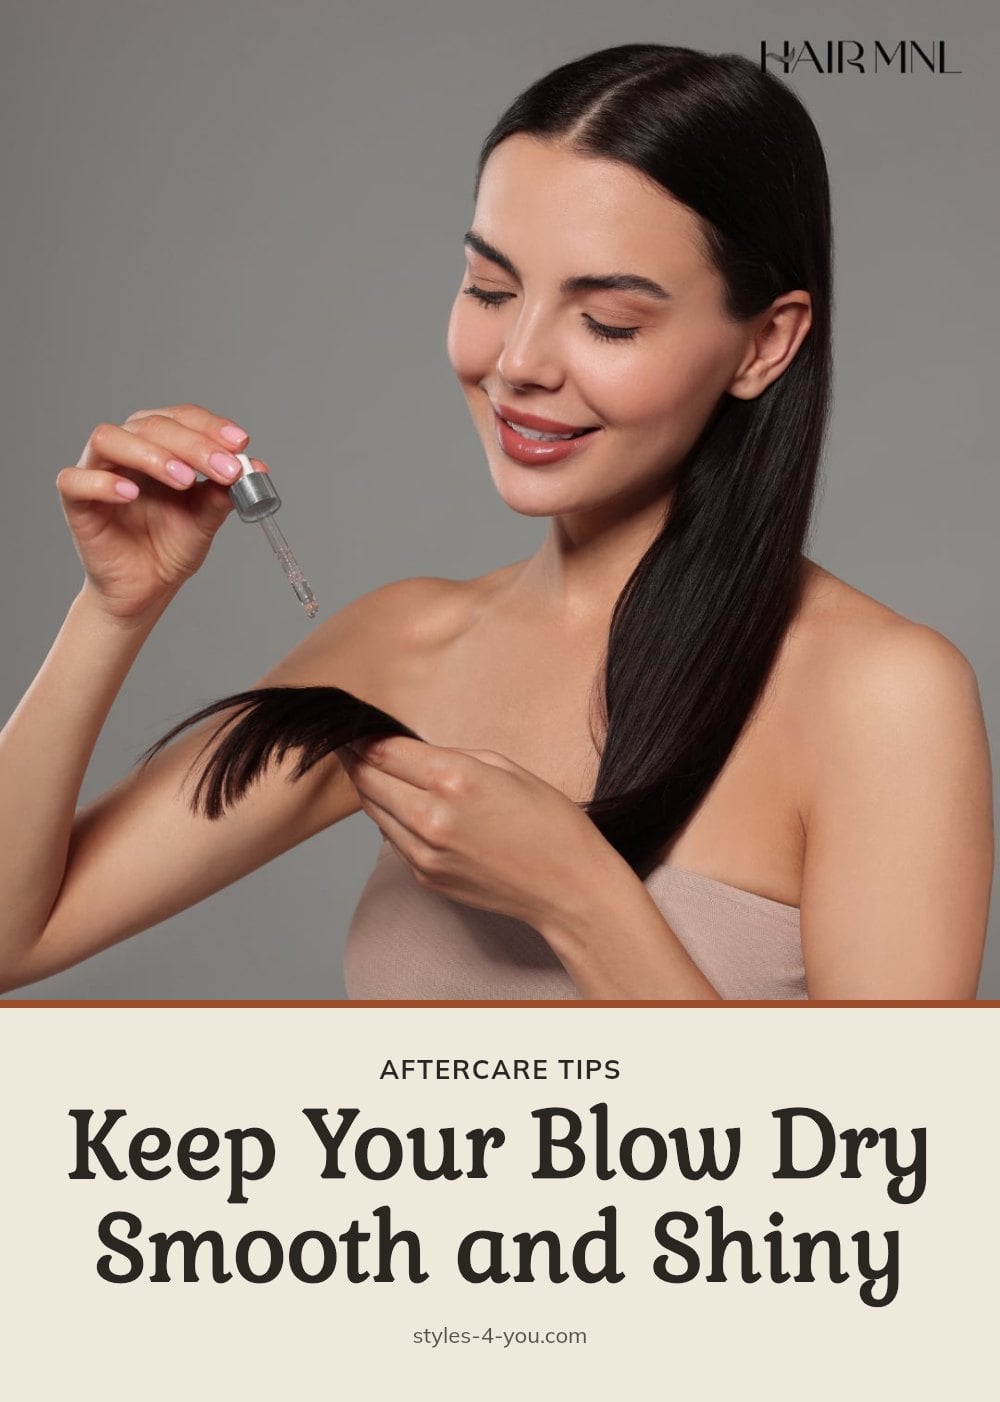
Finishing Products: After blow drying, apply a small amount of hair serum or oil to the ends. This adds shine and tames flyaways.
Setting the Style: Use a light hairspray to hold your style without making it stiff. A flexible hold keeps your blow dry looking natural.
Protect at Night: Sleep on a silk pillowcase or tie your hair loosely in a high bun (pineapple method). This preserves volume and prevents creasing.
Avoid Humidity: On humid days, use anti-frizz sprays or products to maintain smoothness. Humidity can quickly undo your hard work.
How Long Does a Blow Dry Take and Last?
Time Commitment: A full blow dry at home typically takes 15-45 minutes, depending on your hair’s length and thickness. With practice, you will get faster.
Style Longevity: With proper technique and aftercare, your blow dry can last until your next wash, usually 2-4 days.
Cost Savings: Doing your own blow dry at home saves significant money compared to salon visits, which can cost $40-$80+ per session.
Frequently Asked Questions
How often should I blow dry my hair?
It depends on your hair type and the health of your strands. For most people, blow drying two to three times a week is fine, but if you have fine or damaged hair, you might want to limit it to once a week. Always use a heat protectant and keep the dryer moving to minimize stress on your hair.
What’s the best way to add volume when blow drying?
To add volume, use a round brush and lift the hair at the roots while directing the airflow downward. You can also try rolling sections of hair up into rollers after drying and letting them cool completely. For extra root lift, use a smaller round brush at the roots before rolling.
How do I prevent heat damage when blow drying?
The key is to avoid over-drying and to use a heat protectant every time. Rough dry your hair until it’s 70-80% dry before using a brush, keep the dryer 6-8 inches away from your hair, and use the cool shot to finish. Also, avoid the highest heat setting unless absolutely necessary.
What products should I use for a salon-quality blow dry?
Start with a heat protectant spray to shield your strands. A styling mousse or volumizing spray can add body if you want extra lift. After drying, a small amount of serum or oil on the ends will add shine and tame flyaways, and a light hairspray will hold the style without stiffness.
Can I blow dry my hair every day?
You can, but daily blow drying can lead to dryness and breakage, especially if you use high heat. If you must dry daily, use a low heat setting, keep the dryer moving, and apply a heat protectant. Consider letting your hair air dry partway to reduce heat exposure.
Final Thoughts
Mastering the blow dry is all about preparation and technique. Start by rough drying your hair, then work in sections with a concentrator nozzle, always pointing the airflow downward. Finish each section with the cool shot to lock in shine and hold. With practice, you’ll be able to achieve a salon-quality blowout in 15-45 minutes, and the results can last 2-4 days with proper aftercare. So grab your dryer and give it a try, your hair will thank you.
More Blog ideas
- Your Essential Guide to a Healthy Feminine Hygiene Routine
- Best High Protein Foods to Eat Daily for Health and Energy
- Feeling Stuck: 12 Small Steps to Get Unstuck
- Winter Skin Survival Tips
- How to Get a Flat Stomach
- How to Fix Damaged Hair and Restore Its Health
- Full-Body Kettlebell Workout
- Dry Scalp vs. Dandruff
- Full Body Workout for Beginners
- 21 Easy Beauty Tips Every Woman Should Know
- Feminine Energy: 15 Daily Habits to Feel More Radiant
- Upper Body Workout for Women at Home