How to Make Cuticle Oil at Home with Simple Ingredients
Learn how to make your own cuticle oil at home with simple, natural ingredients. Achieve healthier, stronger nails and prevent dryness easily.

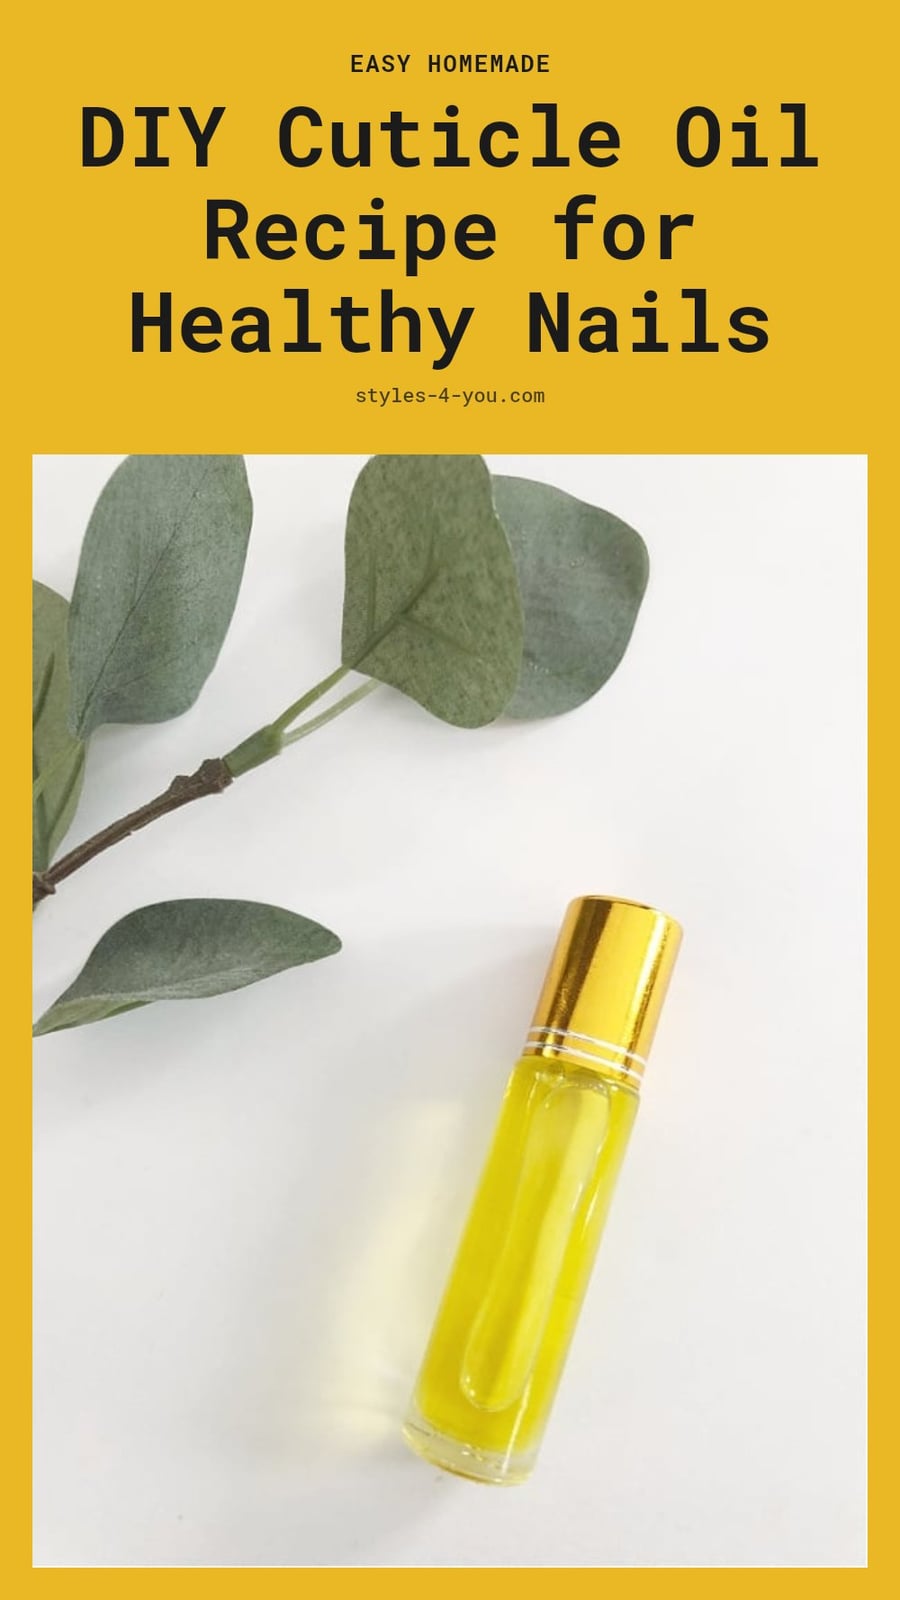
Dry, cracked cuticles can be a real nuisance, especially when you’re trying to keep your nails looking their best. The good news is that you don’t need a fancy salon product to fix it. Making your own cuticle oil at home with a few simple ingredients is not only easy but also gives you full control over what you’re putting on your skin.
This article walks you through a classic recipe, step-by-step mixing instructions, and tips for customizing your blend. You’ll also learn how to store your oil properly and avoid common mistakes, so you can enjoy healthier nails and cuticles in just a few weeks.
Key Takeaways
- Use 2 tablespoons (30 ml) of jojoba oil as your base for a 10 ml rollerball bottle.
- Always dilute essential oils to a 1-2% ratio in your carrier oil.
- Store your cuticle oil in a dark glass bottle in a cool, dark place.
- Apply daily, especially after washing hands, for best results.
- See a doctor if you notice persistent redness, pain, or nail changes.
Why Homemade Cuticle Oil Works Wonders for Your Nails
Homemade cuticle oil works because it delivers pure, natural moisture directly to the area that needs it most. Unlike commercial products that may contain fillers, you control every ingredient. A blend of carrier oils like jojoba penetrates deeply, preventing dryness and cracking while improving nail flexibility. The real win is customization: you can tailor the oil for your specific needs, adding vitamin E for antioxidant protection or a drop of lavender for soothing scent. Daily use keeps cuticles soft and nails less prone to breakage.
Classic DIY Cuticle Oil Recipe
This simple recipe fills one 10 ml rollerball bottle. Use high-quality, cold-pressed oils for the best results.
- Carrier oil: 2 tablespoons (30 ml) jojoba oil. It mimics skin’s natural sebum for deep absorption.
- Antioxidant boost: 1/4 teaspoon (approx. 1.25 ml) vitamin E oil, helps protect skin cells from damage.
- Scent and soothe: 5-6 drops lavender essential oil, adds a calming fragrance and mild soothing properties.
Combine ingredients in a small bowl, stir gently, then funnel into a dark glass rollerball bottle. Shake before each use.
Step-by-Step: Mixing Your Own Cuticle Oil
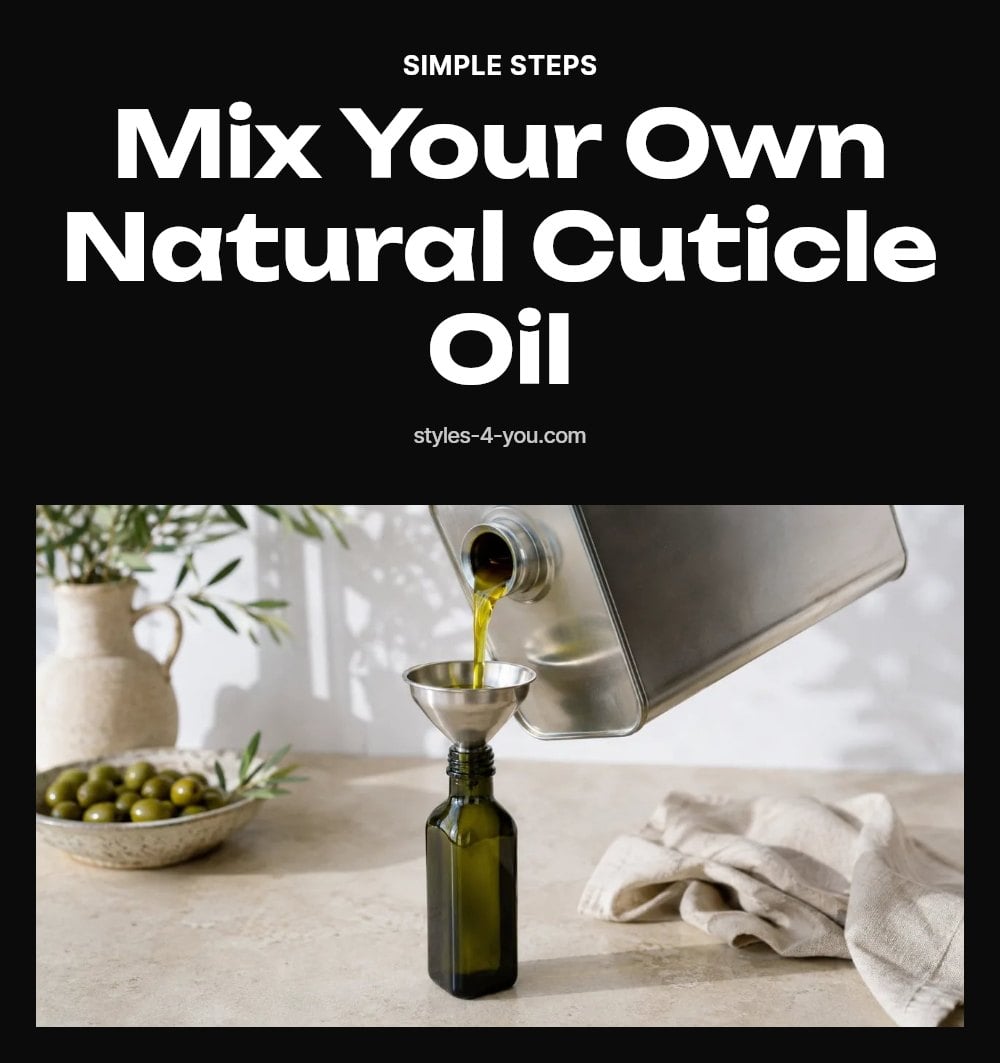
- Gather your supplies: You need jojoba oil, vitamin E oil, lavender essential oil, a small funnel, a dark glass rollerball or dropper bottle, and a measuring spoon or dropper. Clean and dry all tools before starting.
- Measure the carrier oil: Pour 2 tablespoons (30 ml) of jojoba oil into a small glass bowl. Jojoba is the base because it closely matches your skin’s natural oils.
- Add vitamin E oil: Stir in 1 teaspoon (5 ml) of vitamin E oil. This antioxidant helps extend the shelf life of your blend and supports skin health.
- Incorporate essential oils carefully: Add 5-6 drops of lavender essential oil. Caution: Essential oils are potent. Stick to a 1-2% dilution rate (about 6 drops per 30 ml of carrier oil) to avoid irritation. Never apply undiluted essential oils to skin.
- Transfer and label: Use the funnel to pour the mixture into your dark glass bottle. Seal tightly and label with the date. Store in a cool, dark place.
- Patch test first: Apply a tiny drop to the inside of your wrist or behind your ear. Wait 24 hours. If no redness or itching appears, it’s safe for regular use.
Expert Tips for Using and Storing Your Cuticle Oil
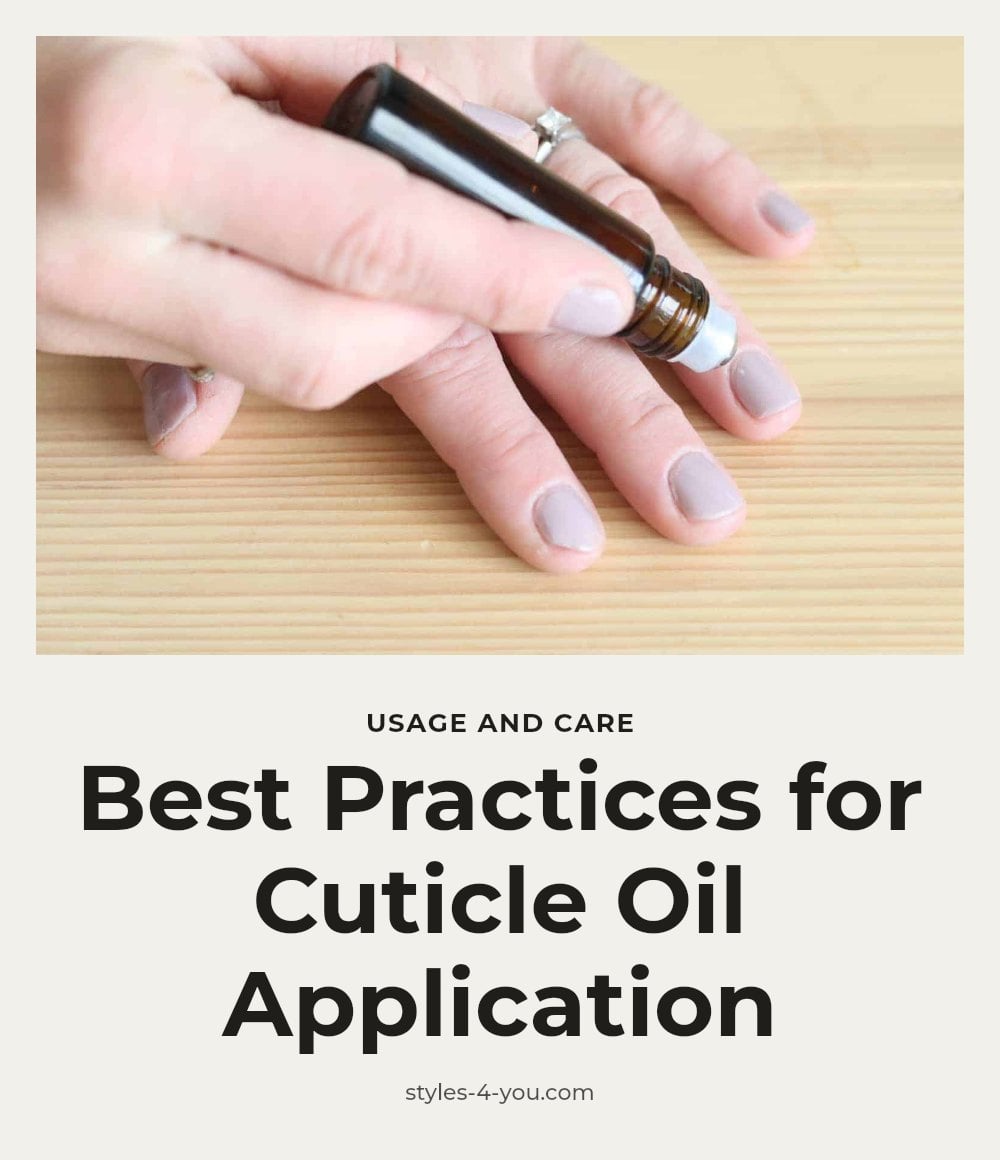
My tip: Keep your cuticle oil right next to your hand soap. Apply it every time you wash your hands, the oil locks in moisture while your skin is still slightly damp.
- Apply daily, especially after water exposure: Massage one drop into each cuticle and nail bed. Use gentle circular motions for about 10 seconds per nail to stimulate blood flow.
- Use a rollerball or dropper: A rollerball bottle gives you a mess-free, hygienic way to apply oil without contaminating the rest of the bottle. Droppers work well too, but keep the tip clean.
- Store properly: Keep your bottle in a cool, dark place like a drawer or cabinet. Heat and light cause oils to oxidize and go rancid faster. A dark glass bottle helps block UV rays.
- Check for spoilage: If the oil smells off, looks cloudy, or changes consistency, it’s time to make a fresh batch. Homemade cuticle oil typically lasts 3-6 months.
Customizing Your Cuticle Oil: Carrier and Essential Oil Variations

Switching your carrier oil changes the feel and benefits of your cuticle oil. Sweet almond oil is lighter and absorbs quickly, making it a good choice for daytime use. Olive oil is thicker and more emollient, ideal for an overnight treatment. Argan oil, rich in vitamin E and fatty acids, adds extra nourishment for brittle nails. Tip: Always add a few drops of vitamin E oil to any blend for its antioxidant boost and longer shelf life.
For essential oils, tea tree oil offers antiseptic properties that can help prevent minor infections around the nail, but use it sparingly. Lemon essential oil can brighten discolored nails, but it increases photosensitivity. Apply lemon blends at night or avoid sun exposure afterward. Caution: Dilute all essential oils to a 1-2% ratio, meaning no more than 6-12 drops per 30 ml of carrier oil.
Common Mistakes to Avoid When Making and Using Cuticle Oil
Using too much essential oil: Exceeding the 1-2% dilution ratio can cause redness, stinging, or even a rash. Less is more with potent oils like tea tree or lemon.
Storing the oil improperly: Leaving your bottle in direct sunlight or a warm bathroom cabinet speeds up oxidation. Your oil can turn rancid in weeks instead of months.
Applying inconsistently: Skipping days means your cuticles dry out again. For visible improvement, you need daily application, especially after hand washing.
Skipping a patch test: A new essential oil can trigger an allergic reaction even if you have used it before. Test a small drop on your inner arm 24 hours before full use.
Maintaining Your Homemade Cuticle Oil for Longevity
Homemade cuticle oil typically lasts 3 to 6 months, depending on the oils you used. To get the full shelf life, store it in a cool, dark place like a drawer or cabinet away from the stove. Dark glass bottles are essential because they block UV light that degrades the oils.
Airtight caps prevent oxygen from entering and causing oxidation. If you notice a change in smell, like a sharp or rancid odor, or a thicker, sticky consistency, it is time to make a fresh batch. Good to know: Adding vitamin E oil naturally extends the oil’s stability.
When to Consult a Professional About Nail Concerns
Homemade cuticle oil is for maintenance, not medical treatment. See a doctor if you notice persistent redness, pain, or swelling around your nails that does not improve with regular care. Sudden changes in nail color or texture, such as dark spots or ridges, can signal an underlying condition.
Signs of infection, including pus, severe inflammation, or warmth around the nail bed, require professional attention. If your DIY routine has not improved the issue after several weeks of consistent use, consult a dermatologist or a nail specialist.
Frequently Asked Questions
How often should I apply homemade cuticle oil?
For best results, apply your cuticle oil daily, especially after washing your hands or showering. The oil locks in moisture when your skin is still slightly damp. Consistency is key, so keep your bottle by your soap and make it a habit.
Can I use cooking olive oil for my cuticle oil?
Yes, you can use olive oil from your kitchen, but for the best results, choose a high-quality, cold-pressed olive oil. It’s thicker and more emollient, making it ideal for an overnight treatment. Just be sure it’s not rancid and store your blend properly.
What if my homemade cuticle oil smells rancid?
If your oil smells rancid, it has likely oxidized and should be discarded. Homemade cuticle oil typically lasts 3 to 6 months, depending on the oils used. To extend its shelf life, store it in a cool, dark place in a dark glass bottle and avoid leaving it in direct sunlight.
Are there any essential oils I should avoid for cuticles?
Some essential oils, like citrus oils (e.g., lemon), can increase photosensitivity, so avoid sun exposure after application or use them at night. If you have known allergies, always patch test a new essential oil on a small area of skin before using it widely. Discontinue use if you experience any irritation.
Can cuticle oil help my nails grow faster?
Cuticle oil can improve nail flexibility and reduce breakage, which may help your nails appear healthier and grow longer without breaking. Massaging the oil into your nail bed can also stimulate blood flow, potentially supporting healthier nail growth. However, results vary and consistency is important.
Final Thoughts
Making your own cuticle oil is a simple, cost-effective way to care for your nails. My tip: start with the classic jojoba and vitamin E recipe, and apply it daily, especially after hand washing. You can expect to see visible improvements in your cuticle and nail health within a few weeks of consistent use.
Remember, cuticle oil is for maintenance, not for treating serious conditions. If you have persistent concerns, it’s always best to consult a professional.
This article is for general information only and is not a substitute for professional medical advice. If you have persistent nail or cuticle issues, such as redness, pain, or changes in color or texture, consult a doctor or dermatologist. Always patch test new ingredients, especially essential oils, and discontinue use if irritation occurs.
More Blog ideas
- Your Essential Guide to a Healthy Feminine Hygiene Routine
- Best High Protein Foods to Eat Daily for Health and Energy
- Feeling Stuck: 12 Small Steps to Get Unstuck
- Winter Skin Survival Tips
- How to Get a Flat Stomach
- How to Fix Damaged Hair and Restore Its Health
- Full-Body Kettlebell Workout
- Dry Scalp vs. Dandruff
- Full Body Workout for Beginners
- 21 Easy Beauty Tips Every Woman Should Know
- Feminine Energy: 15 Daily Habits to Feel More Radiant
- Upper Body Workout for Women at Home