DIY Body Butter for Dry Skin: Your Ultimate Hydration Recipe
Learn how to make your own luxurious body butter for dry skin at home. This simple recipe uses natural ingredients to deeply hydrate and nourish.

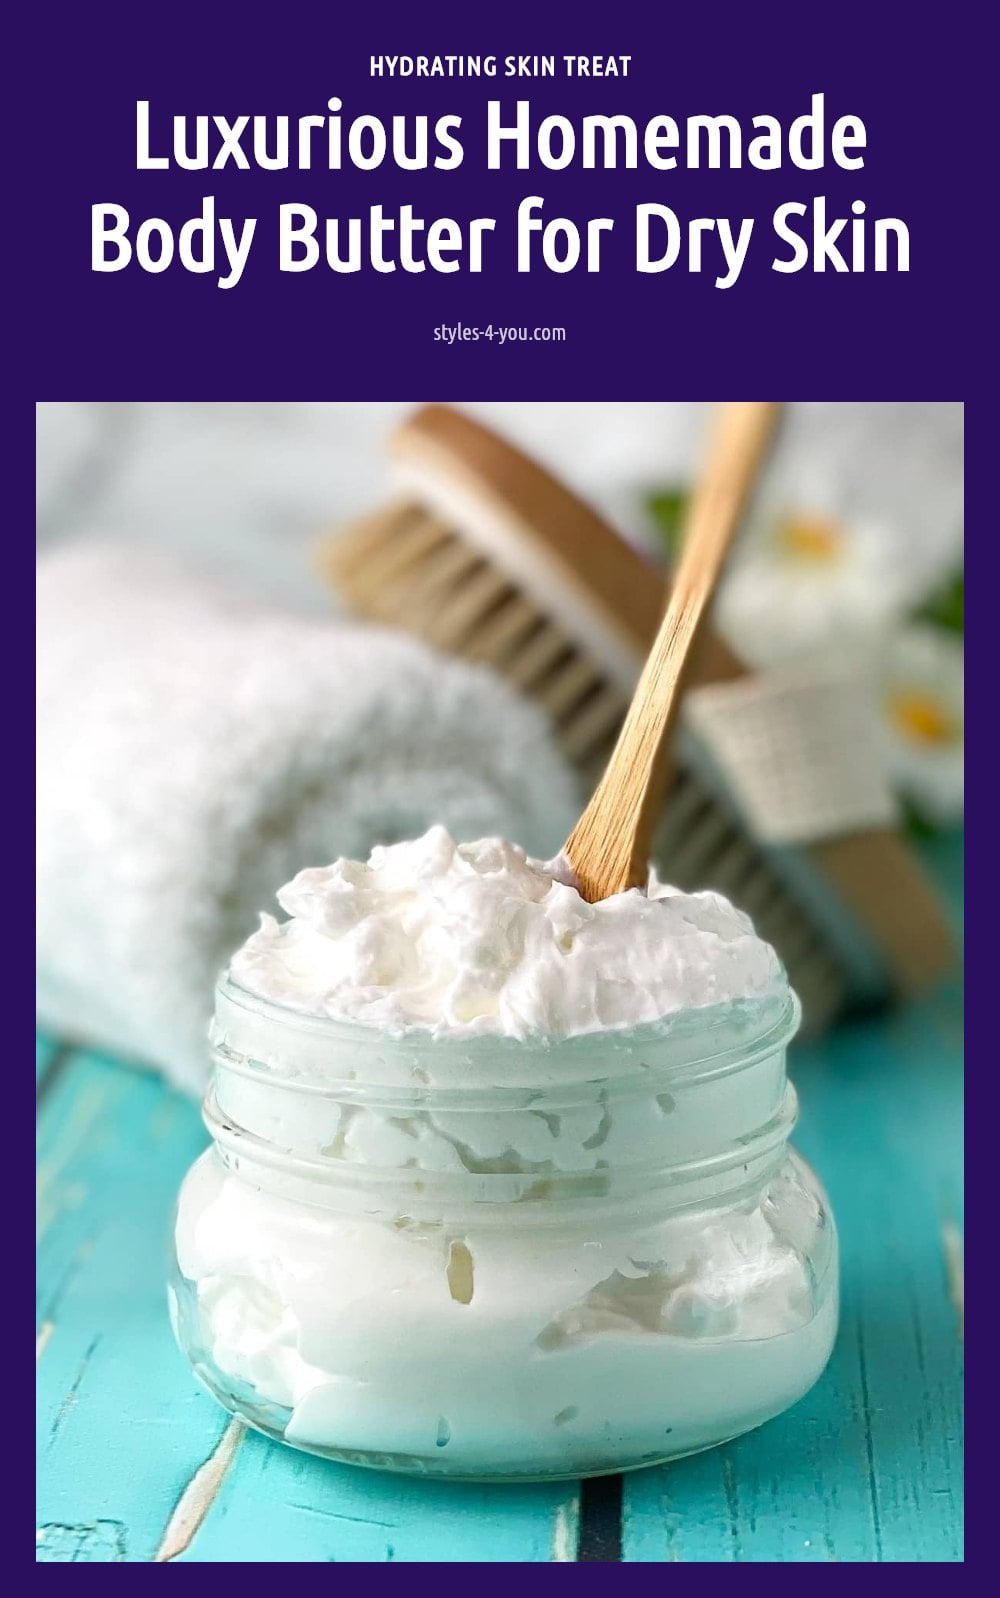
If your skin feels tight, flaky, or just plain thirsty no matter how much lotion you use, a rich body butter might be exactly what you need. Unlike lightweight lotions, body butter is a thick, emollient blend of natural butters and oils that creates a protective barrier, sealing in moisture and keeping dryness at bay. Making your own at home lets you skip potential irritants found in commercial products and customize the recipe to your skin’s needs.
In this article, I’ll walk you through a simple DIY body butter recipe, step-by-step instructions, and my top tips for getting that fluffy, luxurious texture every time.
Key Takeaways
- Use unrefined shea and cocoa butter for maximum skin benefits.
- Melt butters gently in a double boiler to preserve nutrients.
- Cool the mixture before whipping to avoid a grainy texture.
- Apply body butter to damp skin after a shower to lock in moisture.
- Store in an airtight container in a cool, dark place for up to 6 months.
Why This Homemade Body Butter Recipe Works Wonders for Dry Skin
This DIY body butter recipe combines natural butters and oils to deliver intense hydration that commercial lotions often can’t match. The thick, emollient blend creates a protective barrier on your skin, effectively sealing in moisture and preventing dryness. Unlike many store-bought options, it’s free from water, which means a longer shelf life without synthetic preservatives.
Your Simple Body Butter Recipe: Ingredients & Yield
Ingredients:
- 1/2 cup shea butter (unrefined)
- 1/4 cup cocoa butter (unrefined)
- 1/4 cup coconut oil (unrefined)
- 2 tablespoons jojoba or almond oil
- 10-15 drops essential oil (optional, use sparingly)
Prep time: 10 minutes | Set time: 1-2 hours | Yield: about 1 cup
Use high-quality, unrefined butters and oils for maximum benefits. Essential oils are optional and should be used in small, diluted amounts to avoid irritation.
Step-by-Step: Whipping Up Your Own Luxurious Body Butter
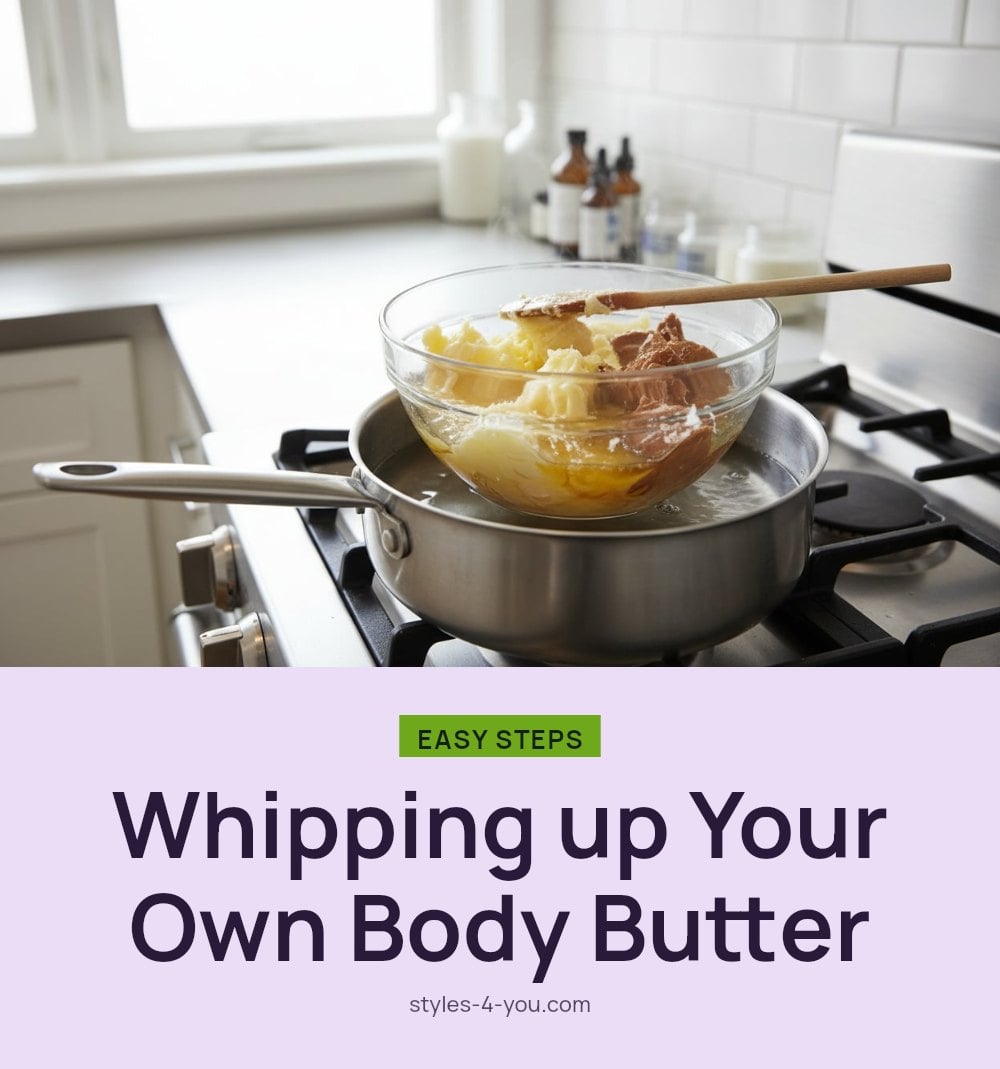
Making your own body butter takes about 30-60 minutes, plus cooling time. Follow these steps for a fluffy, luxurious result.
- Melt the butters: Place shea and cocoa butter in a double boiler over low heat. Stir gently until fully melted, then remove from heat. Avoid overheating to preserve their nutrients.
- Add carrier oils: Pour in the coconut oil and jojoba or almond oil. Stir to combine thoroughly.
- Cool the mixture: Let it sit at room temperature until it becomes semi-solid, about 1-2 hours. You can speed this up in the fridge, but watch it closely to avoid hardening completely.
- Whip until fluffy: Using an electric mixer, beat the mixture on medium-high for 3-5 minutes until it turns light and airy, similar to whipped cream. Scrape down the sides as needed.
- Add essential oils: If using, add them during the last minute of whipping so they distribute evenly, ensuring you do not exceed the recommended amount of 10-15 drops for the entire recipe.
- Transfer and store: Spoon the whipped body butter into a clean, airtight container. Store in a cool, dark place.
Prefer to watch? Mrs. Alba Ramos walks through the whole method in this 10-minute video. The how-to part starts at 2:19.
Best Tips for Perfect Homemade Body Butter
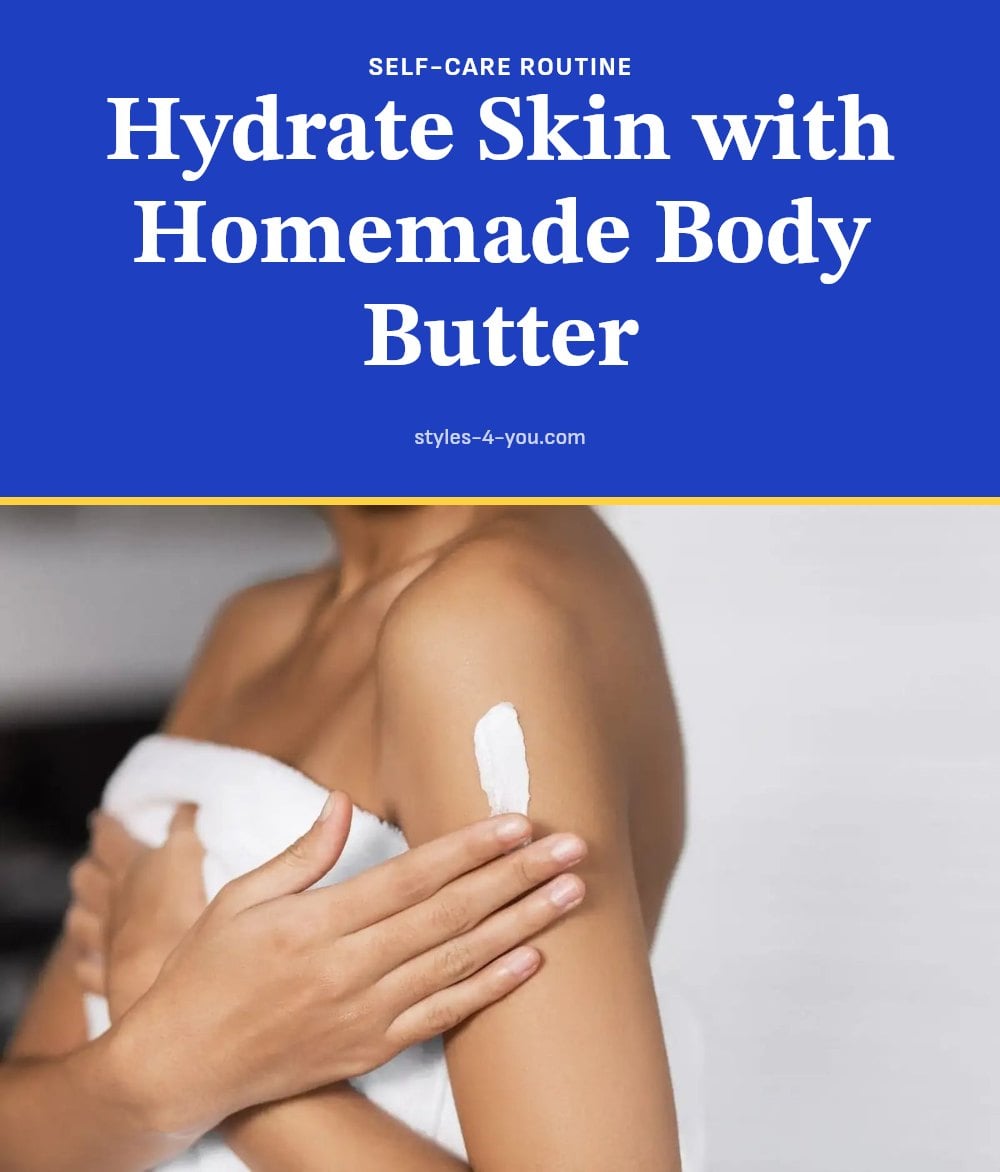
Patch test first: Always test a small area of skin before using new ingredients, especially essential oils, to check for sensitivities.
- Apply to damp skin: For best results, apply body butter right after a shower or bath. The water helps lock in moisture.
- Sterilize equipment: Use clean, sterilized bowls and containers to prevent bacteria from shortening shelf life.
- Adjust texture: For a firmer butter, reduce liquid oils by 1-2 teaspoons. For a softer, more spreadable texture, add a little more oil.
My tip: Keep a small jar in your bag for quick touch-ups on elbows and hands during the day.
Common Mistakes to Avoid When Making Body Butter
Many DIY body butters fail because of a few simple mistakes. The biggest one is whipping the mixture too soon. If you don’t let it cool enough, the butter turns out grainy instead of fluffy. Overheating is another common error. High heat destroys the beneficial nutrients in shea and cocoa butter, so always use a gentle double boiler.
Essential oils are potent. Adding more than 10-15 drops per half-cup base can cause skin irritation or an overpowering scent. Always dilute them properly. Using unsterilized bowls or jars introduces bacteria that shortens shelf life. Wash everything in hot, soapy water before you start. Finally, store your finished body butter in a cool, dark place. Warm temperatures cause it to melt or go rancid quickly.
Customizing Your Body Butter: Variations for Different Skin Needs
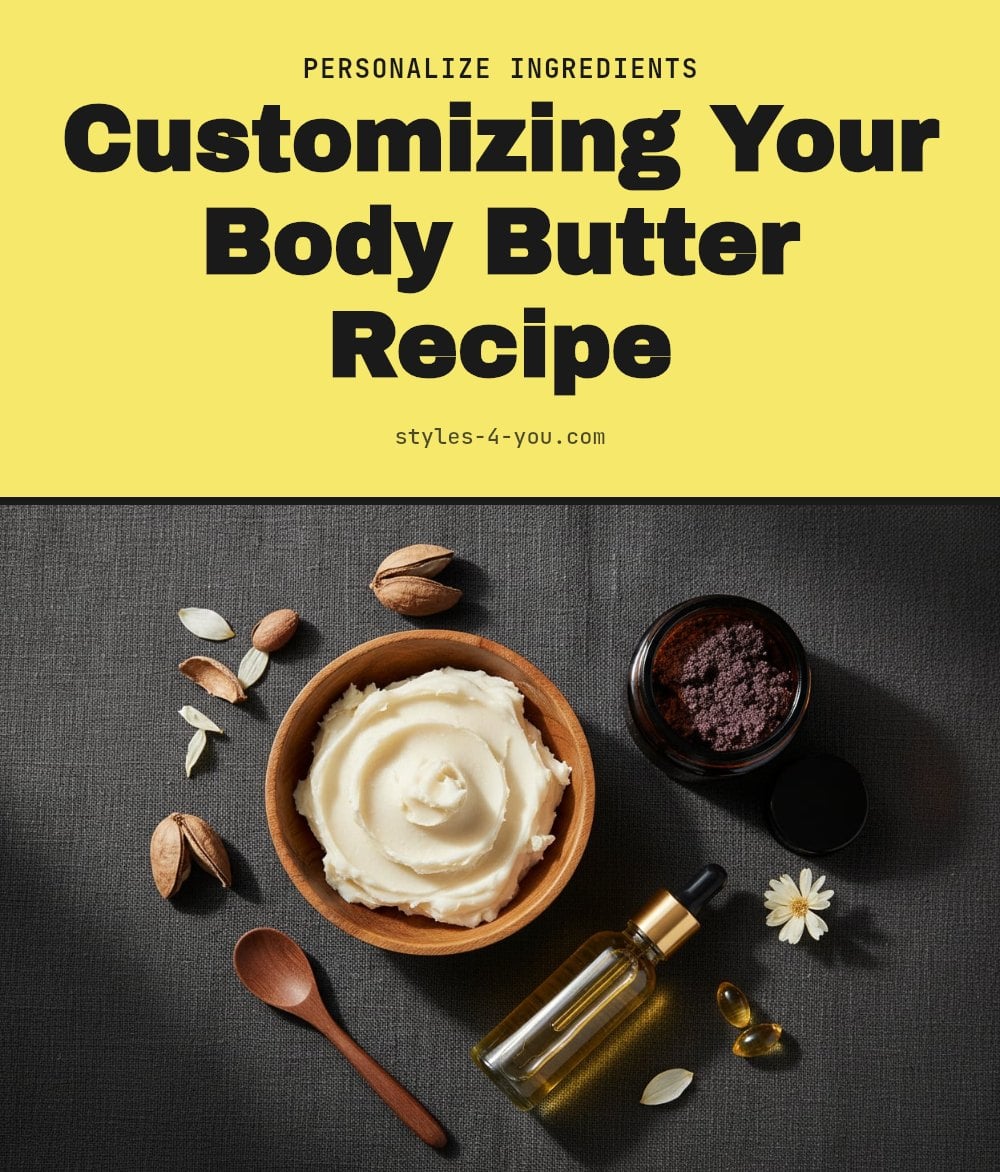
The beauty of a homemade recipe is that you can tailor it to your skin. Start by swapping butters. Shea butter is deeply healing, cocoa butter is rich in antioxidants, and mango butter is lightweight and non-greasy. For carrier oils, jojoba oil mimics your skin’s natural sebum, while almond oil adds vitamin E and olive oil provides extra nourishment.
To adjust texture, simply change the ratio. More butter (like shea) gives a firmer result; more liquid oil (like jojoba) makes it softer. Add essential oils sparingly for specific benefits. Lavender is calming, tea tree is purifying, and frankincense supports skin renewal. A few drops are all you need.
Storing Your Homemade Body Butter for Lasting Freshness
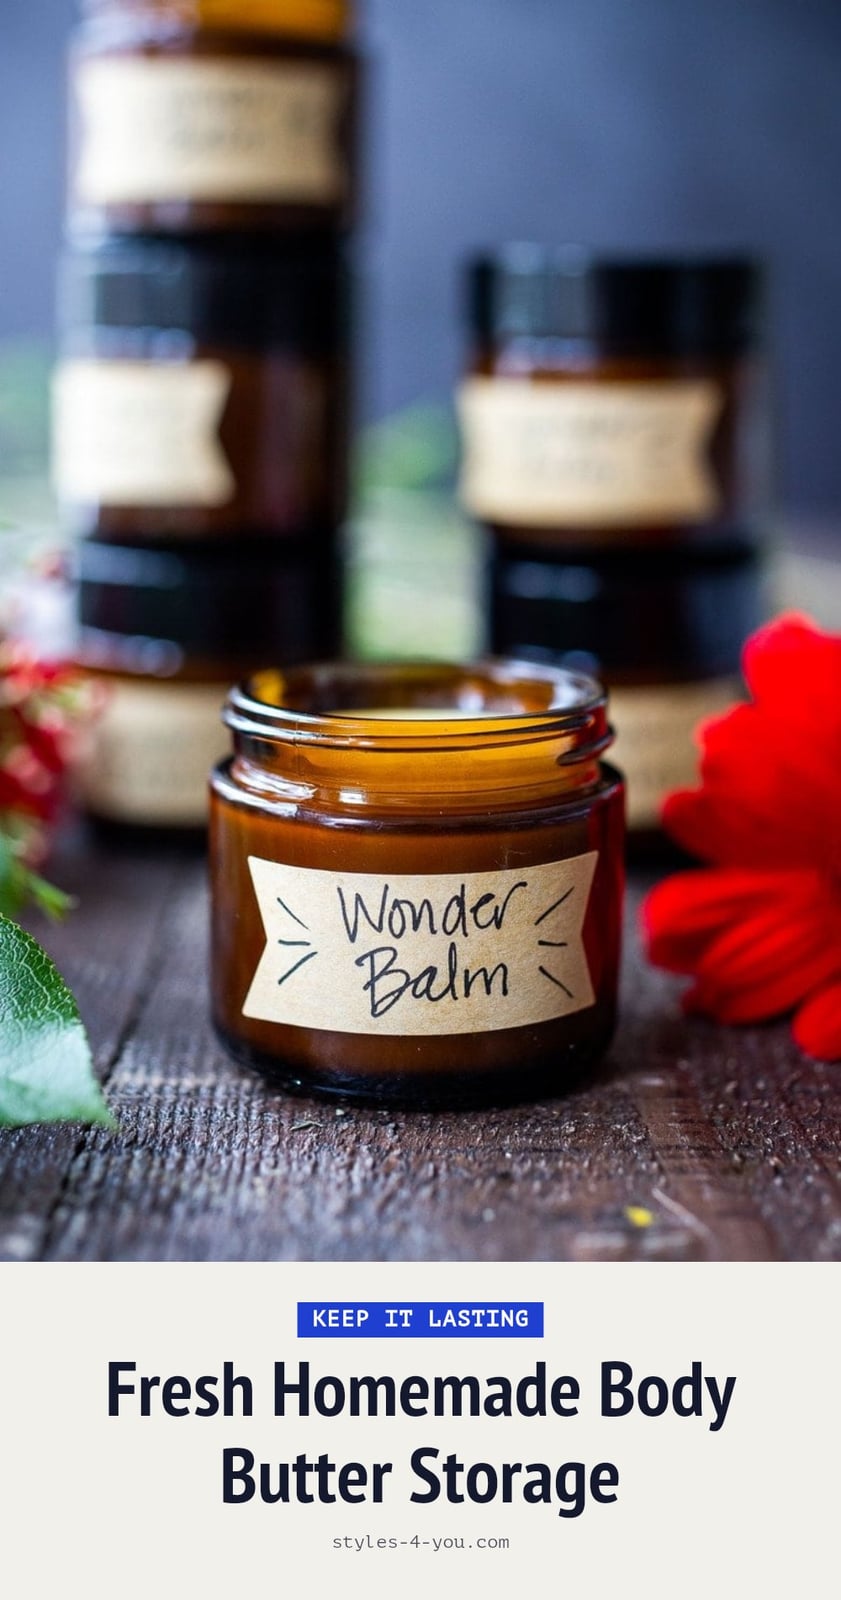
Because this body butter contains no water, it naturally resists microbial growth. But proper storage still matters. Always use an airtight container to prevent oxidation and contamination. Keep the jar in a cool, dark place like a bathroom cabinet or bedroom drawer. Warmth can melt the butter and speed up rancidity.
Never scoop out the butter with wet fingers or add water to the jar. Moisture introduces bacteria and ruins the texture. Homemade body butter typically stays fresh for up to six months. Monitor it for changes in scent (a sharp, off smell) or texture (graininess or separation). If you notice either, it’s time to make a new batch.
Frequently Asked Questions
How long does homemade body butter last?
Because this recipe contains no water, it can last up to 6 months when stored properly. Keep it in an airtight container in a cool, dark place to prevent oxidation and contamination. If you notice an off smell or change in texture, it’s time to make a fresh batch.
Can I use different butters or oils in this recipe?
Absolutely. You can swap shea butter for mango butter if you prefer a lighter feel, or use almond oil instead of jojoba. Just keep the same total amounts to maintain the right consistency. My tip: choose unrefined, high-quality ingredients for the best results.
Why is my body butter grainy?
Graininess usually happens when you whip the mixture before it has cooled enough. The butters crystallize into tiny grains. To fix it, gently remelt the mixture, let it cool to room temperature, and then whip again. This time, be patient and wait until it’s thick and opaque before whipping.
Is body butter better than lotion for dry skin?
For very dry areas like elbows, knees, and heels, yes. Body butter is thicker and contains more oils and butters, which create a stronger barrier to prevent moisture loss. Lotions are lighter and absorb faster, but they may not provide the same level of hydration for severely dry skin.
Can I use body butter on my face?
It’s not recommended for the face, especially if you have acne-prone skin. The rich, occlusive nature of body butter can clog pores. If you want to try it, do a patch test on a small area first and avoid the eye area. Otherwise, stick to using it on your body.
Final Thoughts
Making your own body butter is a rewarding way to give your dry skin the deep hydration it craves. My tip: start with the base recipe as written, then experiment with swapping butters or oils once you’re comfortable. You’ll likely notice softer, smoother skin within a few days of consistent use, so don’t be afraid to apply it daily, especially after bathing.
Remember, this is an oil-based product, so it won’t feel like a water-based lotion, but that’s exactly what makes it so effective. Enjoy the process and your wonderfully nourished skin.
This article is for general informational purposes only and is not a substitute for professional medical or dermatological advice. Always perform a patch test before using new ingredients, and consult a doctor or dermatologist if you experience persistent skin issues, irritation, or an allergic reaction.
More Blog ideas
- Your Essential Guide to a Healthy Feminine Hygiene Routine
- Best High Protein Foods to Eat Daily for Health and Energy
- Feeling Stuck: 12 Small Steps to Get Unstuck
- Winter Skin Survival Tips
- How to Get a Flat Stomach
- How to Fix Damaged Hair and Restore Its Health
- Full-Body Kettlebell Workout
- Dry Scalp vs. Dandruff
- Full Body Workout for Beginners
- 21 Easy Beauty Tips Every Woman Should Know
- Feminine Energy: 15 Daily Habits to Feel More Radiant
- Upper Body Workout for Women at Home