Gua Sha Technique Step by Step for Radiant Skin
Learn the proper gua sha technique with our step-by-step guide to reduce puffiness, improve circulation, and achieve a radiant complexion at home.

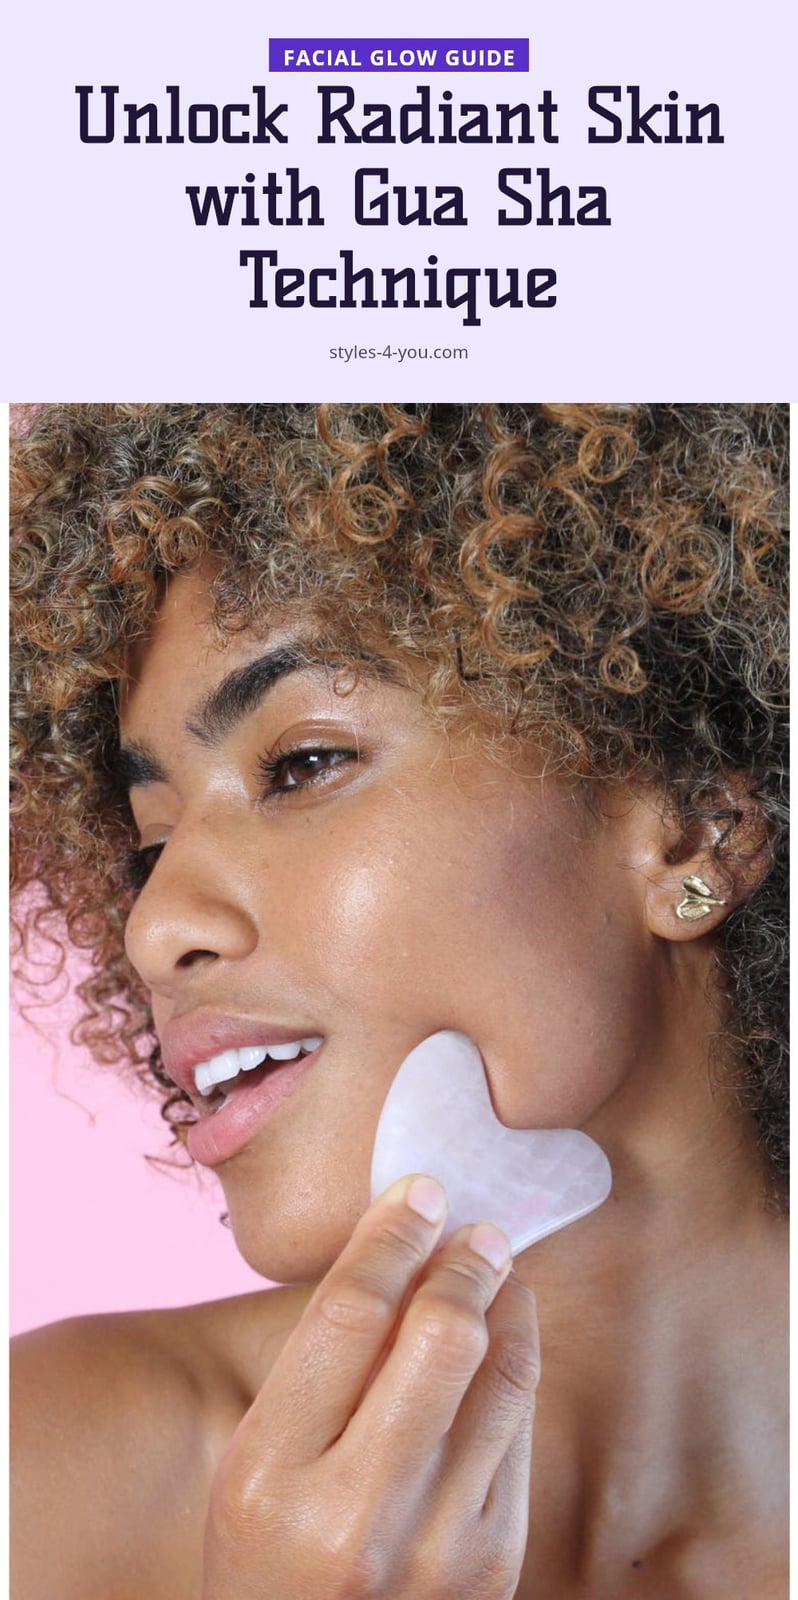
If you’re looking to add a soothing, natural step to your skincare routine, facial gua sha might be just what you need. This ancient technique uses a smooth tool to gently massage your face, aiming to reduce puffiness and boost circulation for a radiant glow. In this article, I’ll walk you through the essential tools, a step-by-step technique, and common mistakes to avoid, so you can try it safely at home.
Key Takeaways
- Always apply facial oil or serum before gua sha to let the tool glide smoothly.
- Hold the tool at a 15-45 degree angle and use light to medium pressure.
- Use upward and outward strokes, repeating each 3-5 times, never back and forth.
- Clean your gua sha tool before and after each use to prevent bacteria.
- Plan for 2-3 sessions per week, 5-10 minutes each, for best results.
What is Gua Sha and How Does it Work?
Gua sha is a traditional East Asian technique that uses a smooth-edged tool to gently scrape the skin. The term translates to ‘to scrape’ (gua) and ‘sand’ (sha), referring to the small red spots that can appear during body treatments. For facial use, the goal is different: it promotes lymphatic drainage and circulation, giving your complexion a radiant glow. The key is light pressure and specific, directional strokes, always performed with a facial oil or serum to let the tool glide smoothly.
Essential Tools for Your Gua Sha Routine
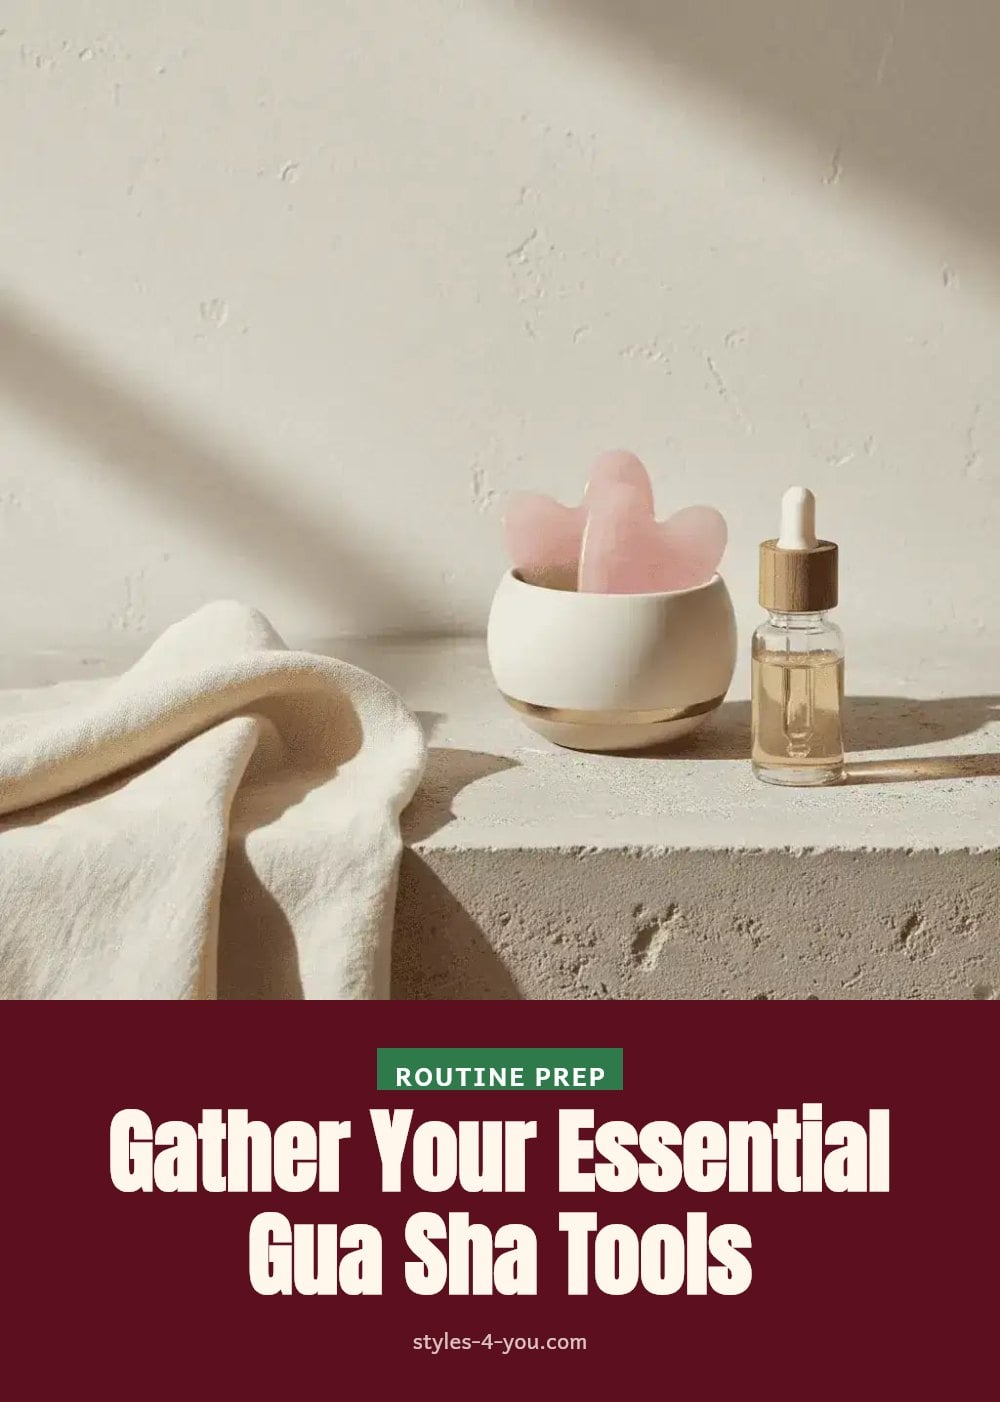
You only need a few items to get started with facial gua sha.
- Gua sha tool: Choose one made of jade, rose quartz, or stainless steel. Each material feels slightly different on the skin, and different shapes fit various facial contours.
- Facial oil or serum: A generous amount is essential. It creates slip so the tool glides without tugging or irritating your skin.
- Gentle cleanser: Use it to wash your tool before and after each session to keep bacteria away from your face.
Step-by-Step Guide to Facial Gua Sha
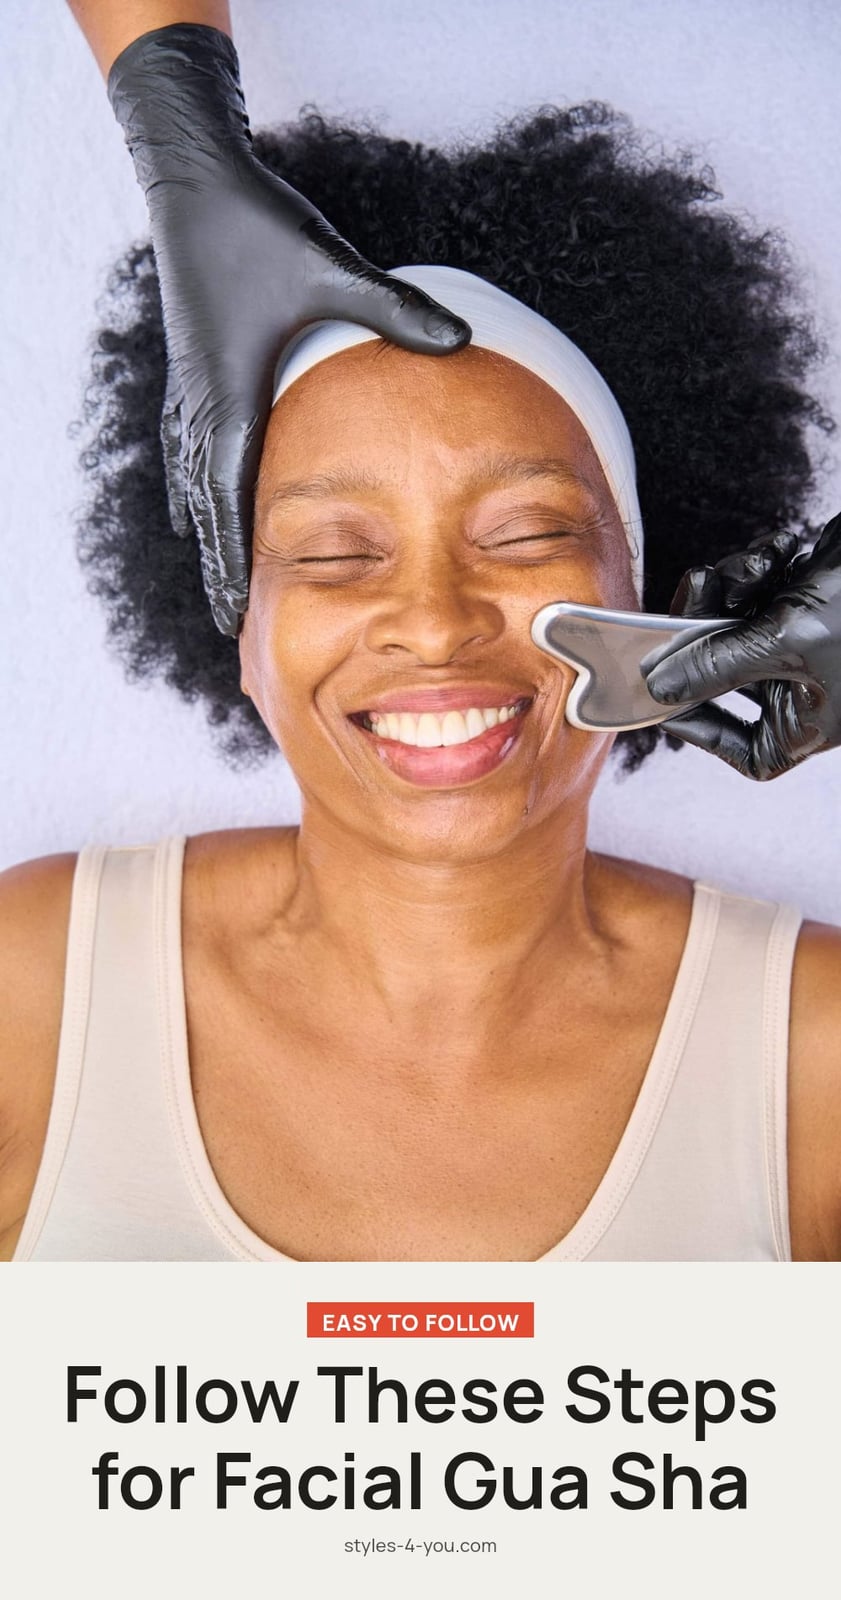
Follow these steps for an effective facial gua sha session. Always work on clean skin with plenty of oil or serum.
- Prepare your skin: Cleanse your face thoroughly, then apply a generous layer of facial oil or serum. The surface should feel slick, not tacky.
- Hold the tool correctly: Keep the tool at a shallow angle of 15 to 45 degrees against your skin. Almost flat is the goal.
- Work the neck and jawline: Start at the base of your neck and stroke upward toward your jaw. Then move to your jawline, sweeping from the chin toward the ear. Repeat each stroke 3 to 5 times in one direction only.
- Sweep the cheeks: Place the tool at the center of your cheek near your nose and glide outward toward your ear. Keep the motion upward and outward.
- Treat the under-eye area: Use the smaller curve of the tool. Start at the inner corner of your eye and gently sweep outward toward your temple. Use very light pressure here.
- Finish the forehead and brow bone: Start between your eyebrows and stroke upward toward your hairline. Then sweep from the center of your forehead outward toward your temples. Glide along your brow bone from the inner brow outward.
Common Gua Sha Mistakes to Avoid
Avoid these common mistakes to keep your gua sha routine safe and effective.
- Using a dry tool on dry skin: This causes tugging and irritation. Always apply enough oil or serum first.
- Applying too much pressure: It can lead to bruising or broken capillaries. Use light to medium pressure, especially around the eyes.
- Scraping back and forth: This is ineffective and irritates the skin. Always stroke in one direction only.
- Using a dirty tool: Bacteria can transfer to your face. Clean your tool before and after each use with a gentle cleanser.
- Not understanding lymphatic pathways: Random strokes reduce effectiveness. Follow the natural contours of your face for proper drainage.
Pro Tips for an Effective Gua Sha Session
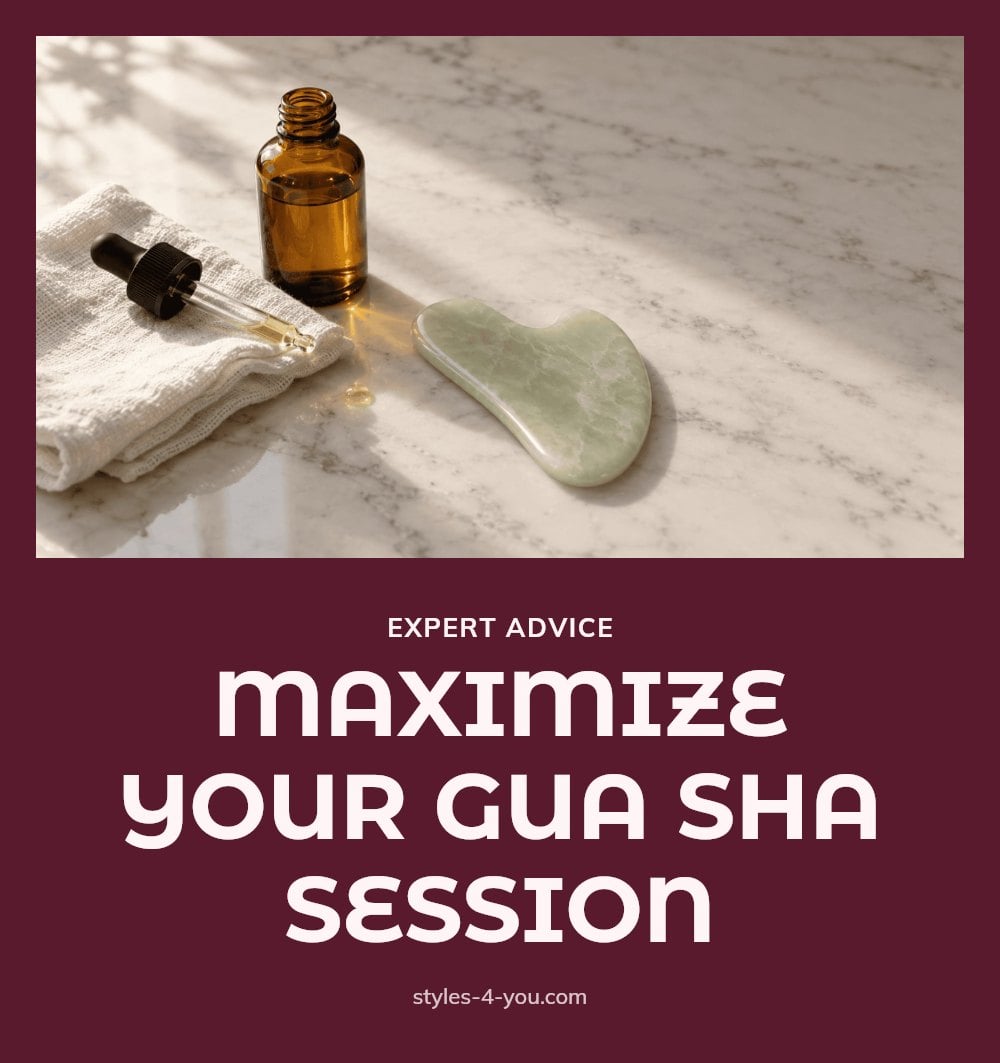
Clean your tool before and after each use: Use warm water and a gentle cleanser, then dry it with a clean cloth. This prevents bacteria buildup that can cause breakouts.
Drink water after your session: Gua sha stimulates lymphatic drainage, and staying hydrated helps flush out the released toxins. A glass of water right after makes a difference.
Adjust pressure for delicate areas: Under the eyes and around the lips need feather-light strokes. Use the smaller curve of your tool here and barely skim the surface.
Store your tool in a cool place: A chilled gua sha tool feels soothing on the skin and can help reduce morning puffiness even more. Keep it in the fridge for 10 minutes before use.
How Often to Do Gua Sha and When to Expect Results
Plan for 2-3 sessions per week, each lasting 5-10 minutes. Consistency matters more than frequency. You may notice reduced puffiness immediately after your first session. Long-term benefits like improved circulation and a more even skin tone require regular practice over several weeks.
Gua sha tools are a one-time purchase. Prices vary from affordable to premium depending on the material, but a quality tool lasts for years with proper care.
When to Pause Gua Sha or Consult a Professional
Stop if you feel pain or see excessive redness: Gua sha should never hurt. Discomfort or prolonged redness means you are pressing too hard or irritating the skin.
Avoid active skin conditions: Do not use gua sha on areas with active acne, eczema, rosacea flare-ups, open wounds, or sunburn. Wait until the skin is fully healed.
Consult a doctor before starting if you have a bleeding disorder or take blood thinners. Pregnant individuals should also seek medical advice before use.
If bruising occurs, pause the routine: Let the skin heal completely before resuming, and use lighter pressure next time.
Frequently Asked Questions
How often should I do facial gua sha?
Most people find 2-3 sessions per week works well, with each session lasting 5-10 minutes. Consistency matters more than frequency, so aim for a regular routine rather than daily use. You can adjust based on how your skin responds, but always allow your skin to recover if you notice any irritation.
What are the benefits of facial gua sha?
Facial gua sha may help reduce puffiness by promoting lymphatic drainage and improve blood circulation, which can contribute to a healthy glow. Many people also find it relaxing. However, results vary, and long-term benefits like a more even skin tone require regular practice over several weeks.
Can gua sha cause breakouts?
Yes, if you use a dirty tool or apply too much pressure on active acne, it can irritate the skin or introduce bacteria. To minimize risk, always clean your tool before and after each use, and avoid areas with active breakouts. If you’re prone to acne, consider using a non-comedogenic oil or serum.
How do I clean my gua sha tool?
Clean your gua sha tool with warm water and a gentle cleanser before and after each use. Dry it with a clean cloth to prevent bacteria buildup. For stone tools, avoid harsh chemicals or boiling water, as they can damage the material. Regular cleaning keeps your routine hygienic and safe.
What is the difference between body and facial gua sha?
Body gua sha uses much heavier pressure and may cause petechiae, the small red spots that give the technique its name. Facial gua sha is gentler, using light to medium pressure to avoid bruising. The tools and techniques differ too, with facial tools being smaller and designed for the contours of the face.
Final Thoughts
My tip: start with a gentle routine and listen to your skin. Use light pressure, plenty of oil, and clean tools every time. You may notice less puffiness right after your first session, but long-term benefits like improved circulation and a more even tone come with consistent practice over several weeks. If you have any skin conditions or medical concerns, check with a professional before starting.
This article is for general information only and is not medical or professional advice. Gua sha may not be suitable for everyone, especially if you have certain health conditions. If you have concerns or a persistent skin issue, consult a doctor or dermatologist before starting any new routine.
More Blog ideas
- Your Essential Guide to a Healthy Feminine Hygiene Routine
- Best High Protein Foods to Eat Daily for Health and Energy
- Feeling Stuck: 12 Small Steps to Get Unstuck
- Winter Skin Survival Tips
- How to Get a Flat Stomach
- How to Fix Damaged Hair and Restore Its Health
- Full-Body Kettlebell Workout
- Dry Scalp vs. Dandruff
- Full Body Workout for Beginners
- 21 Easy Beauty Tips Every Woman Should Know
- Feminine Energy: 15 Daily Habits to Feel More Radiant
- Upper Body Workout for Women at Home