Hair Bleaching at Home: Step-by-Step Guide for Beginners
Hair bleaching: Learn how to bleach your hair at home safely with our step-by-step guide, covering everything from prep to aftercare to minimize damage.

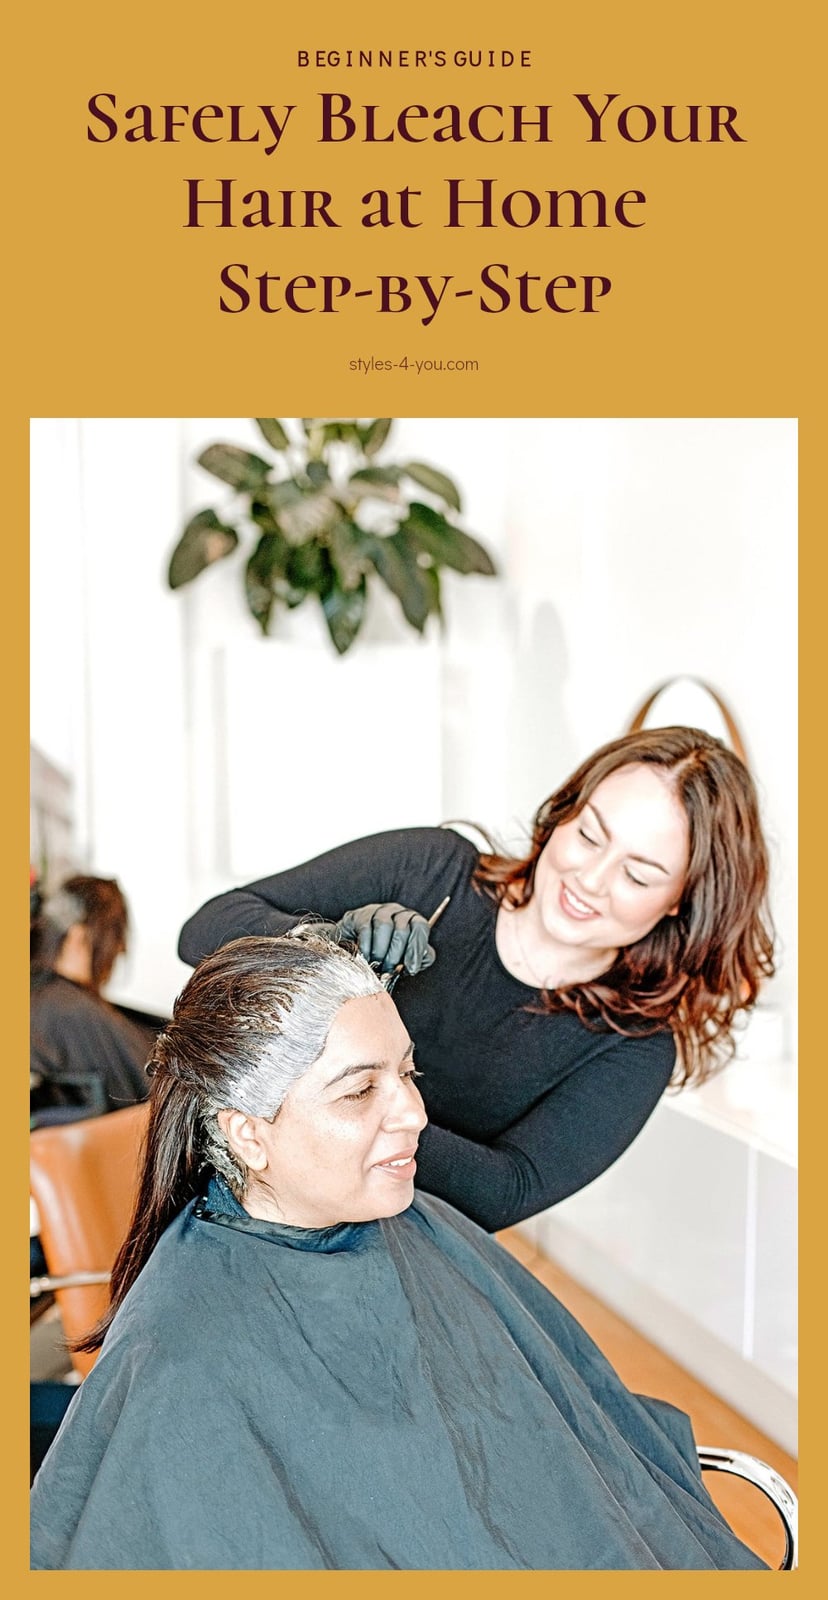
Thinking about lightening your hair at home? Hair bleaching can give you a beautiful new look, but it’s a chemical process that needs careful handling. This guide walks you through everything you need to know, from choosing the right developer and doing a strand test to applying the bleach safely and caring for your hair afterward. My tip: start with a patch test and a strand test before you commit to the full process.
Key Takeaways
- Always perform a patch test 48 hours before bleaching to check for allergic reactions.
- Use a 20-volume developer for at-home bleaching to minimize damage, especially as a beginner.
- Apply bleach to dry, unwashed hair (1-2 days after washing) to protect your scalp.
- Monitor your hair every 5-10 minutes during processing, and rinse after 20-45 minutes.
- Plan for root retouches every 4-8 weeks as your natural color grows in.
What is Hair Bleaching and How Does It Work?
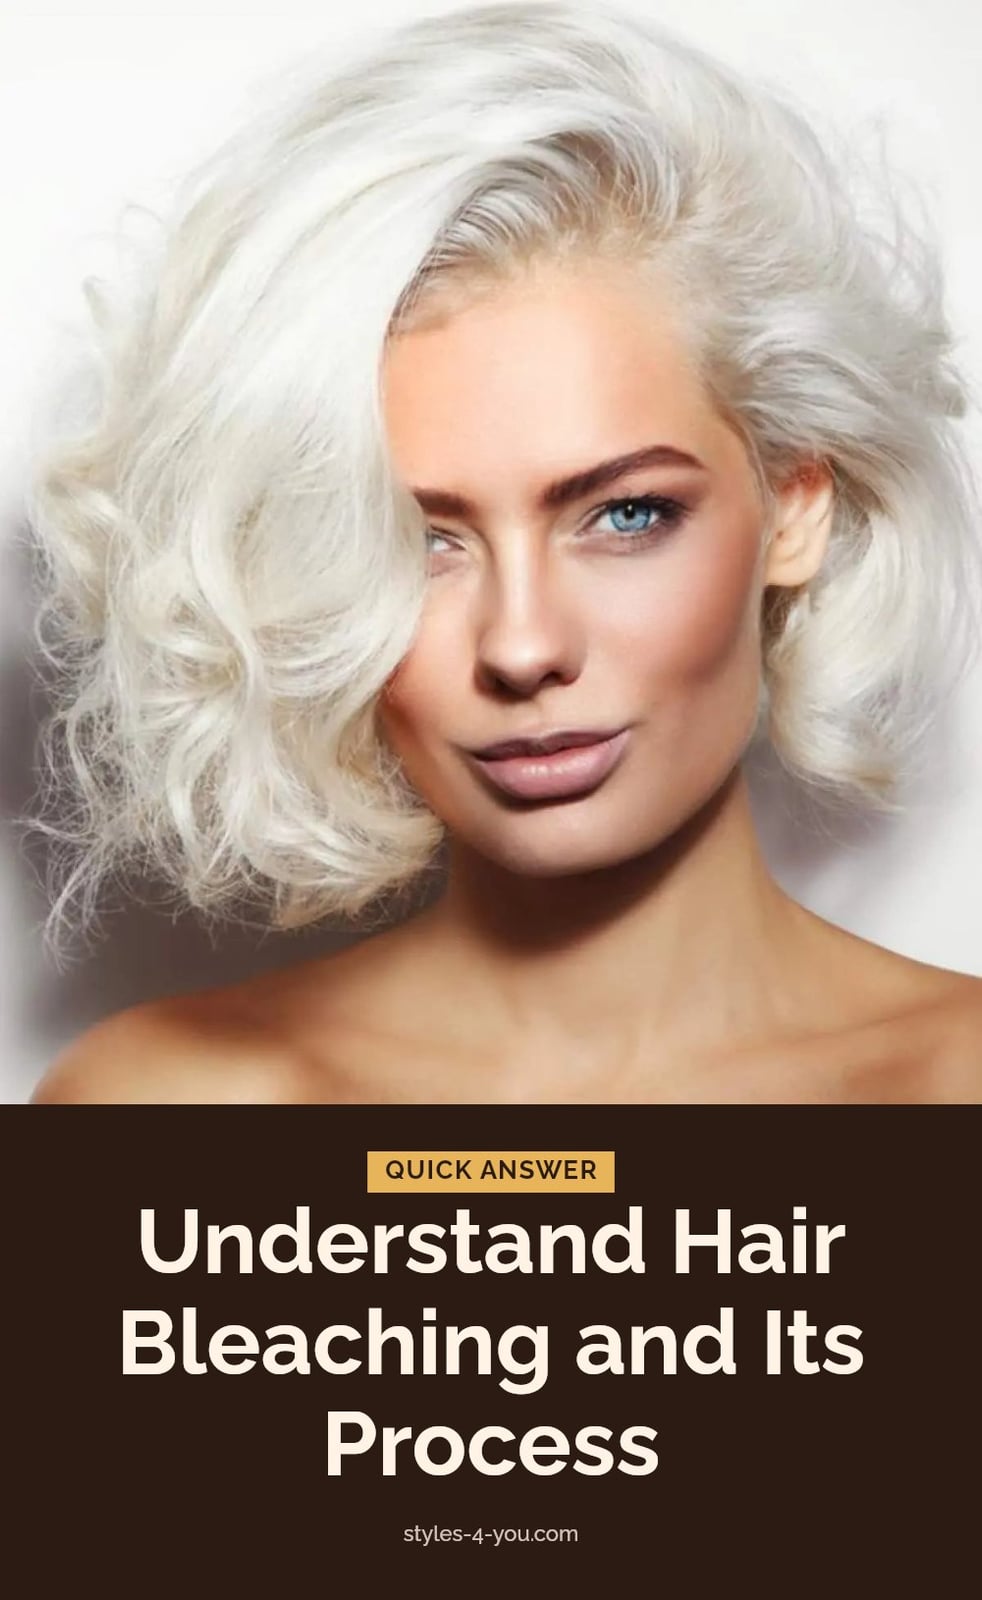
Hair bleaching is a chemical process that lifts your natural color by oxidizing the melanin inside the hair shaft. It works by combining a bleach powder with a developer (hydrogen peroxide) to lighten the hair. The key is careful application and timing, too fast or too long, and you risk serious damage.
Gather Your Hair Bleaching Essentials
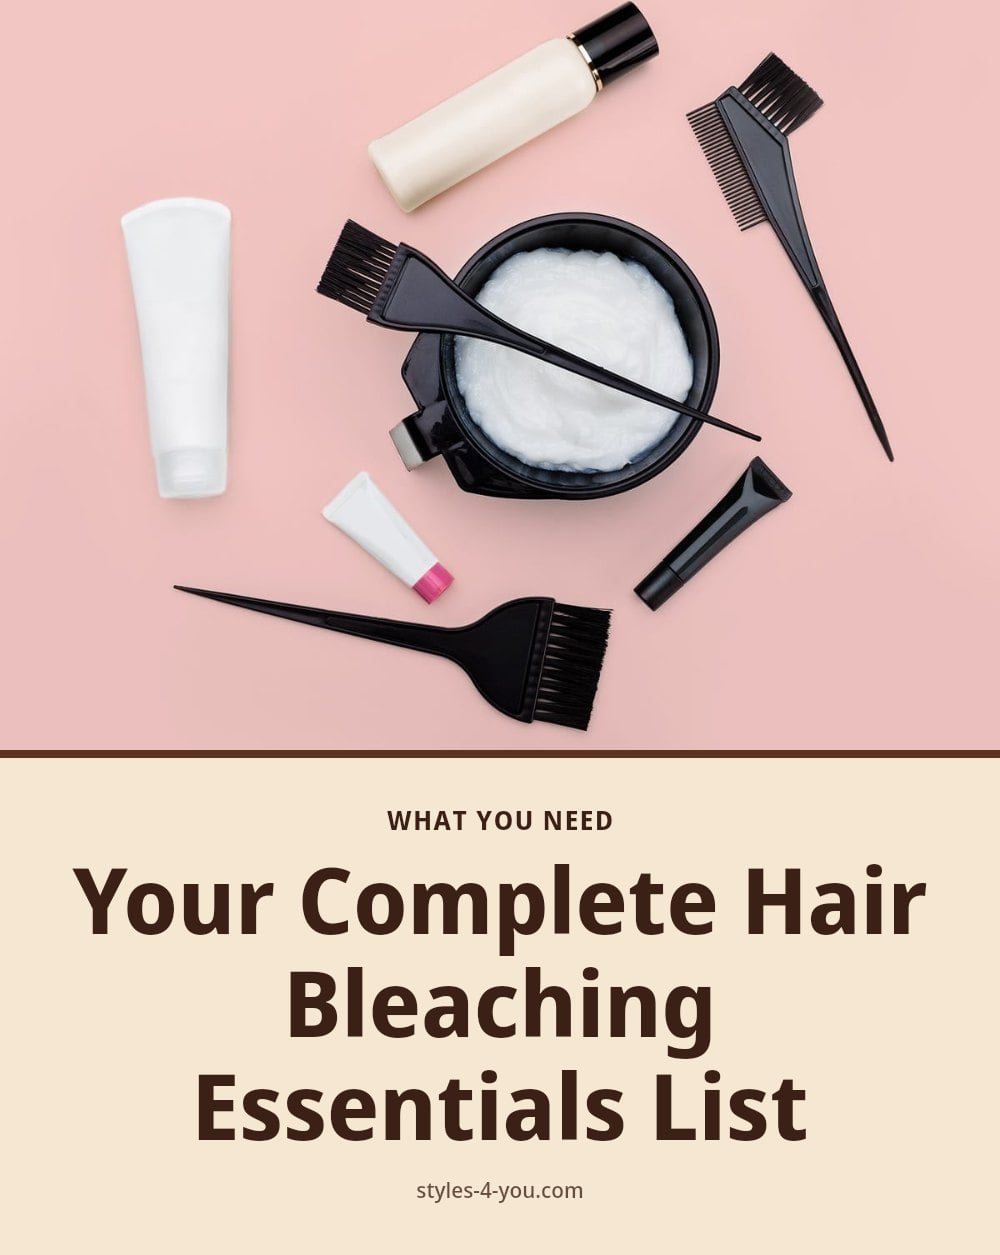
You need a few core items to get started. Bleach powder and developer are the main products, stick with a 20-volume developer for at-home use to keep damage low. Use a non-metallic bowl and an applicator brush for mixing and applying. Protective gear is a must: wear gloves to shield your hands, and grab an old towel or cape to catch drips. Hair clips help you section, and a timer keeps you on track. A sulfate-free shampoo and deep conditioner are essential for aftercare, and toner is optional if you want to neutralize yellow or orange tones.
Step-by-Step: Bleaching Your Hair at Home
- Do a patch and strand test first: Mix a small amount of bleach and developer. Apply a dab behind your ear or on your inner arm 48 hours before to check for allergic reactions. On a separate hidden section of hair, apply the mixture and time how long it takes to reach your desired lift. This step prevents surprises and damage.
- Prep your hair and space: Work in a well-ventilated area. Apply bleach to dry hair that hasn’t been washed for 1-2 days, the natural oils protect your scalp. Cover surfaces with an old towel and wear gloves throughout.
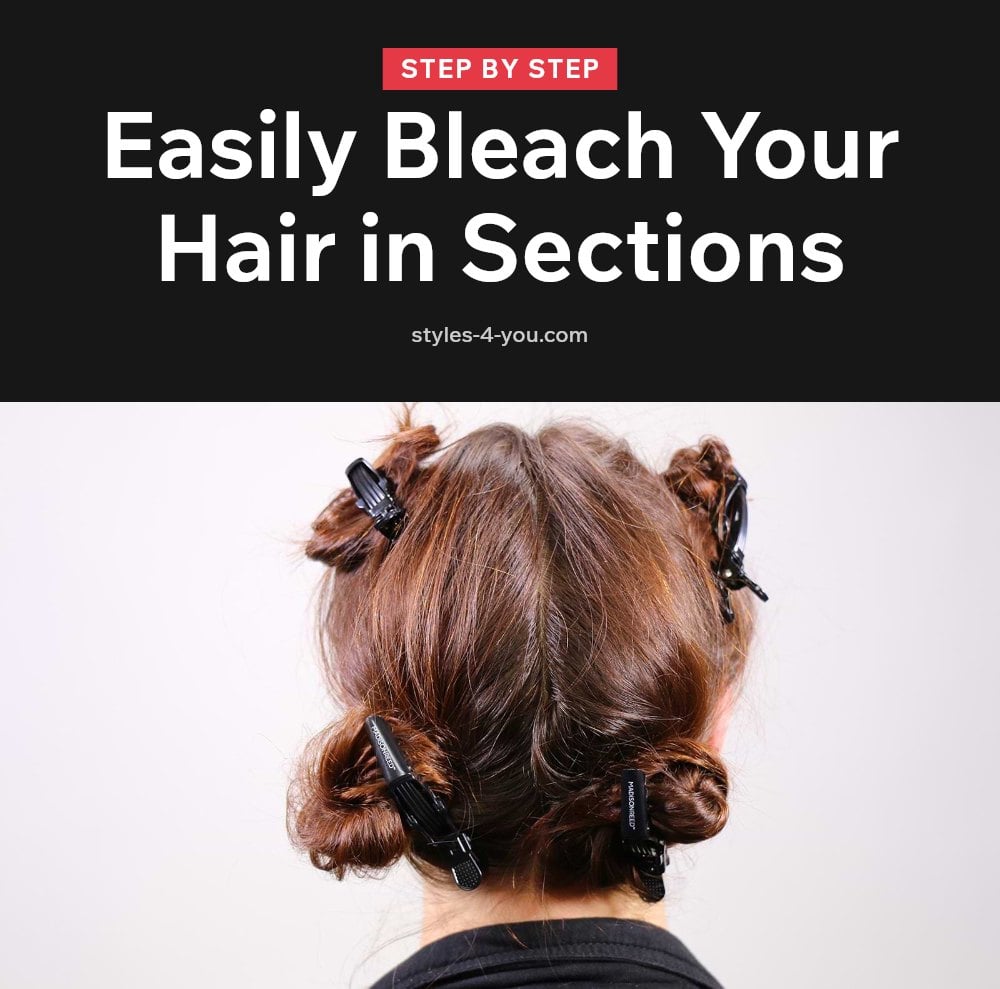
- Section your hair thoroughly: Use clips to divide your hair into four or more even sections. This ensures you can reach every strand and apply the bleach evenly without missing spots.
- Mix the bleach properly: In a non-metallic bowl, combine bleach powder with 20-volume developer according to package instructions. Stir until smooth and creamy. Use a non-metallic applicator brush to avoid chemical reactions.
- Apply to mid-lengths and ends first: Start about an inch from the scalp. Using the brush, apply the mixture to the mid-lengths and ends of each section, working quickly but thoroughly. Keep the hair saturated so the bleach covers every strand evenly.
- Apply to roots last: The heat from your scalp speeds up processing, so apply bleach to the roots only after the rest of your hair is covered. Use a light hand to avoid overlap onto already-lightened areas, which can cause breakage.
- Monitor the process constantly: Check your hair every 5-10 minutes. Total processing time is usually 20-45 minutes, but your strand test gives a more accurate target. If you feel burning or severe discomfort on your scalp, rinse immediately.
- Rinse and condition deeply: Once you reach your desired lightness, rinse with cool water until the water runs clear. Follow with a sulfate-free shampoo and a deep conditioner or hair mask for at least 5 minutes to restore moisture.
Common Hair Bleaching Mistakes to Avoid
Skipping the strand test: Without it, you have no idea how your hair will react or how long it needs. This can lead to uneven color or unexpected damage.
Using too high a developer volume: A 30 or 40 volume lifts faster but causes excessive damage, especially on virgin hair. Stick with 20 volume for at-home bleaching.
Uneven application: If you don’t section properly or apply sparingly, you’ll get patchy results. Keep the hair saturated and work in small sections.
Leaving bleach on too long: Over-processing can cause chemical burns, breakage, or even hair loss. Never exceed the recommended time, even if the color isn’t light enough yet.
Bleaching already damaged hair: If your hair is brittle, dry, or has been chemically treated recently, bleaching can cause severe breakage. Wait until your hair is healthy before attempting any lightening.
Pro Tips for a Successful At-Home Bleach
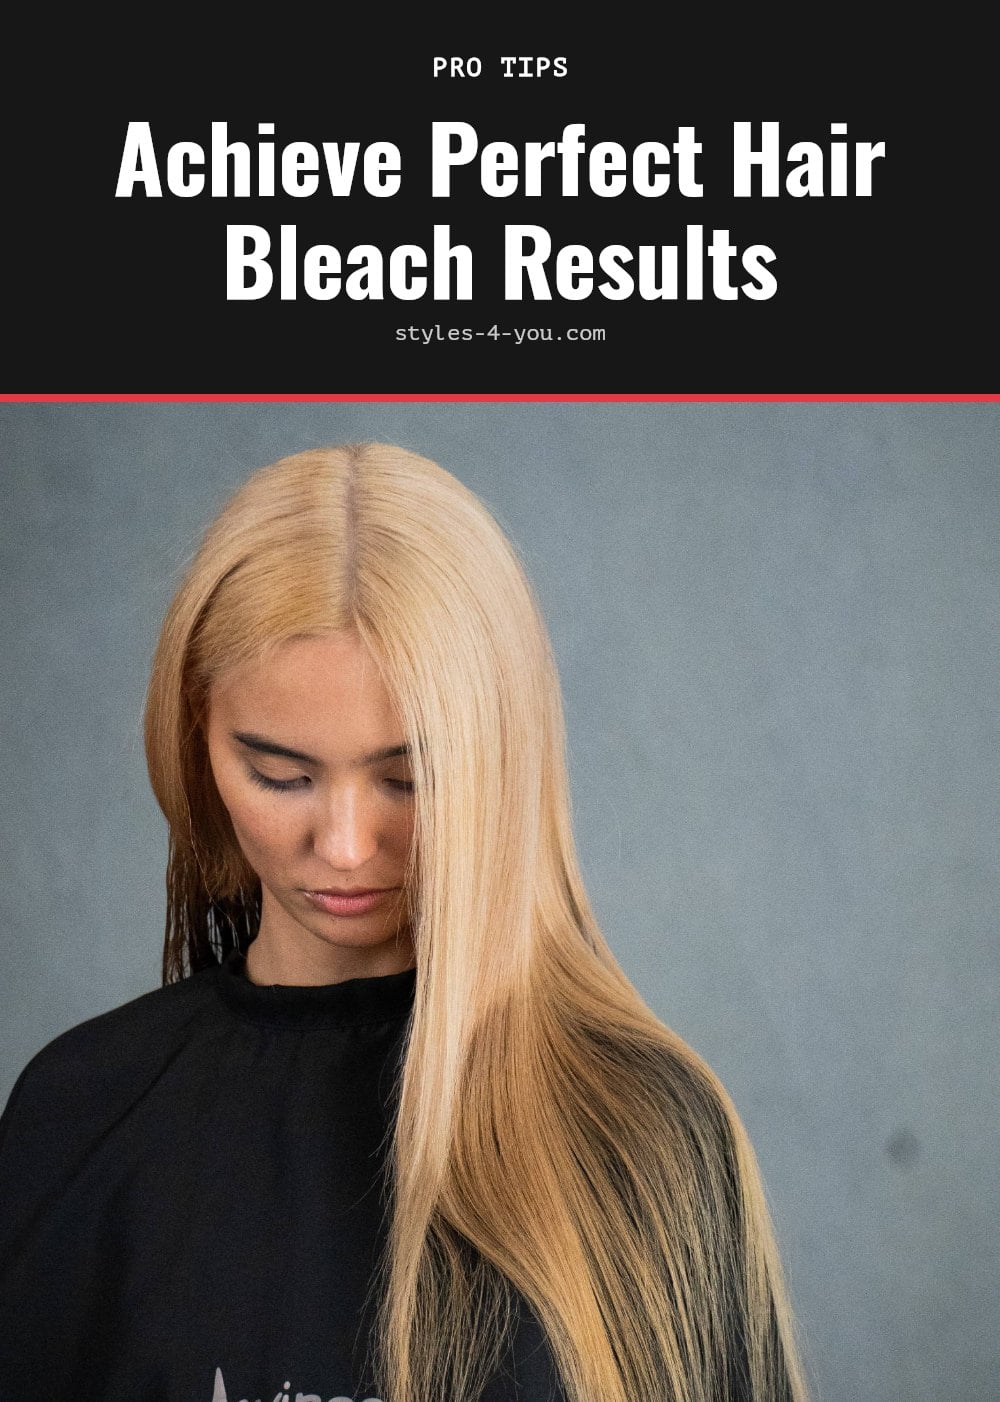
Work in a well-ventilated area. Bleach fumes are strong and can irritate your respiratory system, so open a window or turn on a fan.
Apply bleach to dry, unwashed hair. The natural oils from 1-2 days without washing create a protective barrier on your scalp. Keep the hair saturated with the bleach mixture during processing, this ensures every strand lifts evenly and avoids patchiness.
My tip: Rinse immediately if you feel burning or intense discomfort on your scalp. No shade is worth a chemical burn. After rinsing, consider using a toner to neutralize unwanted yellow or orange undertones and achieve your desired blonde shade.
Essential Aftercare for Bleached Hair
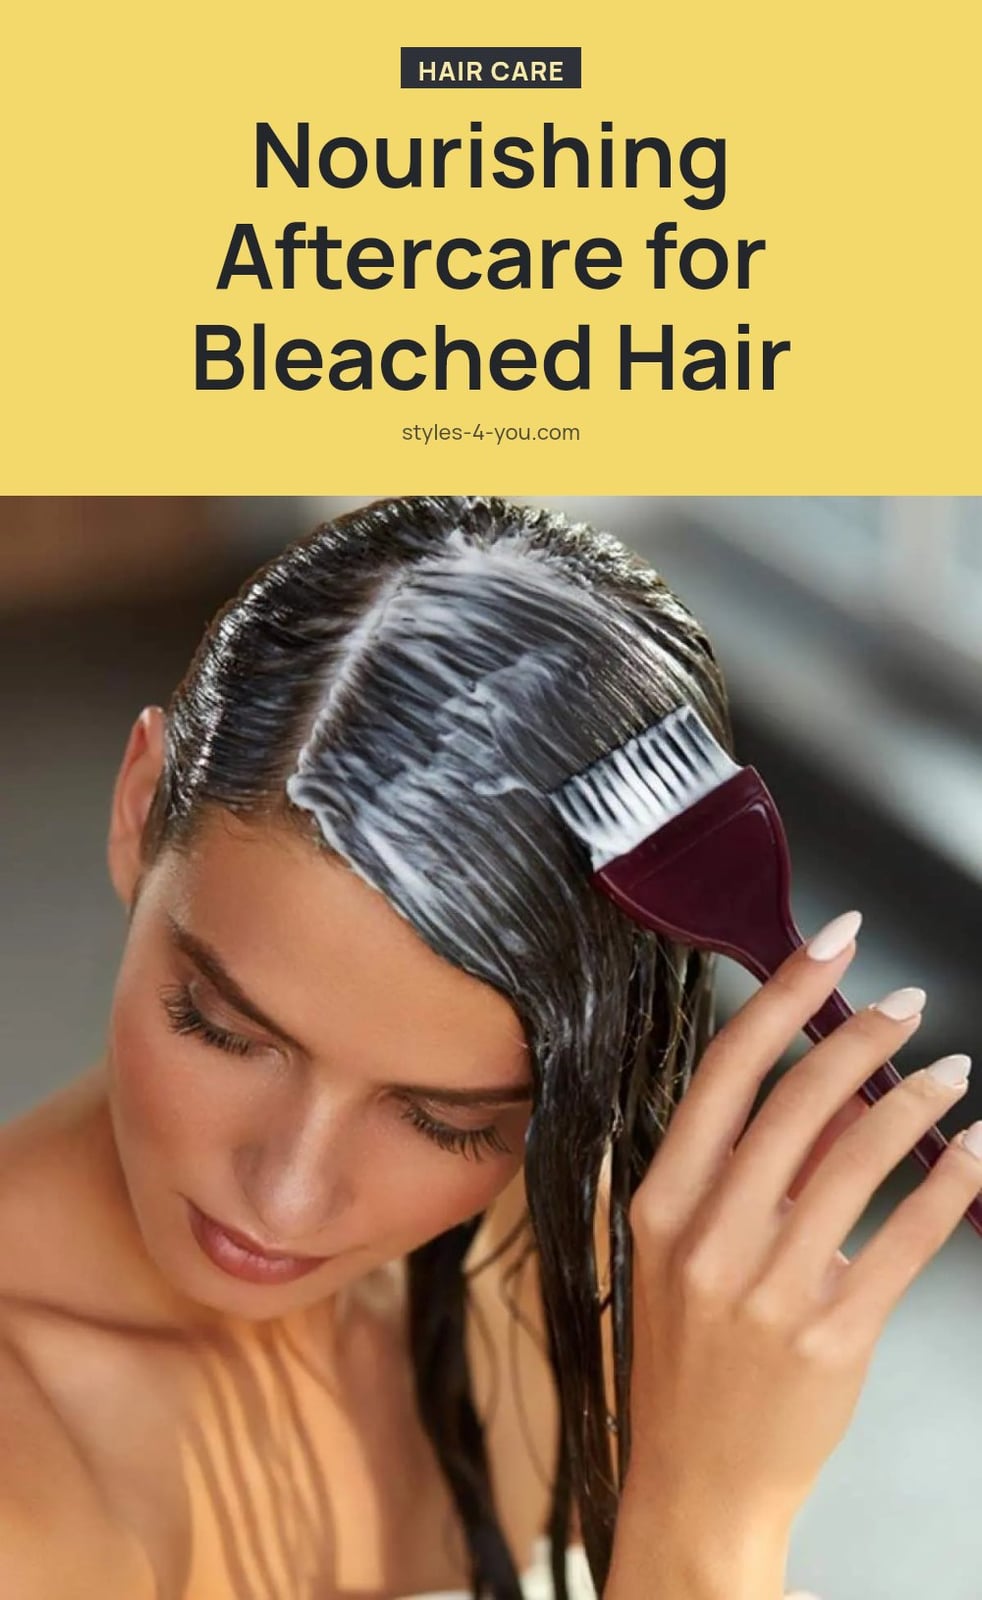
Bleached hair is more porous and fragile, so it needs extra conditioning and gentle handling. Switch to a sulfate-free shampoo and use a deep conditioner or hair mask after every wash to restore moisture.
Avoid heat styling as much as possible. When you must use heat, apply a heat protectant and keep the temperature low. Protect your hair from sun exposure and chlorine, both can cause discoloration and dryness.
Tip: Schedule regular trims every 6-8 weeks to remove split ends and maintain healthy-looking hair.
Bleaching Timeline and Retouching Schedule
The initial bleaching process takes 20-45 minutes of processing time, depending on your hair’s starting color and texture. Check the lift every 5-10 minutes and rinse once you reach the desired shade.
Root retouches are typically needed every 4-8 weeks as your natural color grows in. At-home bleaching is more affordable than salon services, but you save money by doing the work yourself.
When to Call a Professional Stylist
Call a professional if your hair is already severely damaged, brittle, or has been chemically treated recently. Bleaching compromised hair can lead to breakage or hair loss.
For significant color correction or dramatic changes, a stylist can assess your hair’s condition and choose the right approach. Complex techniques like balayage or highlights require precise application that is hard to achieve at home.
Caution: If you have multiple previous chemical treatments, let a professional handle the process to minimize further damage.
Frequently Asked Questions
How long should I wait between bleaching sessions?
You should wait at least 4 to 6 weeks between full bleaching sessions to give your hair time to recover. Bleaching too often can cause severe damage, breakage, or hair loss. Focus on deep conditioning during this time to restore moisture and strength.
Can I bleach my hair if it’s already colored?
Bleaching previously colored hair is possible, but it can be unpredictable and more damaging. The existing color may lift unevenly, and you risk over-processing. It’s safer to consult a professional stylist for color correction or wait until the color fades significantly before attempting at-home bleaching.
What should I do if my hair turns orange after bleaching?
Orange tones are common after bleaching, especially on darker hair. A toner can neutralize those unwanted warm undertones and help you achieve a more natural blonde. Apply a toner after rinsing the bleach, following the product’s instructions for timing.
How do I know what developer volume to use for my hair?
For at-home bleaching, a 20-volume developer is generally recommended to minimize damage. Higher volumes like 30 or 40 lift faster but increase the risk of breakage and irritation. If you have fine or damaged hair, stick with 20-volume or consider seeing a professional.
Is it normal for my scalp to tingle during bleaching?
A mild tingling sensation can be normal as the bleach processes, but it should not be painful or intense. If you experience burning, itching, or severe discomfort, rinse the bleach off immediately. This could indicate a chemical burn or allergic reaction.
Final Thoughts
For the best results, stick with a 20-volume developer and never skip the strand test. Expect the process to take 20-45 minutes of processing time, and remember that bleached hair needs extra care with sulfate-free shampoo and deep conditioning. With the right prep and patience, you can achieve a lighter shade safely at home.
This article provides general information for educational purposes only and is not a substitute for professional medical or hair care advice. Always perform a patch test before use, and consult a doctor or dermatologist if you experience severe irritation, allergic reactions, or have concerns about your hair or scalp health.
More Blog ideas
- Your Essential Guide to a Healthy Feminine Hygiene Routine
- Best High Protein Foods to Eat Daily for Health and Energy
- Feeling Stuck: 12 Small Steps to Get Unstuck
- Winter Skin Survival Tips
- How to Get a Flat Stomach
- How to Fix Damaged Hair and Restore Its Health
- Full-Body Kettlebell Workout
- Dry Scalp vs. Dandruff
- Full Body Workout for Beginners
- 21 Easy Beauty Tips Every Woman Should Know
- Feminine Energy: 15 Daily Habits to Feel More Radiant
- Upper Body Workout for Women at Home