Heat Protectant Tips for Damage-Free Styling
Learn how to use heat protectant effectively for damage-free styling. Discover the right products for your hair type and common mistakes to avoid.

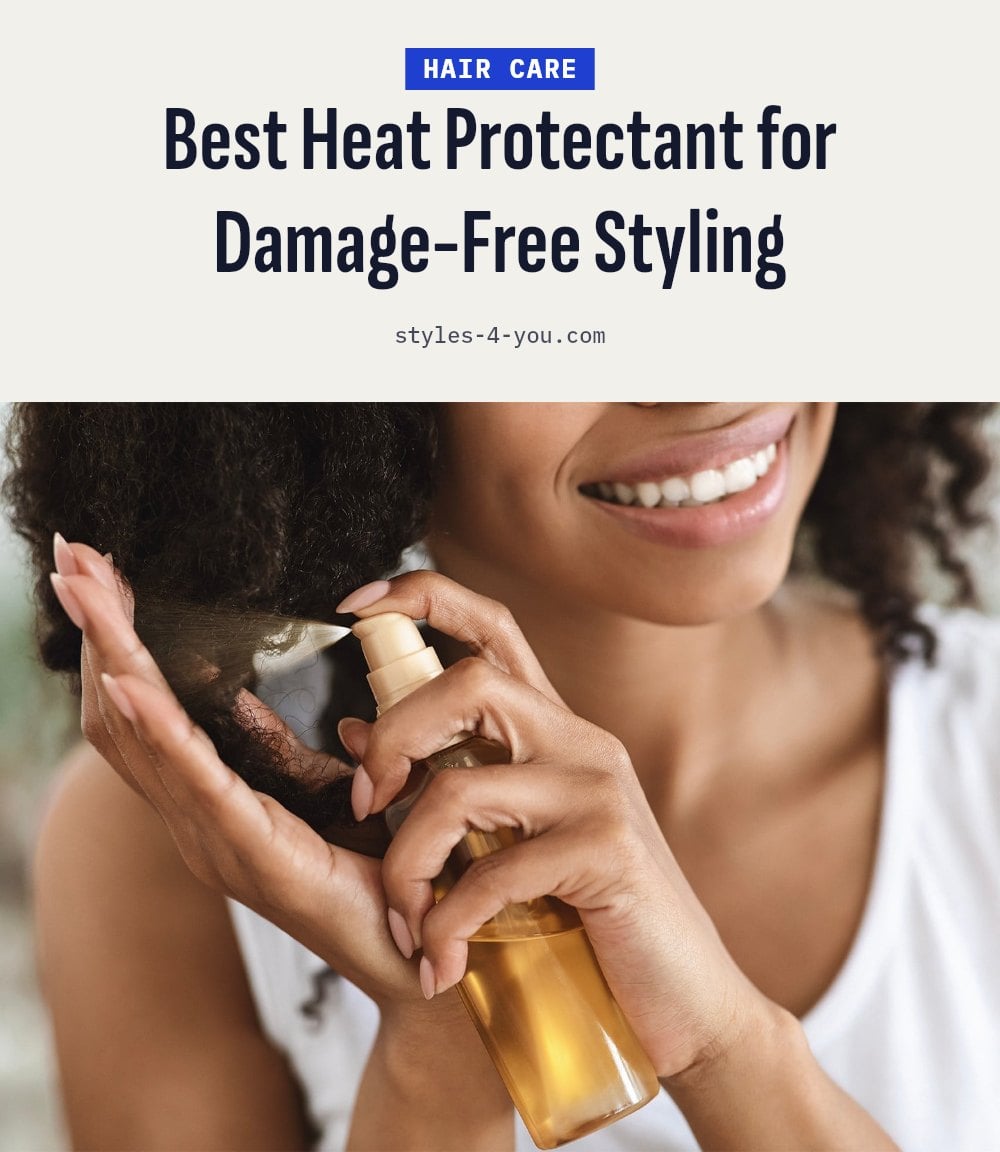
If you regularly use a blow dryer, flat iron, or curling wand, you already know heat can take a toll on your hair. The good news is that a heat protectant creates a barrier that slows heat conduction and seals the cuticle, keeping moisture in and reducing protein breakdown. This article covers how to choose the right formula, apply it correctly for different tools, and avoid common mistakes so your hair stays healthy and strong.
Key Takeaways
- Apply heat protectant to damp, towel-dried hair before blow-drying and to completely dry hair before flat ironing or curling.
- Match the formula to your hair type: lightweight sprays for fine hair, creams or serums for thick or curly hair.
- Use the lowest effective temperature on your styling tools; heat protectant reduces damage but doesn’t make hair immune.
- Distribute product evenly through mid-lengths and ends, sectioning hair if needed, and comb through for full coverage.
- Clean your styling tools regularly to prevent hot spots that can singe hair even with a protectant.
What is Heat Protectant and Why You Need It?
Heat protectant is a hair product that coats each strand before you use any hot tool. It works by forming a barrier that slows heat conduction and seals the cuticle, which keeps moisture inside and prevents protein breakdown. Without it, high temperatures from blow dryers, flat irons, and curling wands can cause split ends, breakage, and dullness. If you regularly use heat on your hair, this product is non-negotiable for maintaining its health.
1. Choose the Right Formula
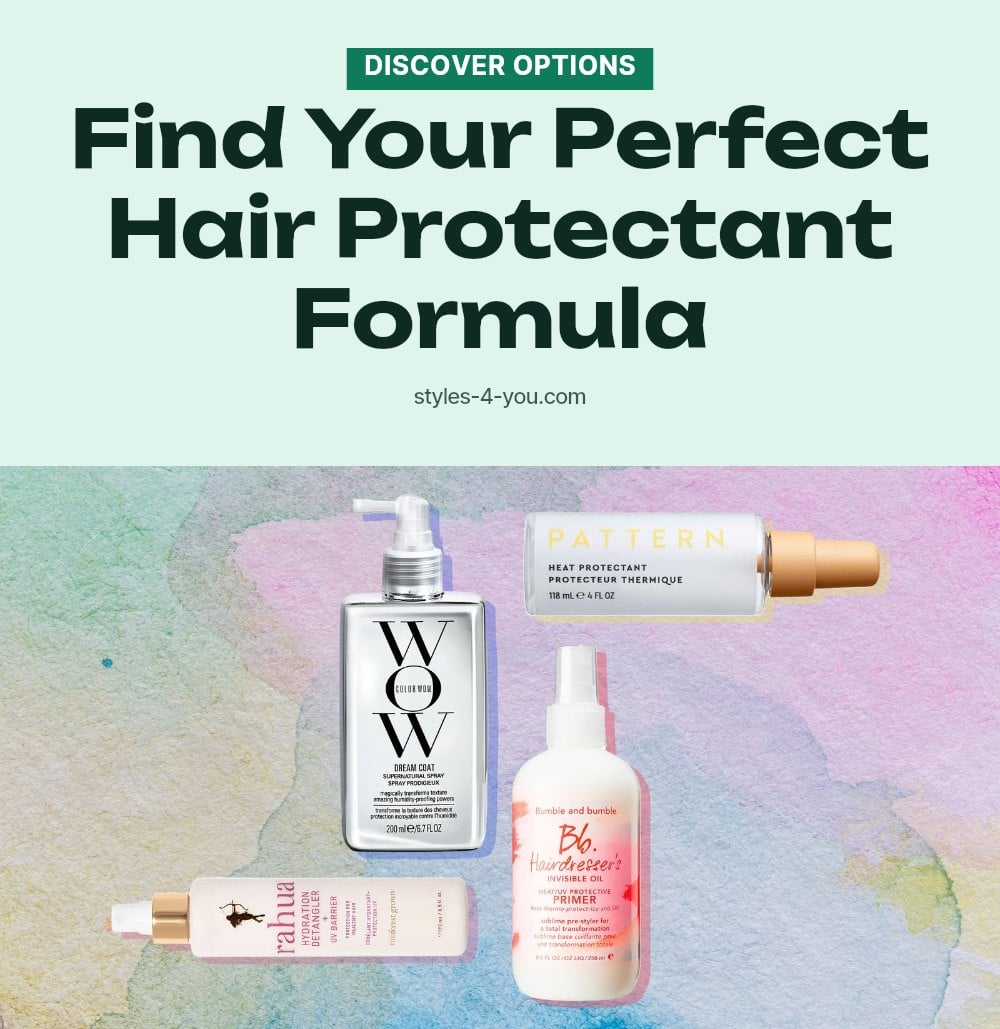
Not all heat protectants work the same way, so match the formula to your hair type and tool. For fine or thin hair, a lightweight spray or mist won’t weigh it down. For thick, coarse, or curly hair, a cream or serum provides more conditioning and protection.
- Blow-drying: Look for a product labeled for blow-drying, often a spray or lotion that can handle prolonged airflow.
- Flat ironing or curling: Choose a formula designed for direct contact and higher temperatures, such as a thermal spray or serum.
2. Apply to Damp Hair for Blow-Drying
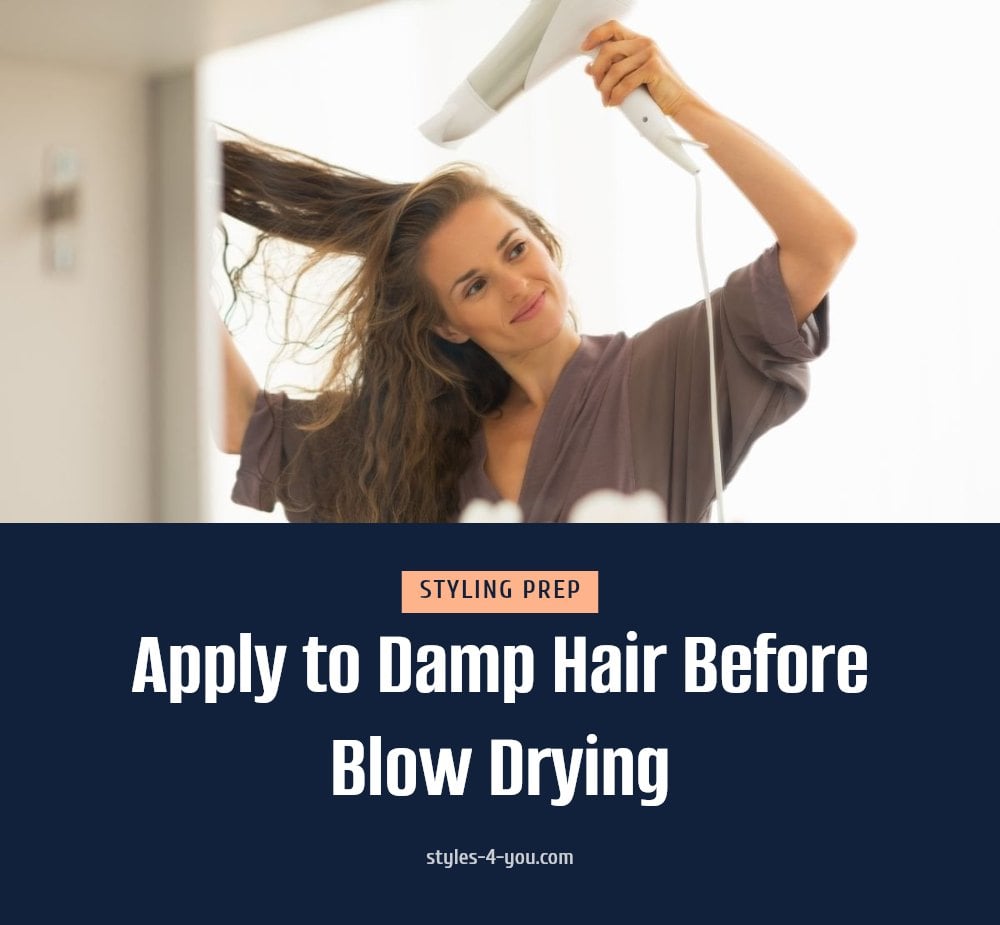
Before blow-drying, apply heat protectant to clean, damp, towel-dried hair, not soaking wet. Damp hair absorbs the product evenly, so every strand gets a protective coating before the heat hits. Work the product through from mid-lengths to ends, then comb through to distribute it. This step prevents moisture loss during blow-drying and keeps your hair smoother.
3. Reapply to Dry Hair for Irons
For flat irons and curling wands, start with completely dry hair, then apply a fresh layer of heat protectant. These tools operate at higher temperatures and have direct contact with your hair, so the barrier needs to be renewed. Use a lighter formula, a spray or mist works well, and focus on the sections you’ll style. Note: For thick, coarse, or curly hair, a cream or serum might be more appropriate even with these tools, as it provides more conditioning. My tip: spray it onto your hands first, then smooth it over each section for even coverage without oversaturation.
4. Distribute Evenly Through Hair
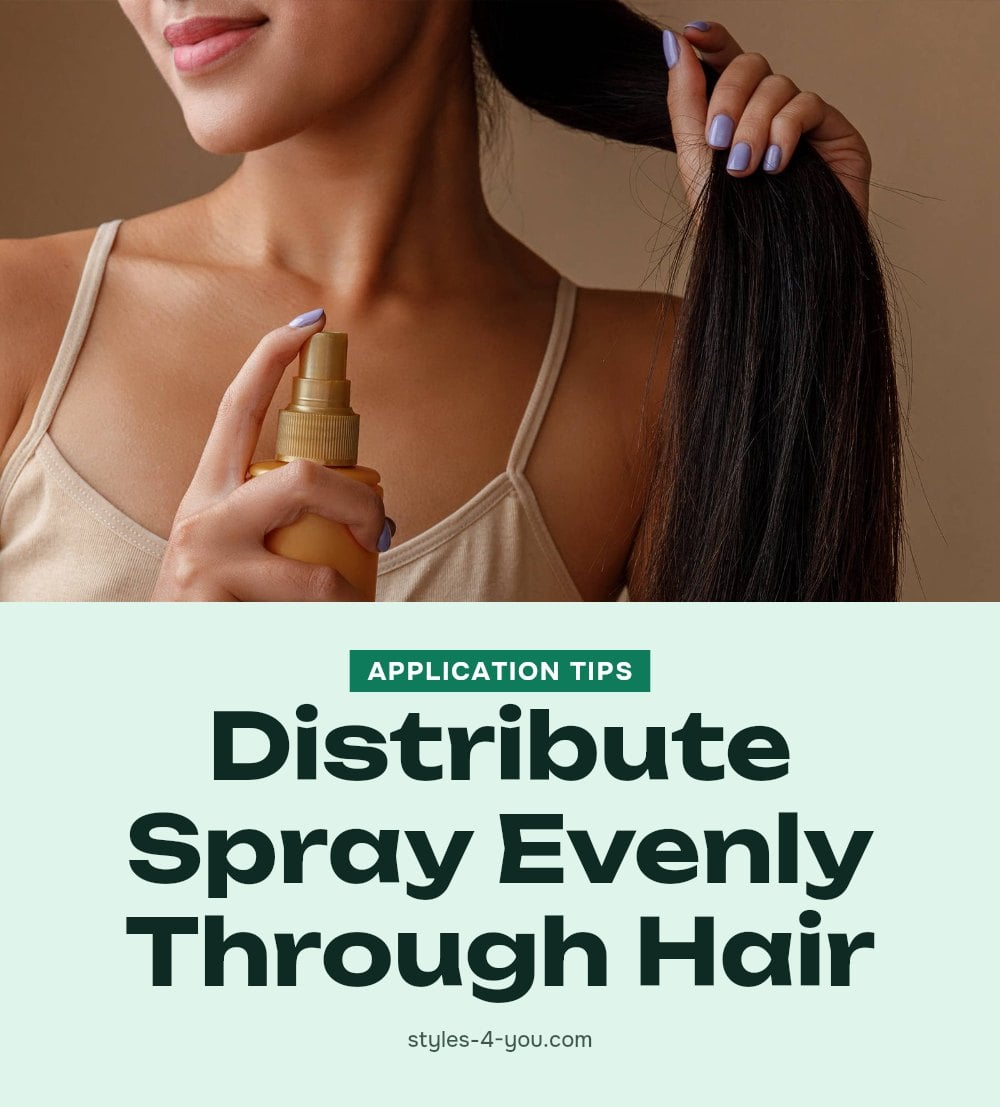
Spraying just the top layer leaves the underneath strands unprotected. Section your hair into four parts and lift each section, spraying or applying the product from mid-lengths to ends, where damage is most likely to occur.
After applying, run a wide-tooth comb or a brush through each section. This distributes the product evenly, ensuring every strand is coated and creating a consistent protective barrier.
5. Use the Lowest Effective Temperature
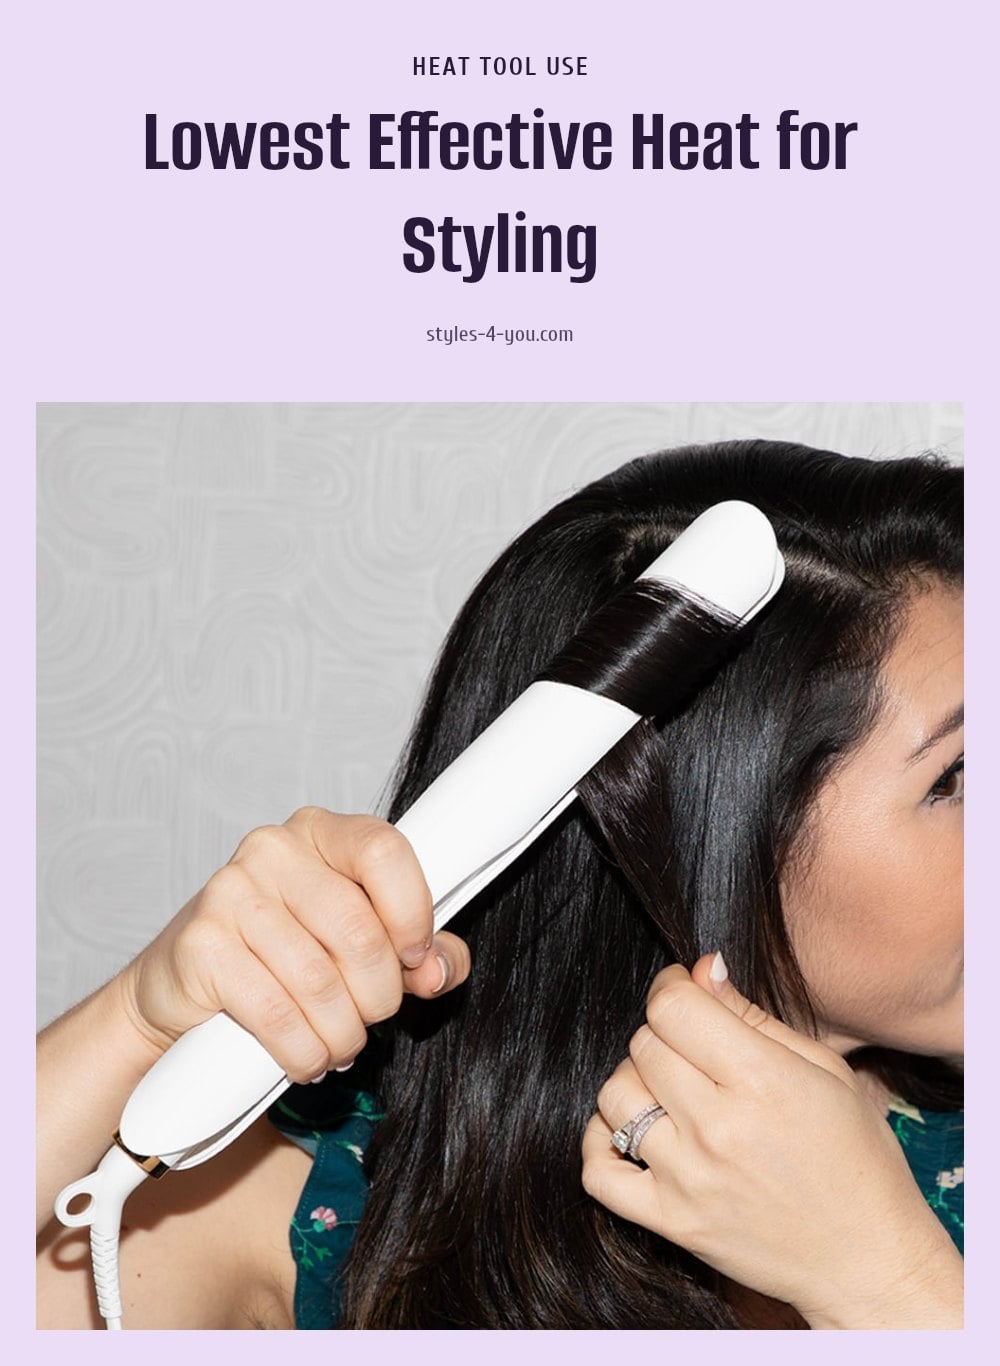
Even with a heat protectant, your styling tool’s temperature matters. High heat can still damage hair, so start with the lowest setting that works for your hair type and the style you want. Increase the heat only if the lower setting isn’t effective.
For fine or damaged hair, keep the temperature around 300°F; for thick or coarse hair, you may need up to 400°F. Let the tool heat up fully before use, and test a small strand first. This way, you minimize damage while still getting the results you want.
6. Don’t Overdo It
More product doesn’t mean more protection. Too much heat protectant can weigh your hair down, leave a greasy film, or build up residue that makes styling harder.
Start with a small amount, about a nickel-sized squirt for a spray or a pea-sized dab for a cream, and work it through. Add a touch more only if you have very thick or long hair, but let your hair tell you when it’s enough.
7. Consider UV Protection
Some heat protectants include UV filters that block environmental damage from sun exposure. This matters because UV rays break down hair proteins and fade color, similar to how they affect skin. If you spend time outdoors after styling, a protectant with UV protection adds a useful extra layer.
- Check the label: Look for terms like “UV protection” or “UV filter” on the packaging.
- Reapply if needed: If you’re out in strong sun for hours, a quick refresh can help maintain the barrier.
8. Clean Your Styling Tools
Product buildup on your flat iron or curling wand creates hot spots that heat unevenly. Those patches can singe strands even when you’ve applied a protectant, so wipe down the plates with a damp cloth after every few uses.
For deeper cleaning, unplug the tool and gently rub the plates with a cotton pad dipped in rubbing alcohol. Let it dry completely before you plug it back in.
Tip: Check the manufacturer’s care instructions, since some coatings scratch easily. Clean tools heat evenly and let your protectant do its job.
9. Listen to Your Hair
If you see excessive steam, smell something burning, or your hair feels overly hot to the touch, stop styling right away. These are signs that the temperature is too high or your tool isn’t working properly. Continuing can cause severe, irreversible damage like melted strands or breakage.
Let your hair cool down, check your tool’s settings, and inspect the plates or barrel for issues. If the problem persists, lower the heat or switch tools. Your hair’s reaction is the best guide.
10. Combine with Other Healthy Habits
Heat protectant is a vital tool, but it’s not a magic shield. Pair it with regular deep conditioning treatments to replenish moisture and strengthen hair bonds, especially if you style often. Gentle brushing with a wide-tooth comb reduces breakage, and air-drying when possible gives your hair a break from heat entirely. These habits work together with your protectant to keep hair healthy long term.
11. Don’t Skip It, Even Occasionally
Even if you only reach for a flat iron or curling wand a few times a month, always use a heat protectant. Every single pass of a hot tool causes some degree of protein breakdown and moisture loss, and those small hits add up over time.
Consistent protection is what keeps your hair resilient, whether you style daily or once a season. Keep a bottle next to your dryer and irons so you never have to decide in the moment.
Common Heat Protectant Mistakes to Avoid
Spraying heat protectant on soaking wet hair is a common miss. It should go on damp, towel-dried hair before blow-drying, since water dilutes the product and can cause uneven steaming.
If your hair gets damp again or you switch from blow-drying to flat ironing, reapply a fresh layer. Skipping that step leaves your hair unprotected against direct contact tools.
Only coating the top layer is another frequent error. Section your hair and work the product through every layer, especially mid-lengths and ends, where damage shows first.
Don’t treat heat protectant as a full shield. It reduces damage but doesn’t make hair immune, so always use the lowest effective heat setting on your tool.
Finally, apply it to clean hair only. Product buildup on dirty strands can block the protectant from bonding and lead to patchy styling results.
Frequently Asked Questions
Can I use heat protectant every day?
Yes, you can use heat protectant every day if you style your hair with heat daily. It’s safe for regular use, and applying it before each session helps minimize cumulative damage. Just be sure to use a lightweight formula if your hair is fine or prone to buildup.
Does heat protectant really work?
Yes, heat protectant works by forming a protective barrier on the hair shaft that slows heat conduction and seals the cuticle. This reduces moisture loss and protein degradation, which are the main causes of heat damage. It’s not a complete shield, but it significantly lowers the risk of split ends, breakage, and dullness.
What happens if I don’t use heat protectant?
Without heat protectant, each pass of a hot tool causes some degree of protein breakdown and moisture loss. Over time, this leads to split ends, breakage, frizz, and dullness. Even occasional styling without protection adds up, so it’s best to always use it.
Can I use heat protectant on dry hair before blow-drying?
It’s better to apply heat protectant to damp, towel-dried hair before blow-drying. Dry hair doesn’t absorb the product as evenly, and the water in damp hair helps distribute the barrier. If you apply it to dry hair, you might not get full coverage, and the blow-drying heat could still cause damage.
Final Thoughts
My tip: start with a small amount of heat protectant, about a nickel-sized squirt for spray or a pea-sized dab for cream, and increase only if needed. Even with daily use, you should see less frizz, fewer split ends, and stronger hair over time. Pair it with regular deep conditioning and gentle brushing, and your hair will thank you.
More Blog ideas
- Your Essential Guide to a Healthy Feminine Hygiene Routine
- Best High Protein Foods to Eat Daily for Health and Energy
- Feeling Stuck: 12 Small Steps to Get Unstuck
- Winter Skin Survival Tips
- How to Get a Flat Stomach
- How to Fix Damaged Hair and Restore Its Health
- Full-Body Kettlebell Workout
- Dry Scalp vs. Dandruff
- Full Body Workout for Beginners
- 21 Easy Beauty Tips Every Woman Should Know
- Feminine Energy: 15 Daily Habits to Feel More Radiant
- Upper Body Workout for Women at Home