Homemade Lotion: Easy DIY Recipe with Natural Ingredients
Learn how to make your own natural homemade lotion with this easy DIY recipe. Control ingredients, save money, and avoid harsh chemicals.

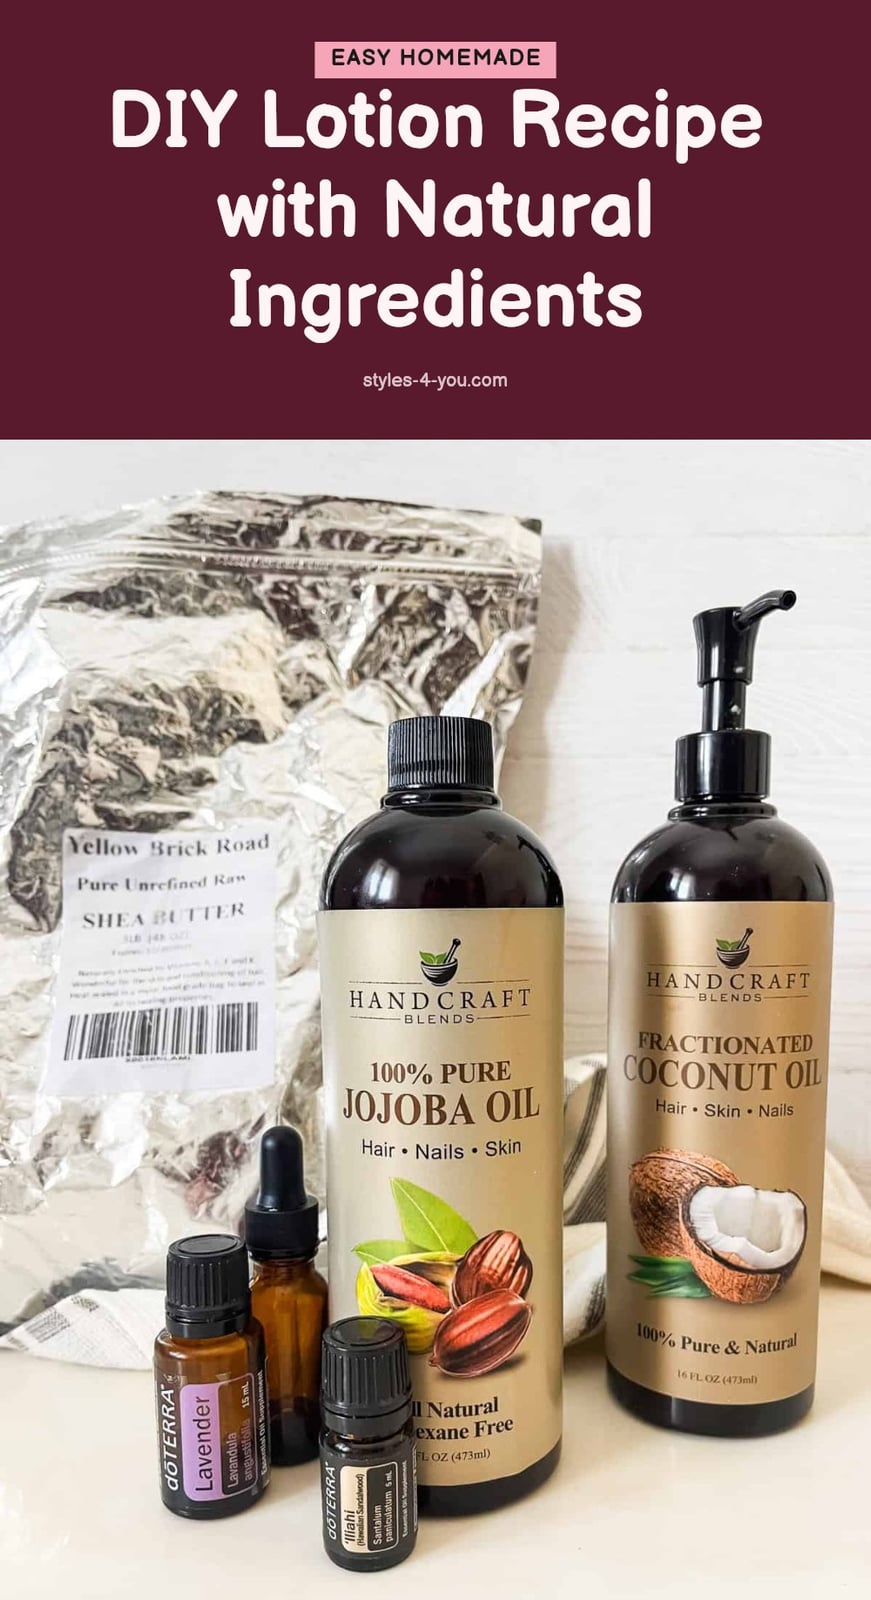
You want to know exactly what goes into the lotion you put on your skin, and making your own is the most direct way to get that control. This article walks you through a simple DIY recipe using natural oils and butters, explains the essential tools and steps, and covers the critical safety rules you need to follow to avoid spoilage or skin irritation.
Key Takeaways
- Always use a broad-spectrum preservative in any lotion that contains water.
- Heat both oil and water phases to 160-170°F before combining for proper emulsification.
- Sanitize all equipment and containers thoroughly before you start making lotion.
- Store homemade lotion in airtight, opaque containers in a cool, dark place.
- With proper preservation, homemade lotion typically lasts 3-6 months.
Why Make Your Own Natural Lotion at Home?
Making your own lotion puts you in control of every ingredient that touches your skin. You can choose natural oils and butters while skipping the harsh chemicals, synthetic fragrances, and preservatives found in many commercial products. Lotion is an emulsion, a stable blend of oil and water that normally wouldn’t stay mixed. That’s why you need an emulsifier to keep it together and a broad-spectrum preservative to prevent bacterial growth. With just a few key ingredients and proper technique, you can create a nourishing lotion tailored exactly to your skin’s needs.
Simple DIY Lotion Recipe
This recipe makes approximately 4 ounces (120 ml) of lotion. Use a digital scale for all measurements.
- Oil Phase: 1.5 oz (42 g) sweet almond oil, 0.5 oz (14 g) shea butter, 0.5 oz (14 g) emulsifying wax NF
- Water Phase: 2.5 oz (70 g) distilled water, 0.25 oz (7 g) glycerin
- Cool Down Phase: 0.1 oz (3 g) Liquid Germall Plus (or other broad-spectrum preservative, following manufacturer’s rate), 5-10 drops essential oil (optional)
Combine the oil phase ingredients in one heat-safe container and the water phase ingredients in another. Heat both to 160-170°F (70-77°C) in a double boiler. Once melted, pour the water phase into the oil phase and blend vigorously with an immersion blender for 3-5 minutes. Let cool below 100°F (38°C), then add the preservative and optional essential oils. Blend briefly and transfer to a sanitized, opaque container.
Essential Tools and Ingredients for Lotion Making
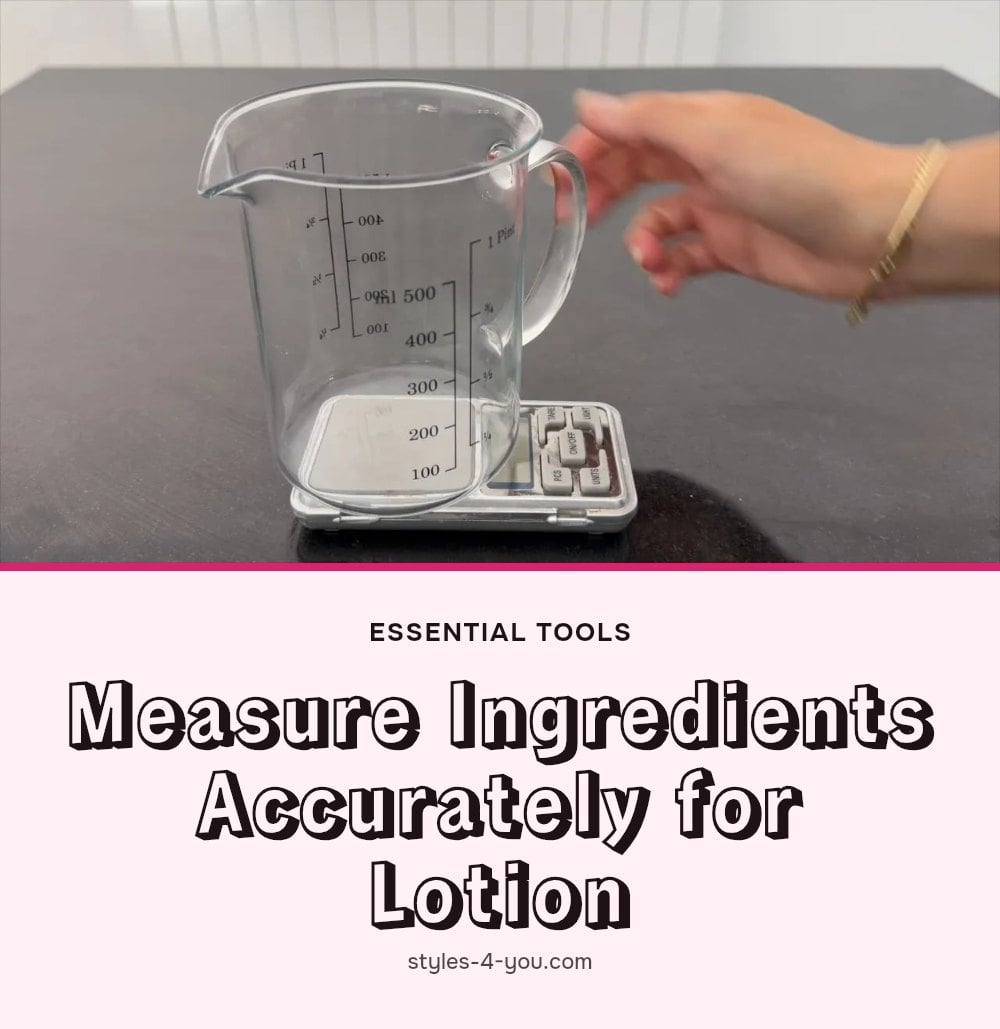
Gather these tools before you start, and sanitize everything with rubbing alcohol or a boiling water rinse.
- Digital Scale: Precision matters, especially for emulsifiers and preservatives. Use a scale accurate to 0.1 g.
- Heat-Safe Containers: Glass beakers or Pyrex measuring cups hold the oil and water phases during heating.
- Saucepans: A small saucepan for a double boiler or water bath gently heats your ingredients without scorching.
- Immersion Blender: This is the tool that creates a stable emulsion. A whisk won’t provide enough force.
- Spatulas: Silicone spatulas help you scrape every bit of lotion from the containers.
- Airtight, Opaque Containers: Dark glass bottles or opaque plastic jars protect your lotion from light and air, extending its shelf life.
Step-by-Step Guide to Making Your Own Lotion
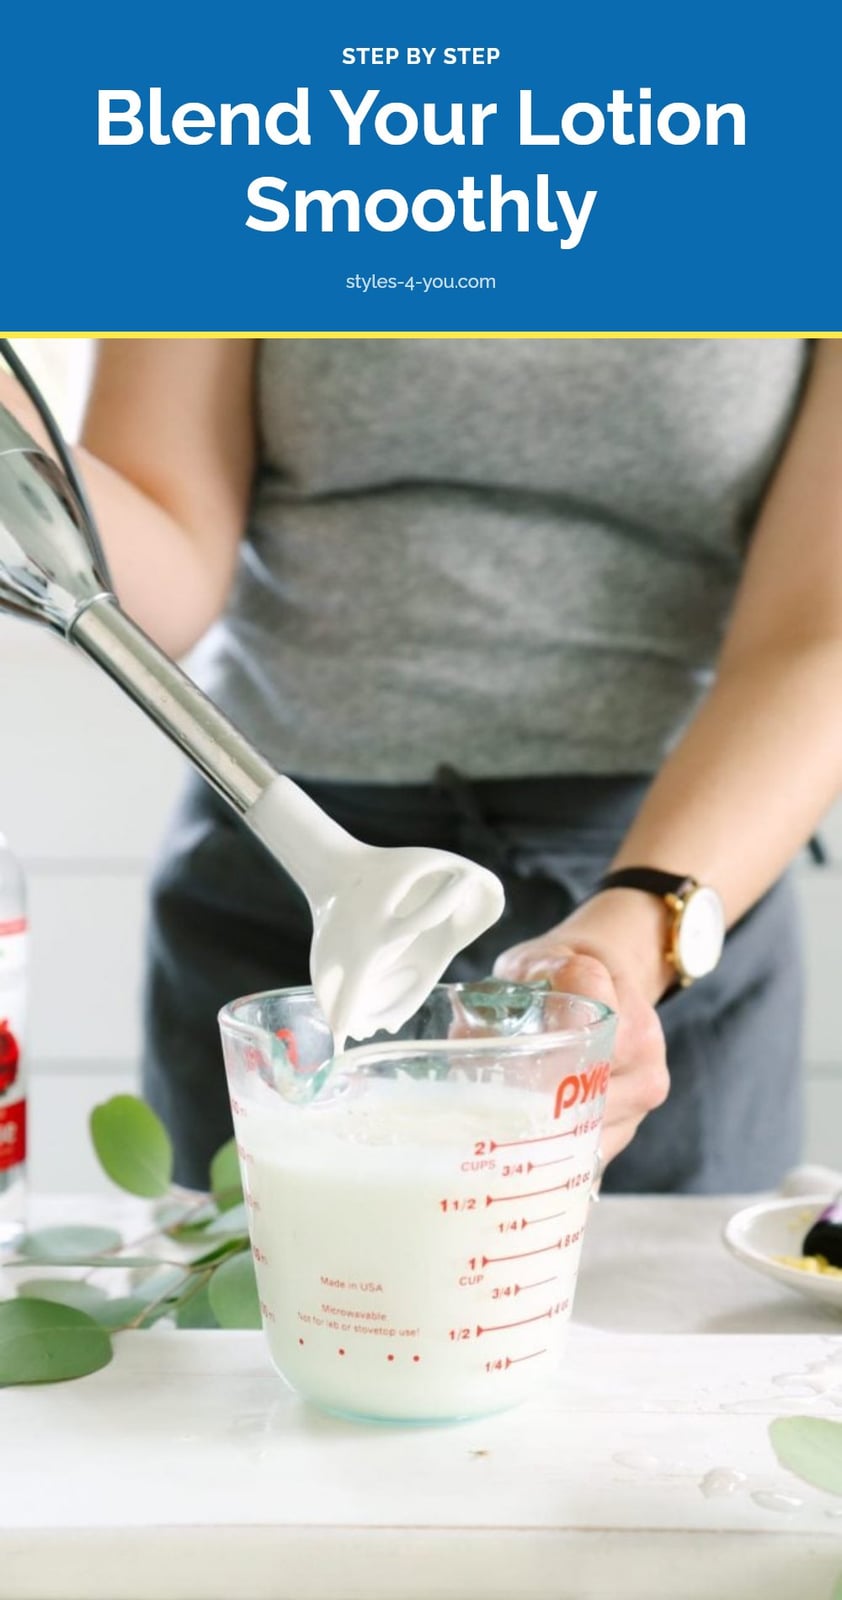
Follow these steps carefully for a stable, safe lotion.
- Sanitize everything: Clean all equipment, containers, and work surfaces with rubbing alcohol or a diluted bleach solution. Rinse thoroughly.
- Measure the oil phase: Weigh your carrier oil, butter, and emulsifying wax into one heat-safe container.
- Measure the water phase: Weigh distilled water and glycerin into a separate heat-safe container.
- Heat the water phase: Place the water phase container in a double boiler or water bath. Heat gently until it reaches 160-170°F (70-77°C).
- Heat the oil phase: Place the oil phase container in a double boiler or water bath. Heat gently until all solids are melted. My tip: Use a thermometer to check both temperatures; combining them at similar temperatures prevents the emulsion from breaking.
- Combine the phases: Carefully pour the hot water phase into the hot oil phase.
- Blend vigorously: Immediately use an immersion blender to mix for 3-5 minutes. Move the blender around the container to incorporate all the liquid. The mixture should become thick and creamy.
- Cool and stir: Continue blending intermittently or stirring gently with a spatula as the lotion cools. This helps it thicken further.
- Add preservative: Once the lotion is below 100°F (38°C), add your broad-spectrum preservative. Blend briefly to distribute evenly.
- Add optional oils: After the preservative is incorporated, add essential oils if desired. Blend again briefly.
- Transfer to containers: Pour or spoon the lotion into your sanitized, airtight, opaque containers. Label with the date.
Common Mistakes to Avoid When Making Lotion
Skipping the preservative: This is the most critical mistake. Any water-containing product needs a broad-spectrum preservative to prevent bacterial, mold, and yeast growth, which can lead to spoilage and potential skin infections. Always include one.
Not using an emulsifier: Lotion is an emulsion of oil and water. Without an emulsifier, these two phases will separate, leaving you with an oily mess and watery liquid.
Inaccurate measurements: Precision is key in lotion making, especially for emulsifiers and preservatives. Always use a digital scale accurate to 0.1g.
Insufficient mixing: A weak emulsion will separate. You need vigorous blending with an immersion blender to properly combine the oil and water phases into a stable lotion.
Using tap water: Tap water contains minerals and microbes that can contaminate your lotion and affect its stability. Always use distilled water or a hydrosol.
Not sanitizing equipment: Any unsterilized tools or containers can introduce bacteria, mold, or yeast into your lotion, leading to spoilage even with a preservative.
Pro Tips for Perfect Homemade Lotion Every Time
Always patch test: Before applying your homemade lotion widely, do a patch test on a small area of skin to check for any irritation or allergic reactions. My tip: apply a small amount to your inner forearm and wait 24 hours.
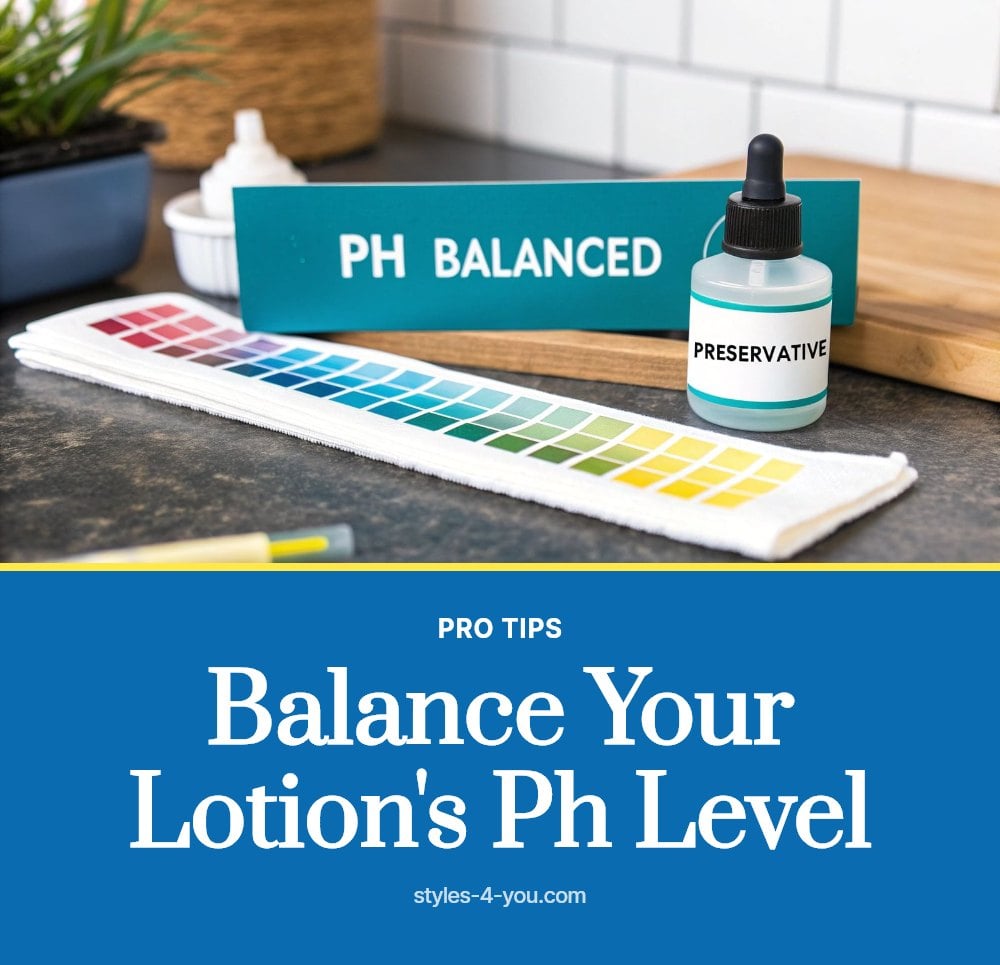
Check pH: For optimal skin compatibility and preservative efficacy, aim for a pH between 4.5 and 5.5. You can test this with pH strips once your lotion has cooled.
Don’t overdo essential oils: While lovely for fragrance, essential oils are potent. Use them at very low concentrations (typically 0.5-1% of your total formula) to avoid skin irritation.
Store properly: Keep your homemade lotion in airtight, opaque containers away from direct sunlight and extreme temperatures to prolong its shelf life.
Experiment with oils and butters: Once you’re comfortable with the basic recipe, try different carrier oils (like jojoba or grapeseed) and butters (like cocoa or mango) to find what works best for your skin type.
Storing Your Homemade Lotion for Maximum Freshness
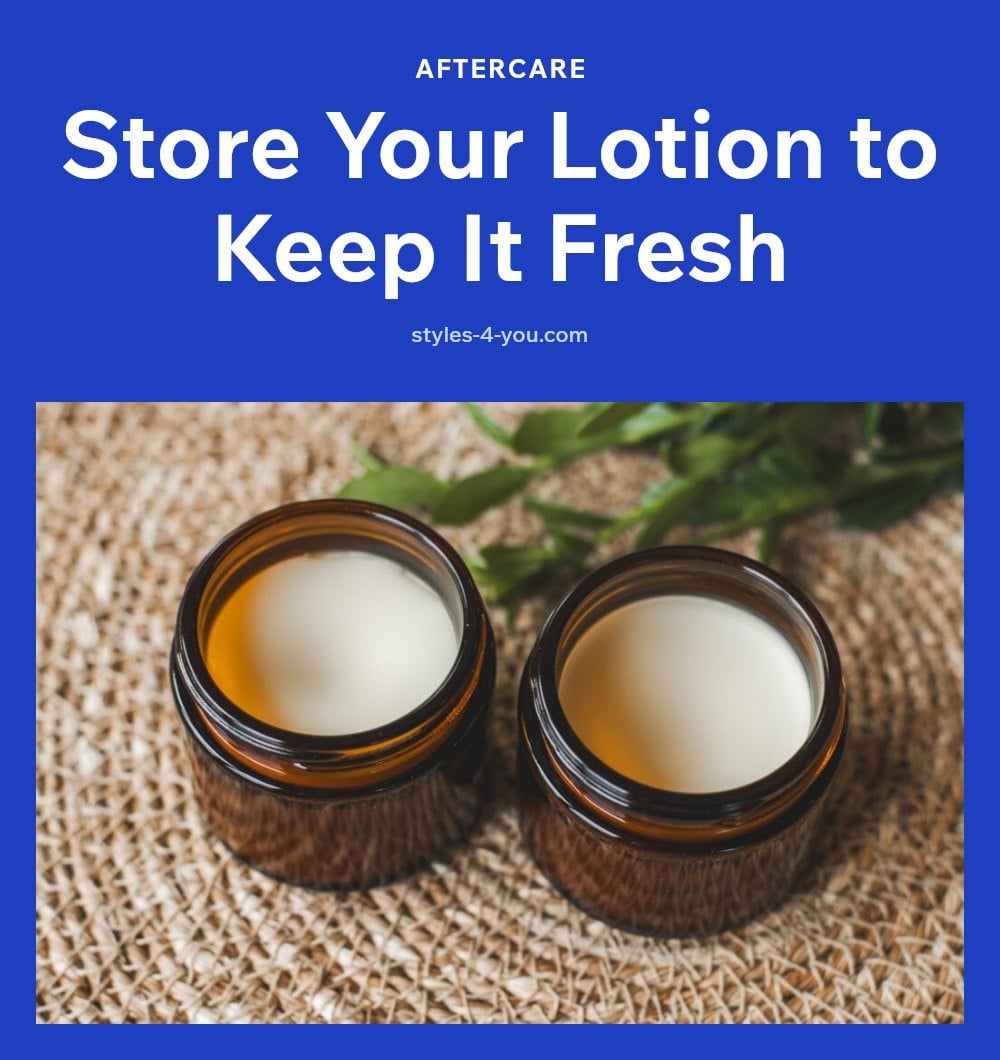
Airtight containers: Always store your lotion in containers that seal tightly to prevent air exposure, which can degrade oils and introduce contaminants.
Opaque containers: Light can break down ingredients, especially delicate oils and butters. Opt for dark glass or opaque plastic containers.
Cool, dark place: Store your lotion away from direct sunlight and heat sources, like a bathroom cabinet or drawer, to maintain its stability and extend its shelf life.
Avoid introducing contaminants: Use a clean spatula or pump dispenser to retrieve lotion, rather than dipping your fingers directly into the jar, which can introduce bacteria.
Watch for signs of spoilage: Discard your lotion immediately if you notice any separation, mold growth, unusual odors, or discoloration.
My tip: Even with proper preservation, homemade lotion typically lasts only 3-6 months. Write the date on the container so you know when to toss it.
When to Consult a Professional About Skin Reactions
If you experience persistent redness, itching, burning, or a rash after using homemade lotion, discontinue use immediately. If symptoms worsen or do not resolve within a few days of stopping the product, consult a dermatologist or healthcare professional.
Never apply homemade lotion to broken, irritated, or infected skin, as this can exacerbate issues or introduce further infection. If you suspect an allergic reaction to a specific ingredient, a dermatologist can help identify the culprit through patch testing.
Frequently Asked Questions
Why do I need an emulsifier in my homemade lotion?
Lotion is an emulsion, a stable mixture of oil and water that would normally separate. Without an emulsifier, the oil and water phases will not blend together and will quickly separate into two layers. Emulsifying wax NF or Polawax holds the mixture together so you get a smooth, creamy lotion.
Can I use tap water for homemade lotion?
No, you should not use tap water. Tap water contains minerals and microbes that can introduce impurities and bacteria into your lotion, leading to spoilage and potential skin irritation. Always use distilled water or a hydrosol for the water phase.
How long does homemade lotion last?
With proper preservation and storage, homemade lotion typically lasts 3 to 6 months. Store it in airtight, opaque containers in a cool, dark place. Without a broad-spectrum preservative, it can become contaminated within days or weeks, even if refrigerated.
What if my homemade lotion separates?
Separation usually means the emulsion was not stable. This can happen if you skipped the emulsifier, did not heat both phases to the same temperature, or did not mix vigorously enough. If your lotion separates, discard it and start over, checking your measurements and technique.
Are essential oils necessary in homemade lotion?
No, essential oils are optional and used only for fragrance. If you do add them, use them at a very low concentration, typically 0.5 to 1 percent of the total formula, and add them during the cool-down phase. Some essential oils can be skin irritants, so research them first.
How do I know if my homemade lotion has gone bad?
Signs of spoilage include separation, mold growth, an unusual odor, or discoloration. If you notice any of these, discard the lotion immediately. Never apply it to your skin if it looks or smells off, as contaminated lotion can cause skin infections or irritation.
Final Thoughts
Stick with the recipe and the safety steps, especially the preservative, and you will end up with a lotion that feels great and stays stable. Expect the process to take about an hour of active work plus cooling time, and remember that your homemade batch will not last as long as a store-bought one. Making your own lotion is a rewarding way to tailor your skincare to exactly what you want.
This information is for educational purposes only and is not a substitute for professional medical advice. Homemade lotions carry a risk of contamination and skin reactions. If you experience persistent redness, itching, or a rash, discontinue use and consult a dermatologist or healthcare professional.
More Blog ideas
- Your Essential Guide to a Healthy Feminine Hygiene Routine
- Best High Protein Foods to Eat Daily for Health and Energy
- Feeling Stuck: 12 Small Steps to Get Unstuck
- Winter Skin Survival Tips
- How to Get a Flat Stomach
- How to Fix Damaged Hair and Restore Its Health
- Full-Body Kettlebell Workout
- Dry Scalp vs. Dandruff
- Full Body Workout for Beginners
- 21 Easy Beauty Tips Every Woman Should Know
- Feminine Energy: 15 Daily Habits to Feel More Radiant
- Upper Body Workout for Women at Home