Jump Rope Workout for Beginners: Your Guide to Getting Started
Discover how to start a jump rope workout for beginners. Learn proper form, essential techniques, and a weekly plan to boost your fitness and coordination.

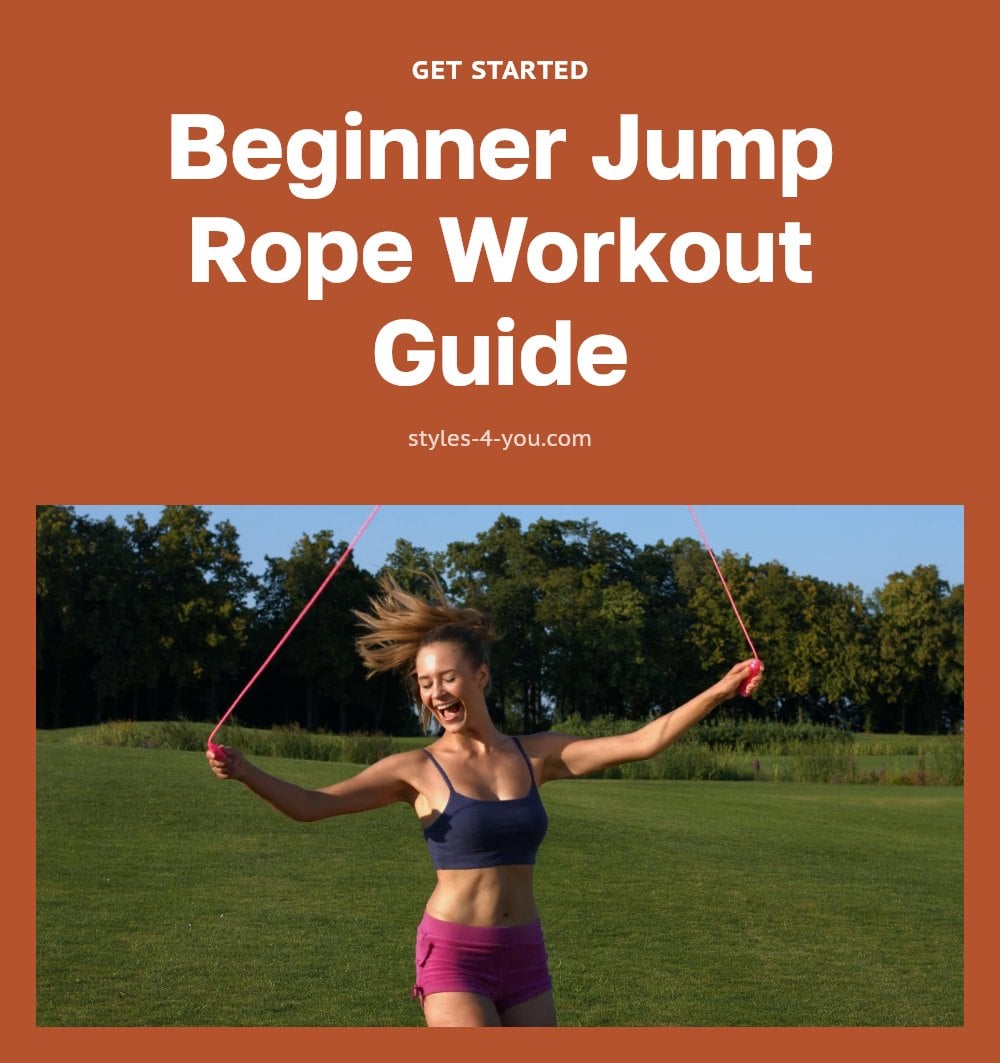
Jumping rope is one of the most efficient workouts you can do at home, and it’s easier to start than you might think. With just a rope and a little space, you can boost your heart health, burn calories, and improve your coordination. In this guide, I’ll walk you through the essential gear, proper form, beginner-friendly moves, and a simple weekly plan to get you started safely.
Whether you’re new to fitness or looking to switch up your routine, this article covers everything you need to begin jump roping with confidence.
Key Takeaways
- Choose a rope that reaches your armpits when you stand on the middle.
- Start with 30 seconds of jumping, then rest 30-60 seconds.
- Land softly on the balls of your feet with a slight knee bend.
- Warm up with arm circles and ankle rotations before each session.
- Begin with 10-15 minute sessions, 3-4 times a week.
Essential Gear for Your Jump Rope Workout
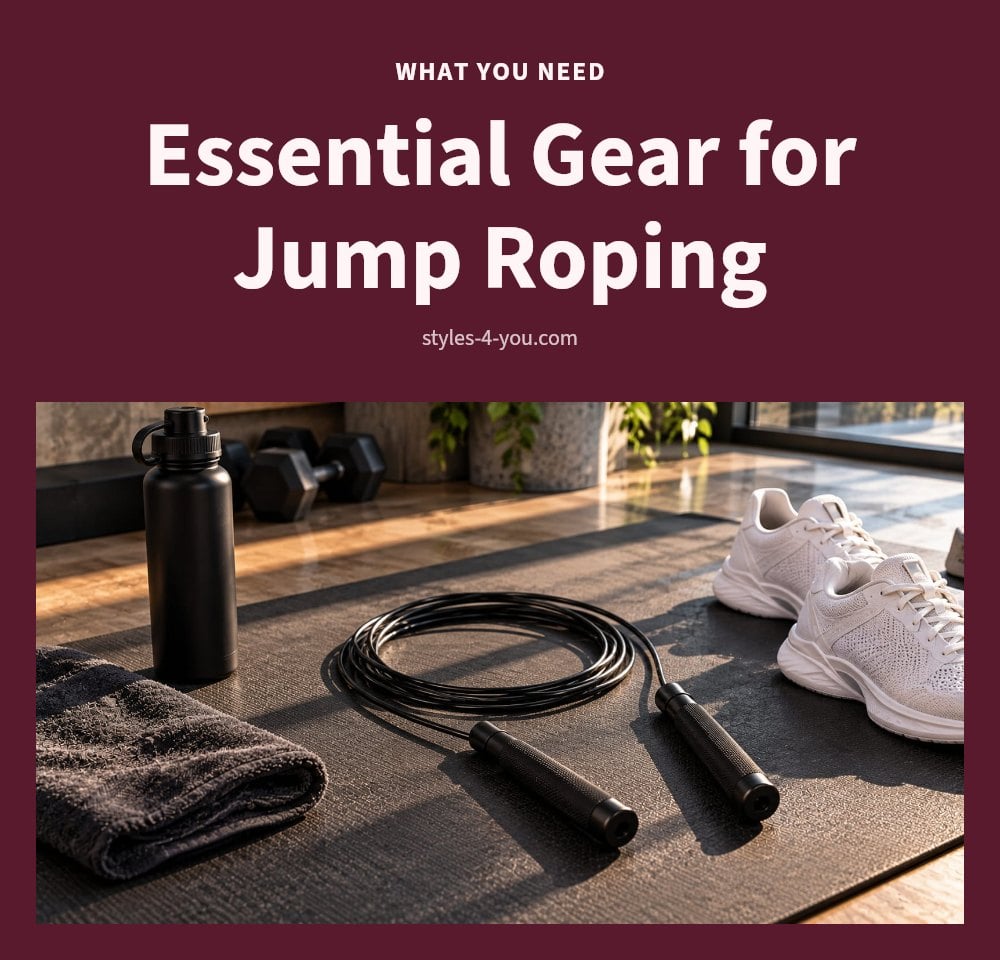
Before you jump, get the gear right. The most important fit check: stand on the middle of your rope and pull the handles up. They should reach your armpits. A rope that hits your chest or your chin will throw off your rhythm and make you trip. Wear supportive athletic shoes with good cushioning, running shoes or cross-trainers work well. They absorb the impact your ankles and knees take with each landing. If you are jumping on concrete or a hard floor, place a workout mat underneath. It gives you a softer surface and reduces joint strain.
1. Warm-Up: Arm Circles
Stand tall with your arms extended straight out to the sides at shoulder height. Keeping your arms parallel to the floor, make small circles forward. Do 10 circles, then reverse direction and do 10 backward. As your shoulders loosen, gradually widen the circles. This warms up the rotator cuff and gets blood flowing to your shoulders and arms before you start swinging the rope.
- Sets and reps: 10 forward, 10 backward
- Form cue: Keep your shoulders down and back, not hunched up toward your ears
- Make it easier or harder: Reduce circle size if you feel tightness; increase to 15 reps each direction for a longer warm-up
2. Warm-Up: Ankle Rotations
Lift one foot a few inches off the ground and point your toes slightly. Slowly rotate your ankle in a full circle, using the full range of motion. Do 10 circles clockwise, then 10 counter-clockwise. Switch feet and repeat. This movement lubricates the ankle joint and prepares it to absorb the repeated impact of landing. Skipping this step can leave your ankles stiff and more prone to discomfort during your workout.
- Sets and reps: 10 each direction per ankle
- Form cue: Keep your leg still and only move the foot; go slowly and deliberately
- Make it easier or harder: Hold onto a wall for balance if needed; write the alphabet with your toes for a more thorough warm-up
3. Basic Bounce
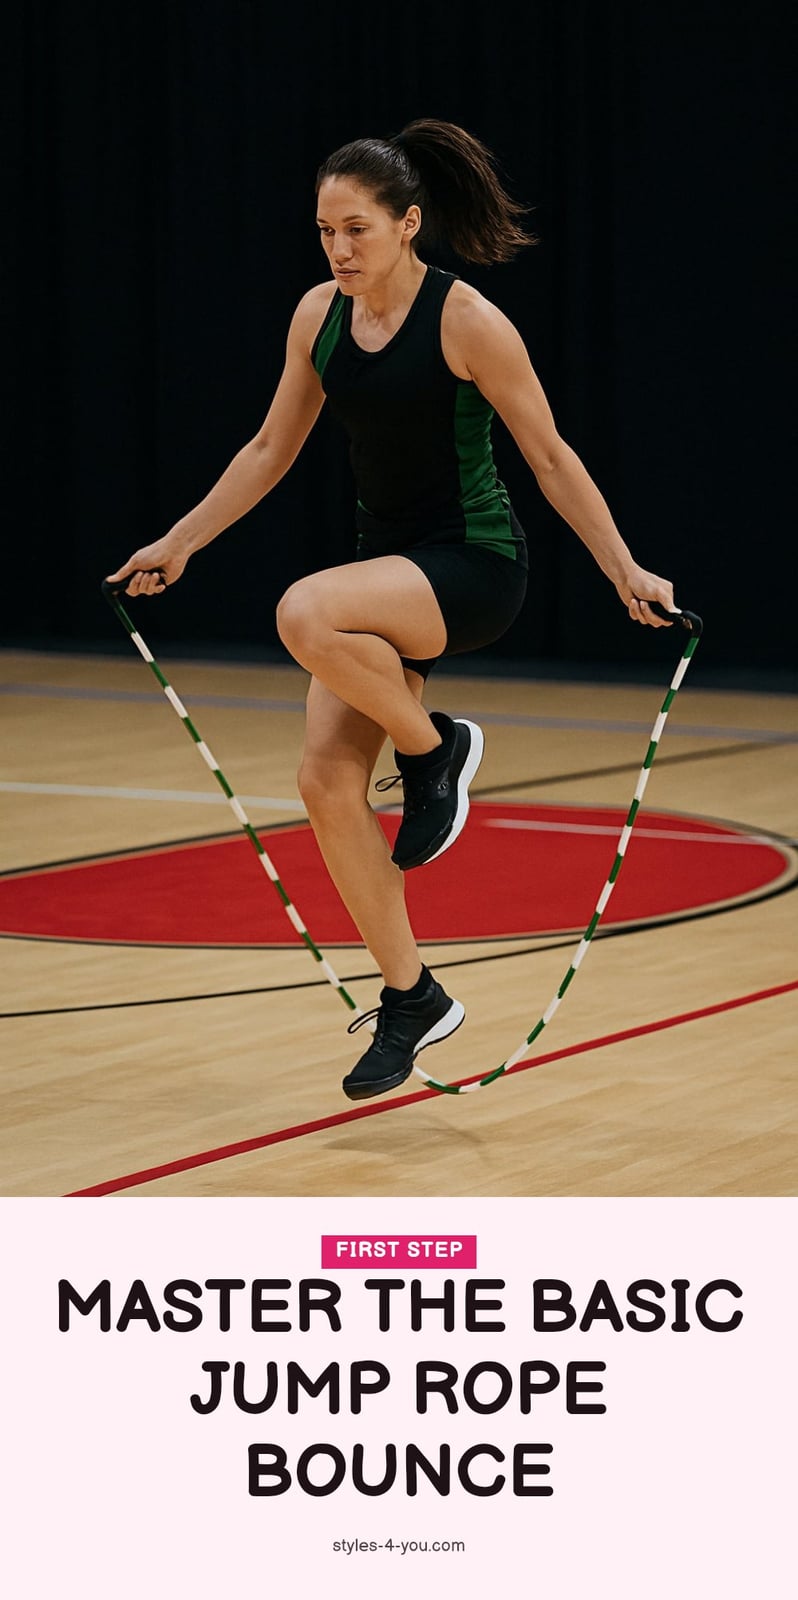
Hold the handles at hip height and keep your elbows bent at about 90 degrees, tucked close to your ribs. Rotate the rope using only your wrists, not your whole arm. Jump just high enough for the rope to pass under your feet, about one to two inches off the ground. Land softly on the balls of your feet with your knees slightly bent and your core braced. This is your foundation technique, so focus on rhythm before speed.
- Time: 30 seconds jumping, 30-60 seconds rest; repeat 3-5 times
- Form cue: Keep your gaze forward and your shoulders relaxed; breathe steadily
- Make it easier or harder: Increase rest to 90 seconds if you need more recovery; add 10 seconds to each jump interval as you build endurance
4. Alternate Foot Step

Instead of jumping with both feet, you alternate lifting one foot just off the ground as the rope passes. This creates a light jogging motion in place, and you keep the rope turning with your wrists, not your arms. Your jumps stay low and controlled.
- Time: Jump for 30 seconds, then rest 30-60 seconds. Repeat 3-5 times.
- Form cue: Land softly on the balls of your feet and keep your knees slightly bent.
- Make it easier or harder: Slow down your jogging pace to build rhythm first, or speed it up once you feel comfortable.
5. High Knees

As the rope passes, bring one knee up toward your chest, then alternate with the other leg. Focus on controlled, rhythmic movements rather than speed at first. Keep your core tight to stay stable.
- Time: Jump for 20 seconds, then rest 40-60 seconds. Repeat 2-3 times.
- Form cue: Drive your knee up, not forward, and keep your torso upright.
- Make it easier or harder: Start with a slower tempo and lower knees, or increase the pace and lift knees higher for more intensity.
6. Cool-Down: Calf Stretch
Stand facing a wall and place your hands on it at shoulder height. Step one foot back, keeping that heel on the ground and your back leg straight. Lean forward until you feel a stretch in your calf.
- Time: Hold for 20-30 seconds per leg.
- Form cue: Keep your back heel pressed down and your hips square to the wall.
- Make it easier or harder: Bend your back knee slightly to shift the stretch, or step the foot farther back for a deeper stretch.
7. Cool-Down: Quad Stretch
Stand tall and hold onto a wall or chair for balance if needed. Bend one knee and grasp your ankle, gently pulling your heel toward your glutes. Keep your knees close together and feel the stretch in the front of your thigh.
- Time: Hold for 20-30 seconds per leg.
- Form cue: Don’t pull your heel into your glute too hard; stop when you feel a gentle stretch.
- Make it easier or harder: Use a towel looped around your ankle if you can’t reach it, or pull your heel closer for a deeper stretch.
Your Weekly Beginner Jump Rope Plan
| Day | Workout | Rest Between Sets |
|---|---|---|
| Monday | Basic Bounce: 30 sec on, 30 sec off, 3 rounds | 30-60 sec |
| Tuesday | Rest or light walk | |
| Wednesday | Alternate Foot Step: 30 sec on, 30 sec off, 3 rounds | 30-60 sec |
| Thursday | Rest or light walk | |
| Friday | High Knees: 20 sec on, 40 sec off, 2 rounds | 40-60 sec |
| Saturday | Basic Bounce: 30 sec on, 30 sec off, 4 rounds | 30-60 sec |
| Sunday | Rest |
Start with 10-15 minute sessions, 3-4 times a week. As your fitness improves, gradually increase the duration or number of rounds. Listen to your body and take rest days when needed. My tip: If you feel joint pain or unusual fatigue, skip a session and focus on recovery.
Common Jump Rope Mistakes to Avoid
- Wrong rope length: Using a rope that is too long or too short makes it hard to maintain rhythm. Stand on the middle and check that the handles reach your armpits.
- Jumping too high: You only need to clear the rope by an inch or two. High jumps waste energy and increase joint impact.
- Arm swinging: Swinging the rope with your entire arm instead of just your wrists leads to fatigue. Keep your elbows close and rotate from the wrists.
- Flat-footed landing: Landing on your heels or flat-footed increases impact and can cause discomfort. Land softly on the balls of your feet with bent knees.
- Skipping warm-up: Forgetting to warm up increases the risk of muscle strain and injury. Always do arm circles and ankle rotations first.
- Too much too soon: Trying to do too much too soon can lead to burnout or injury. Start with short sessions and build gradually.
Frequently Asked Questions
How long should a beginner jump rope workout be?
For beginners, aim for 10 to 15 minutes per session, including warm-up and cool-down. Start with short intervals, like 30 seconds of jumping followed by 30 to 60 seconds of rest, and repeat for 3 rounds. Gradually increase the duration as your stamina improves.
Can jumping rope help with weight loss?
Yes, jumping rope can burn a significant number of calories, often more than running, depending on intensity. Combined with a balanced diet, it may support weight loss. However, results vary, and it’s important to combine it with other healthy habits.
What kind of jump rope is best for beginners?
For beginners, a PVC or beaded rope is a good choice because it’s lightweight, durable, and easy to control. Steel cable ropes are faster but may be harder to master. The most important thing is to pick a rope that fits your height, with handles reaching your armpits when you stand on the middle.
How often should I jump rope as a beginner?
Start with 3 to 4 sessions per week, allowing rest days in between for recovery. This frequency helps you build skill and endurance without overdoing it. As you get more comfortable, you can increase the frequency or intensity gradually.
Final Thoughts
My tip: start with the basic bounce and keep your sessions short at first, like 10 to 15 minutes, three to four times a week. You’ll likely notice better stamina and coordination within a few weeks if you stay consistent. Remember to listen to your body and rest when needed, and always warm up and cool down to prevent injury.
Jumping rope is a simple yet powerful addition to any fitness routine, and with the right approach, you’ll be amazed at how quickly you progress.
This article is for general information only and is not a substitute for professional medical or fitness advice. Before starting any new exercise program, especially if you have health conditions or joint issues, consult a healthcare provider. Stop exercising if you feel sharp pain or discomfort and seek medical attention when needed.
More Blog ideas
- Your Essential Guide to a Healthy Feminine Hygiene Routine
- Best High Protein Foods to Eat Daily for Health and Energy
- Feeling Stuck: 12 Small Steps to Get Unstuck
- Winter Skin Survival Tips
- How to Get a Flat Stomach
- How to Fix Damaged Hair and Restore Its Health
- Full-Body Kettlebell Workout
- Dry Scalp vs. Dandruff
- Full Body Workout for Beginners
- 21 Easy Beauty Tips Every Woman Should Know
- Feminine Energy: 15 Daily Habits to Feel More Radiant
- Upper Body Workout for Women at Home