12 Resistance Bands Exercises You Can Do at Home
Discover 12 effective resistance band exercises you can do at home to build strength and improve flexibility, perfect for all fitness levels.

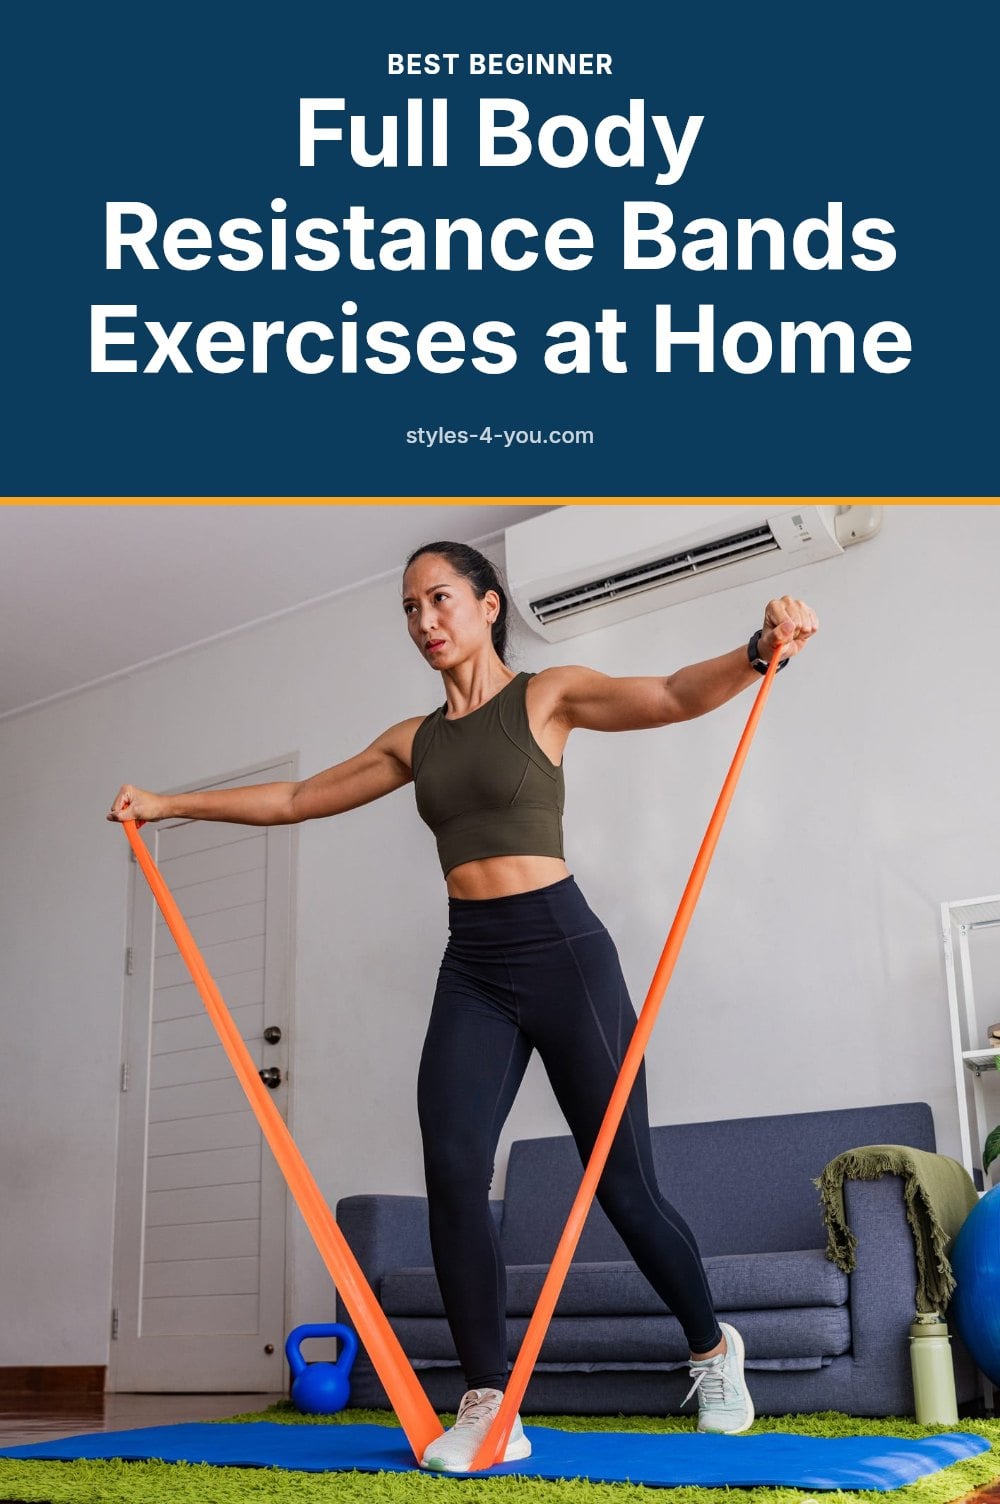
Resistance bands are the ultimate home workout tool, whether you’re a beginner or a seasoned athlete. They’re lightweight, portable, and affordable, and they provide constant tension that can boost muscle activation compared to free weights. In this article, I’ll walk you through 12 effective resistance band exercises you can do at home, covering all major muscle groups, plus essential gear tips and safety advice.
Key Takeaways
- Choose a band resistance that challenges you without compromising your form.
- Perform 2-3 resistance band workouts per week, with rest days in between.
- Control both the stretch and return phases of each exercise.
- Inspect bands for tears or damage before every use.
- Combine bands with bodyweight moves to increase intensity.
Why Resistance Bands Are Your Home Workout Hero
Resistance bands are the most versatile piece of home gym equipment I own. They are lightweight, pack flat in a suitcase, and cost a fraction of a set of dumbbells. The key difference from free weights is constant tension: the band is pulling against you through the entire range of motion, which can increase muscle activation. With loop bands, tube bands with handles, and mini bands, you can target your legs, glutes, arms, shoulders, back, and core. One set of bands replaces a whole rack of weights for most exercises.
1. Squats with Loop Band
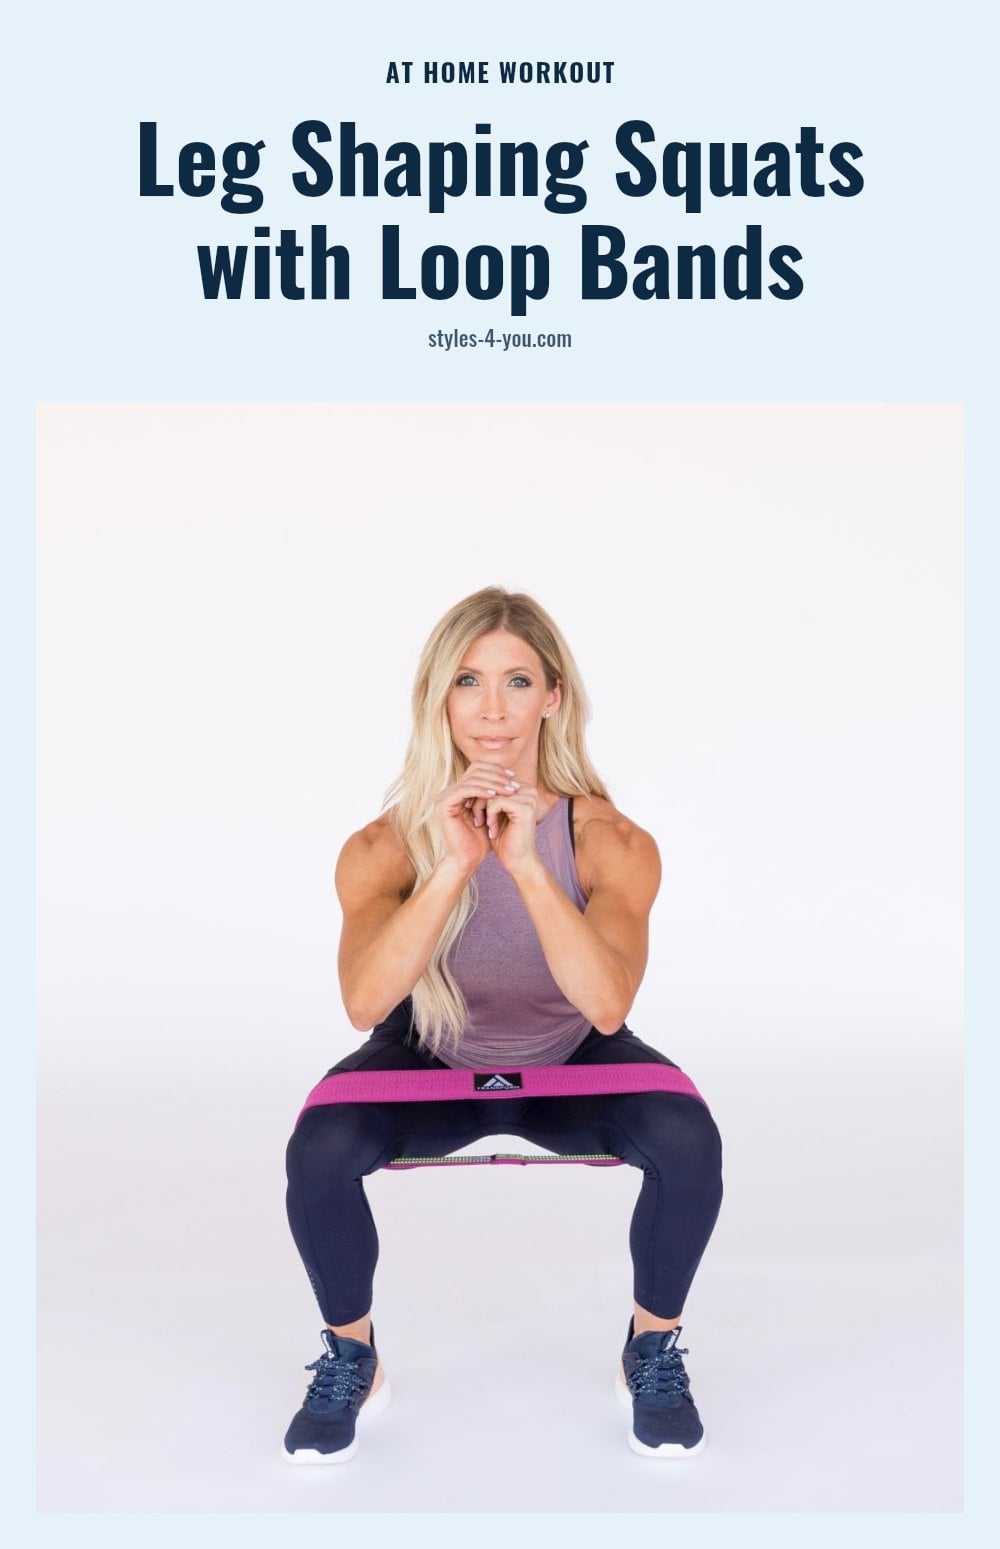
Place a loop band just above your knees. Stand with your feet shoulder-width apart and your toes pointing slightly out. Lower your hips as if sitting in a chair, keeping your chest up and your core engaged. Push through your heels to return to standing.
My tip: Focus on pushing your knees out against the band throughout the entire movement. This constant outward pressure activates your glutes more effectively than a regular squat.
2. Glute Bridges with Loop Band
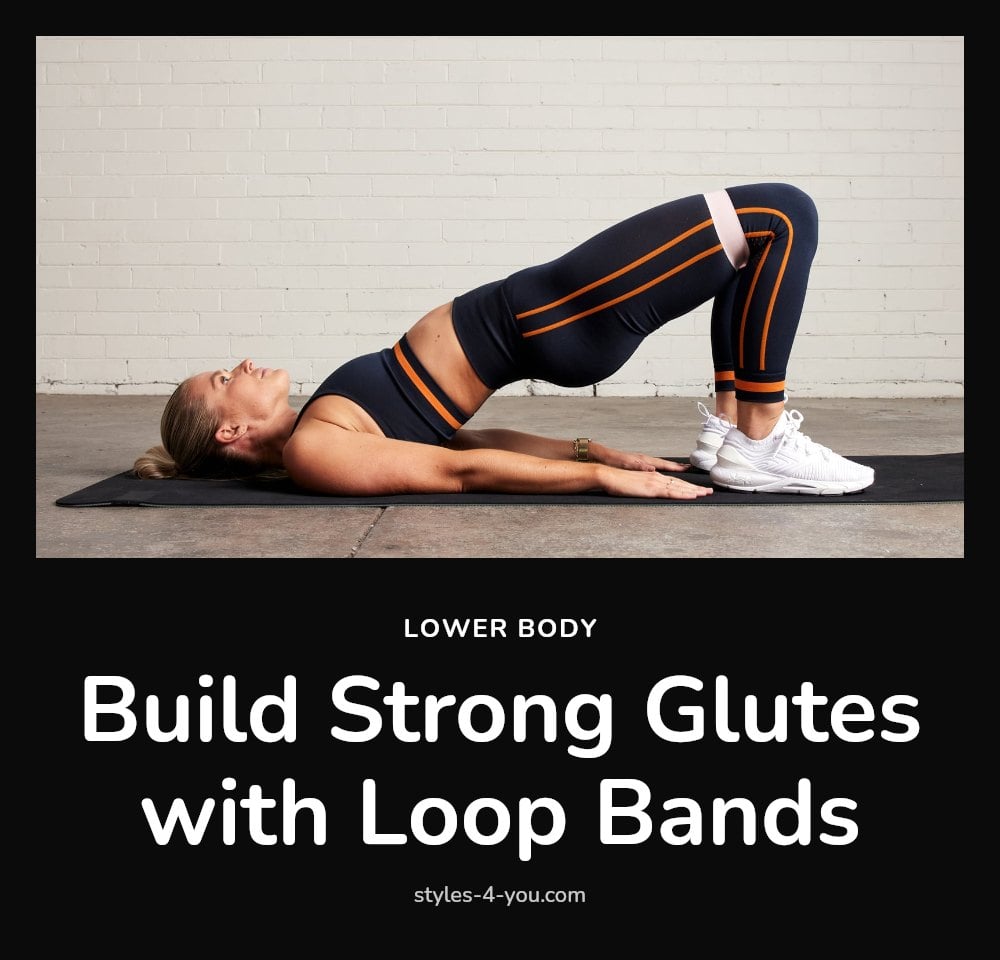
Lie on your back with your knees bent, feet flat on the floor, and a loop band just above your knees. Press your lower back into the floor, then lift your hips toward the ceiling, squeezing your glutes at the top. Lower slowly back down.
Tip: Keep tension on the band by pressing your knees slightly outward the whole time. This small adjustment keeps your glutes engaged and prevents your knees from collapsing inward.
3. Lateral Band Walks

Place a mini band around your ankles or just above your knees. Stand with your feet hip-width apart and a slight bend in your knees. Take small, controlled steps sideways, maintaining tension on the band: step one foot out, then bring the other foot to meet it.
Pro move: Move in one direction for several steps, then switch directions. Keep your core tight and your hips stable to avoid rocking side to side. This exercise fires up your glute medius like nothing else.
4. Bicep Curls with Tube Band
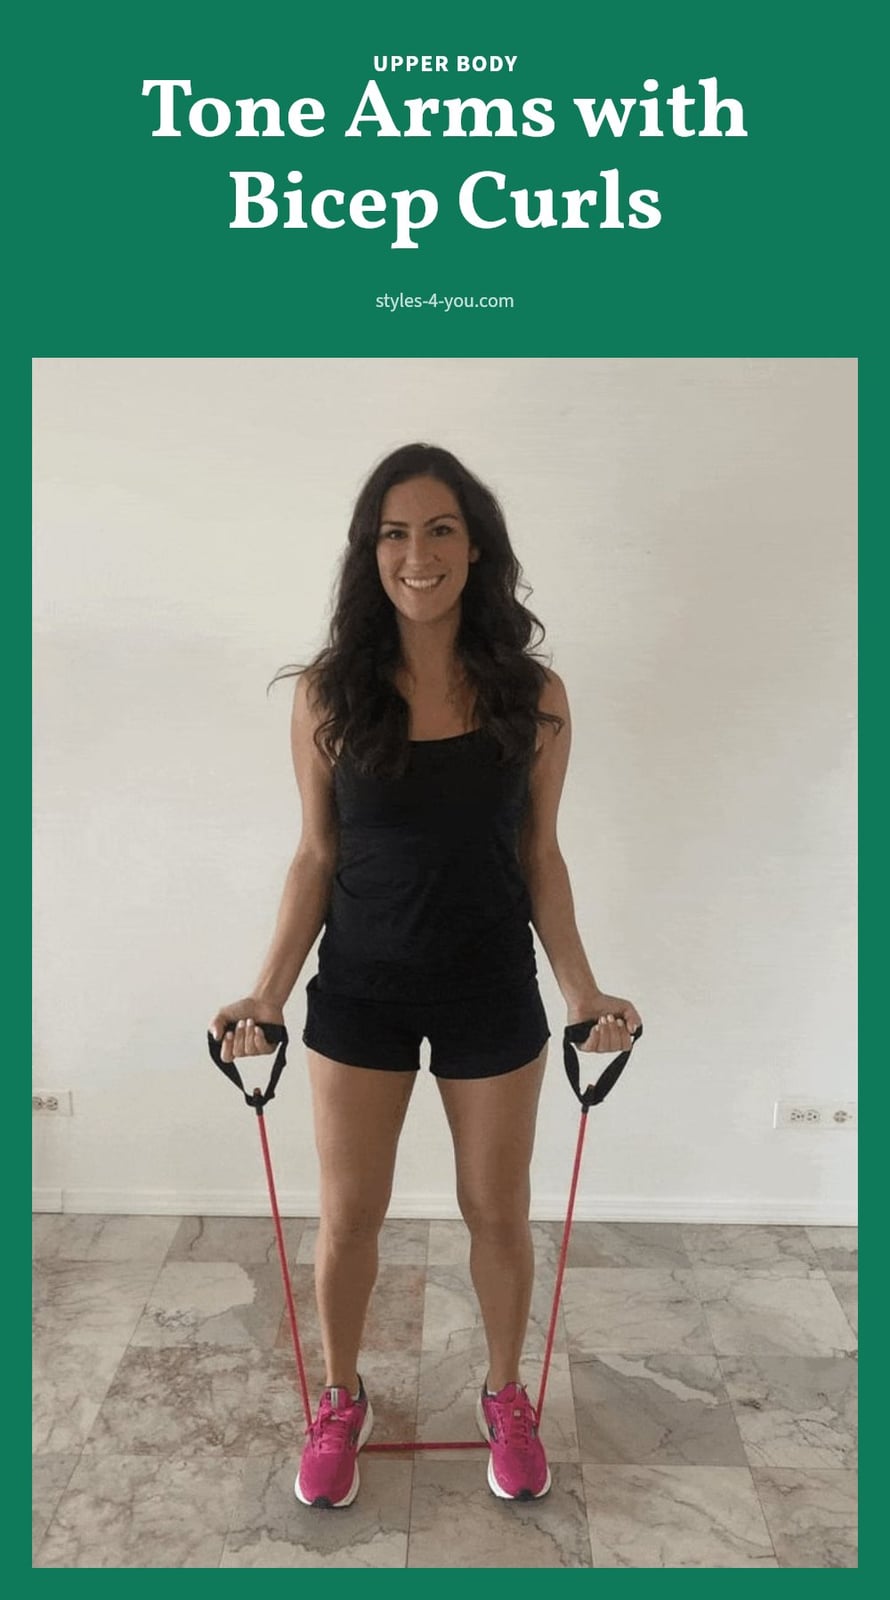
Stand on the middle of a tube band with handles, feet shoulder-width apart. Hold a handle in each hand, palms facing forward. Keep your elbows tucked close to your sides throughout the movement.
Curl your hands toward your shoulders, squeezing your biceps at the top of the motion. Slowly lower the handles back down, controlling the resistance on the way down. The eccentric phase is where much of the muscle-building work happens.
Tip: Choose a band that allows you to complete the full range of motion with good form. If you can’t complete the full range of motion without straining or compromising your form, switch to a lighter band.
5. Tricep Extensions with Tube Band
Anchor a tube band to a door anchor above head height. Stand facing away from the anchor, holding the handle with both hands. Extend your arms overhead, then bend your elbows to lower the handle behind your head. Keep your elbows pointing forward, not out to the sides.
Press your arms back up to the starting position, focusing on your triceps. The band should remain under tension throughout the entire movement.
My tip: Keep your core engaged to prevent your back from arching as you extend overhead. A stable torso keeps the work on your triceps where it belongs.
6. Overhead Press with Tube Band
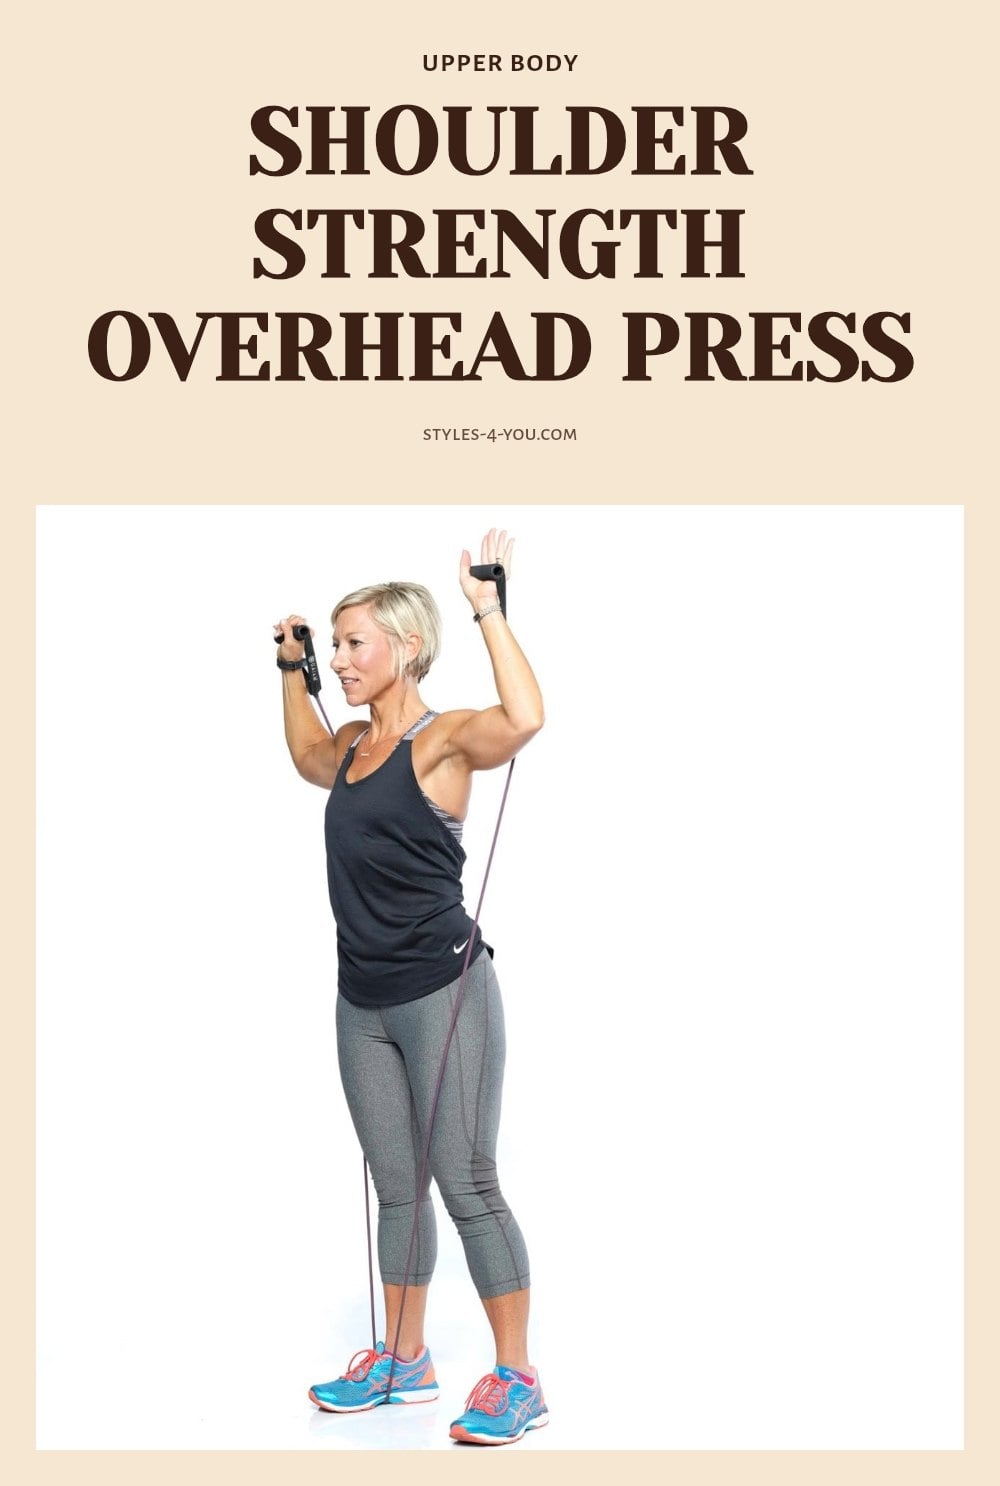
Stand on the middle of a tube band with feet shoulder-width apart. Hold a handle in each hand at shoulder height, palms facing forward. Press the handles straight overhead until your arms are fully extended, engaging your shoulders at the top.
Slowly lower the handles back to shoulder height, controlling the movement on the way down. This targets your deltoids and upper back effectively, especially if you keep your core braced throughout.
Pro move: Pause for one second at the top of the press before lowering. That brief isometric hold increases time under tension for your shoulders.
7. Bent-Over Rows with Tube Band
Stand on the middle of a tube band, feet hip-width apart. Hinge at your hips, keeping your back straight and core tight. Hold a handle in each hand with arms extended toward the floor.
Pull the handles toward your rib cage, squeezing your shoulder blades together at the peak of the movement. Slowly release back to the starting position, controlling the band as it lengthens.
This is excellent for strengthening your back muscles, especially the rhomboids and middle traps. Caution: Keep your neck in line with your spine; looking up can strain it.
8. Chest Press with Tube Band
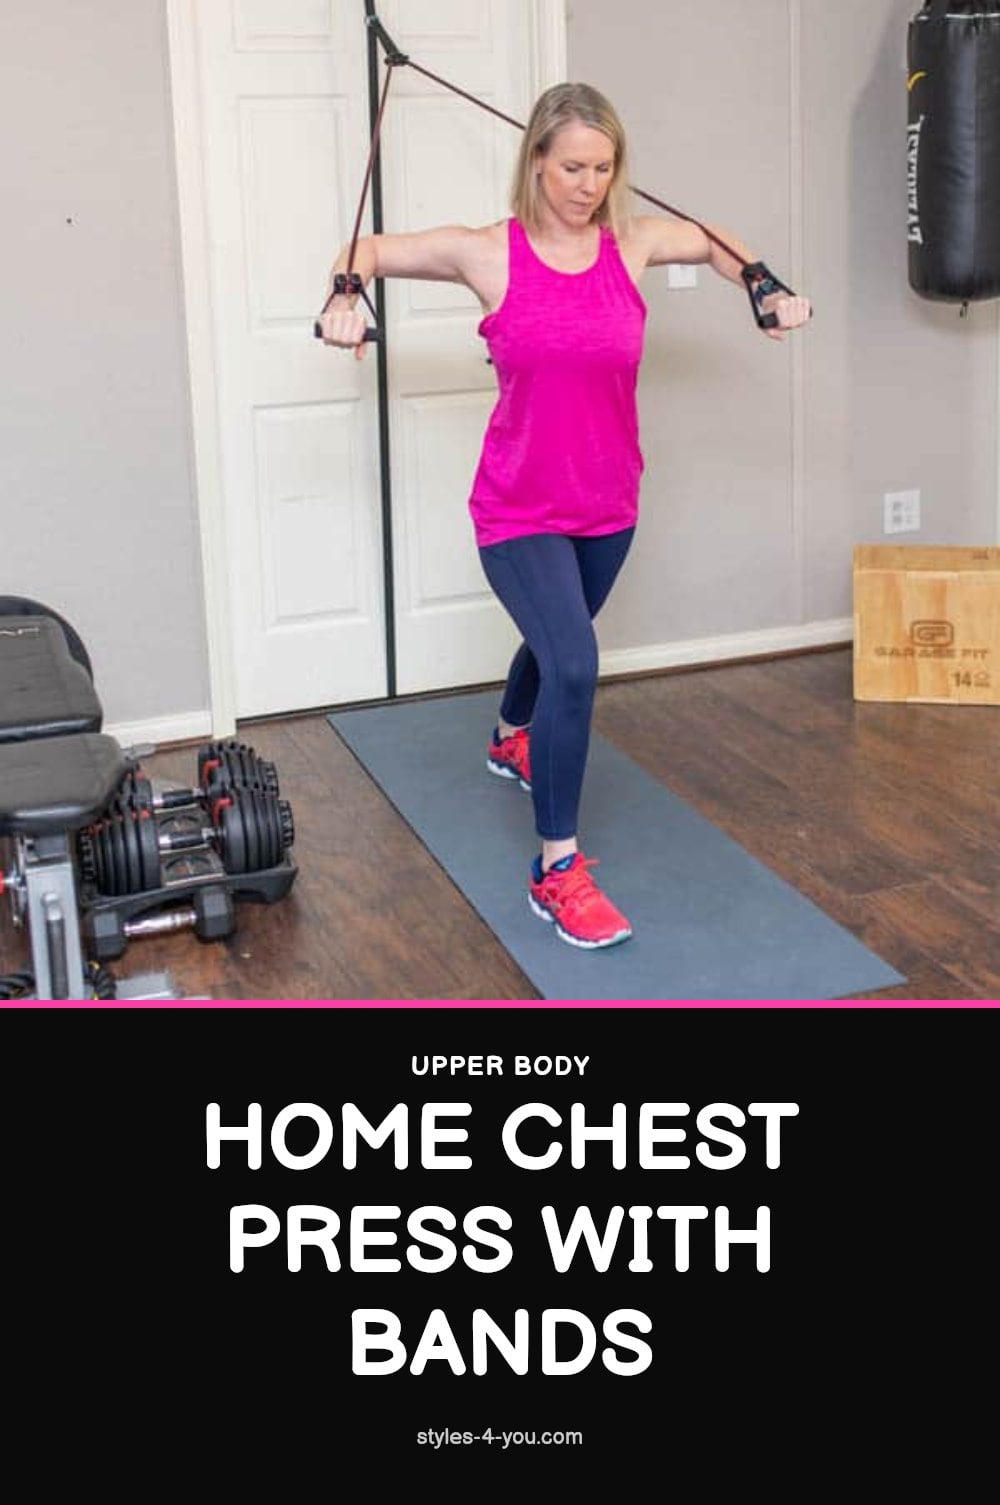
Anchor the tube band: Secure it to a door anchor at chest height. Stand facing away from the anchor, holding a handle in each hand. Step forward until you feel tension in the band.
Press forward: Push the handles straight out in front of your chest, fully extending your arms. Focus on engaging your pectoral muscles as you press.
Return with control: Slowly bring the handles back to your chest, resisting the band’s pull the whole way. Tip: Keep your wrists straight and your elbows slightly bent throughout the movement to protect your joints.
9. Band Pull-Aparts
Set the band: Hold a light to medium tube band with handles in both hands, palms facing down. Extend your arms straight out in front of you at shoulder height.
Pull apart: Keeping your arms straight, pull the handles outward, moving your hands away from each other. Squeeze your shoulder blades together as you pull.
Release slowly: Return your hands to the starting position with control. This exercise targets the rear deltoids and upper back muscles, making it excellent for improving posture.
10. Donkey Kicks with Mini Band
Start on all fours: Position a mini band around your thighs, just above your knees. Keep your back flat and your core engaged throughout the movement.
Lift your leg: Keeping your knee bent at a 90-degree angle, drive your foot straight up toward the ceiling. Squeeze your glute at the top of the movement.
Lower with control: Slowly bring your leg back down without letting your knee touch the floor. Complete all reps on one side before switching. This exercise isolates the glutes effectively.
11. Clamshells with Mini Band
Lie on your side: Stack your feet and bend your knees at about a 45-degree angle. Place a mini band around your thighs, just above your knees.
Lift your top knee: Keep your feet touching and rotate your top knee upward toward the ceiling. Focus on squeezing your glutes as you lift.
Lower slowly: Bring your knee back down to the starting position. Good to know: Keep your hips stacked vertically throughout the movement; don’t let your top hip roll backward.
12. Bird-Dog with Mini Band
Start on all fours with a mini band looped around your feet or ankles. Keep your back flat and your core tight from the start. Extend one arm straight forward and the opposite leg straight back, reaching through your fingertips and toes. Focus on keeping your hips level; don’t let your lower back sag or your hips tilt.
Caution: Move slowly and control the return. If you wobble, shorten the range of motion until you feel stable. This exercise builds core stability and coordination, making it a solid addition to any warm-up or core day.
Essential Gear for Your Resistance Band Workouts
Loop resistance bands: These are your go-to for lower body and full-body exercises. They come in several resistances, usually indicated by color, so you can progress as you get stronger.
Tube resistance bands with handles: Best for upper body work like bicep curls and chest presses. They pair naturally with a door anchor for exercises that need a stable attachment point.
Mini resistance bands: Small but effective for glute activation and targeting smaller muscle groups. Use them for clamshells, donkey kicks, and lateral walks.
Door anchor: A must-have for many tube band exercises. It slides into a closed door and holds the band securely, letting you press, row, and pull safely.
Exercise mat: Optional but welcome on hard floors. It gives you grip for floor exercises and cushion for your knees during all-fours moves.
Frequently Asked Questions
How often should I use resistance bands?
Aim for 2-3 resistance band workouts per week, with at least one rest day between sessions. This allows your muscles to recover and grow. You can also use bands for warm-ups or cool-downs on other days, but keep those sessions light.
Can resistance bands build muscle?
Yes, resistance bands can help build muscle by providing constant tension throughout the movement, which may lead to increased muscle activation. To see gains, gradually increase the resistance as you get stronger, and control the eccentric (return) phase of each exercise.
What’s the best type of resistance band for beginners?
Loop bands are a great starting point because they’re versatile for lower-body and full-body exercises. Tube bands with handles are also beginner-friendly for upper-body work. Choose a light resistance, often indicated by a lighter color, to master form before progressing.
How do I know if my resistance band is too strong or too weak?
If you can’t complete the full range of motion without compromising your posture, the band is too strong. If you feel no tension at the starting position or the movement feels effortless, it’s too light. You should feel a challenge but still maintain proper form.
Can I combine resistance bands with other exercises?
Yes, you can combine resistance bands with bodyweight exercises to increase intensity. For example, add a band around your knees for squats or use a tube band for bicep curls after a set of push-ups. This variety can help target muscles differently and keep workouts interesting.
Final Thoughts
For a full-body routine, mix lower-body moves like squats and glute bridges with upper-body work like bicep curls and chest press. Start with a light or medium resistance band and focus on proper form over intensity. Expect to see improvements in strength and endurance over several weeks of consistent use, but remember to listen to your body and stop if you feel pain. My tip: keep your bands in a drawer near your workout space so they’re easy to grab for a quick session.
This article is for general information only and is not medical, fitness, or professional advice. Before starting any new exercise program, especially if you have pre-existing health conditions or injuries, consult a healthcare professional or certified trainer. Stop immediately if you experience sharp pain, dizziness, or unusual discomfort.
More Blog ideas
- Your Essential Guide to a Healthy Feminine Hygiene Routine
- Best High Protein Foods to Eat Daily for Health and Energy
- Feeling Stuck: 12 Small Steps to Get Unstuck
- Winter Skin Survival Tips
- How to Get a Flat Stomach
- How to Fix Damaged Hair and Restore Its Health
- Full-Body Kettlebell Workout
- Dry Scalp vs. Dandruff
- Full Body Workout for Beginners
- 21 Easy Beauty Tips Every Woman Should Know
- Feminine Energy: 15 Daily Habits to Feel More Radiant
- Upper Body Workout for Women at Home